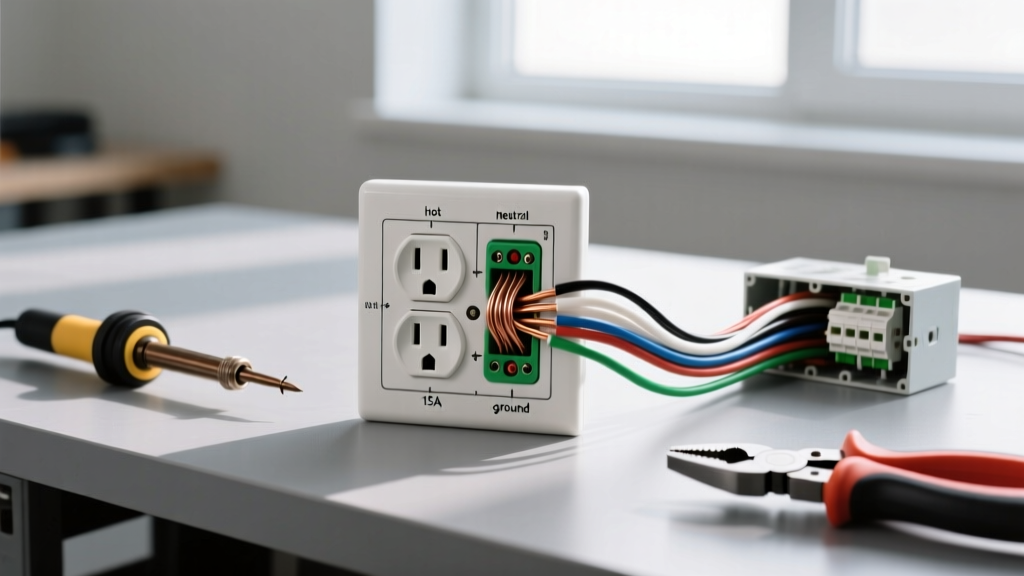

The Hidden Danger: Why an Electrical Outlet is Hot to Touch
A standard 120V electrical receptacle should always remain at room temperature. If you notice that your electrical outlet is hot to touch, you are witnessing a critical failure point in your home’s wiring system. According to the National Fire Protection Association (NFPA), electrical distribution and lighting equipment are consistently among the top causes of residential structure fires. Heat at the receptacle face is the physical manifestation of high electrical resistance, micro-arcing, or circuit overloading—none of which are safe.
In this comprehensive 2026 guide, we will transition from diagnosing the root cause of the overheating to executing a professional-grade, step-by-step installation of a replacement outlet. Whether you are dealing with degraded backstabbed connections or worn internal contacts, this guide provides the exact measurements, torque specifications, and product recommendations required to restore safety to your circuit.
The Physics of Outlet Overheating
Before picking up a screwdriver, it is vital to understand why the heat is generating. The primary culprits include:
- Backstabbed (Push-In) Connections: Many older or builder-grade outlets use spring-loaded push-in terminals on the back. Over years of thermal cycling (heating and cooling), these springs lose tension. The resulting loose connection increases resistance. Following Joule's first law ($I^2R$), higher resistance at a high-current load (like a 1500W space heater) generates massive amounts of heat.
- Loose Terminal Screws: If side-wired connections were not torqued to the manufacturer's specifications during the initial installation, vibration and thermal expansion can loosen the wire clamp.
- Worn Internal Contacts: The brass contact grips inside the receptacle that hold the plug prongs can stretch out over time. A loose plug causes arcing and heat directly behind the faceplate.
- Overloaded Circuit: Running high-draw appliances on a 15-amp circuit can push the wiring to its thermal limits, especially if 14 AWG wire was used.
Diagnostic Step: Thermal and Electrical Verification
Before shutting off the power, perform a non-invasive diagnostic to map the heat signature. In modern electrical troubleshooting, relying on your hand is insufficient and dangerous.
- Thermal Imaging: Use a smartphone-based thermal camera like the FLIR ONE Gen 3 (approx. $250). Scan the faceplate. A healthy outlet registers within 2°F of ambient room temperature. Any hotspot exceeding 105°F (40°C) requires immediate intervention.
- Voltage Drop Test: Using a True RMS multimeter like the Fluke 117 ($190), measure the voltage at the hot slot to the neutral slot while a high-draw appliance (e.g., a hair dryer) is running. A drop below 114V on a 120V circuit indicates severe resistance upstream or at the receptacle itself.
SAFETY WARNING: If the faceplate is discolored (brown or black), smells like melting plastic (polyvinyl chloride off-gassing), or feels too hot to keep your hand on for more than three seconds, do not touch the metal faceplate screws. Turn off the breaker immediately using an insulated tool or dry wooden dowel if necessary, as the entire box may be energized due to melted insulation.
Step-by-Step Installation: Replacing the Hot Outlet
Once the danger is assessed, the only permanent fix is to cut away the compromised wiring and install a new, commercial-grade, tamper-resistant receptacle. We recommend the Leviton T5262-W Tamper-Resistant Duplex Receptacle (approx. $3.85 in 2026), which features robust side-wiring clamps and superior thermal dissipation.
Step 1: Lockout and Verification
Navigate to your main service panel and switch off the corresponding breaker. Apply a physical lockout/tagout (LOTO) device to prevent accidental re-energizing. Test the top and bottom slots of the hot outlet with a Non-Contact Voltage Tester (NCVT) and a plug-in receptacle tester. Verify zero voltage.
Step 2: Extract and Inspect the Wiring
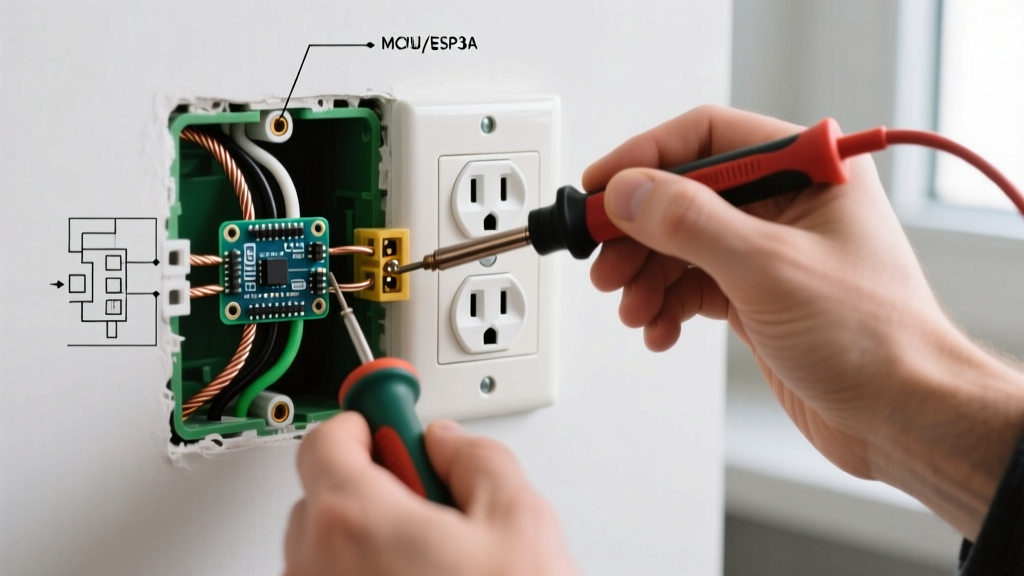
Remove the 6-32 faceplate screw and the two 6-32 mounting screws securing the outlet to the junction box. Gently pull the receptacle out. Inspect the wire insulation. If the thermoplastic insulation on the 12 AWG or 14 AWG copper is brittle, cracked, or blackened, you must cut the wire back until you reach pristine, flexible insulation and bright, unoxidized copper.
Step 3: Wire Preparation and Stripping
Do not use the built-in stripping holes on standard pliers, which can nick the copper and create a future fracture point. Use dedicated wire strippers like the Klein Tools 11063W ($28). Strip exactly 5/8 of an inch of insulation. This precise measurement ensures no bare copper is exposed outside the terminal clamp, and no insulation is trapped inside the clamp.
Step 4: Pigtailing vs. Side-Wiring
If the outlet is in the middle of a daisy-chained circuit (two hot and two neutral wires entering the box), never use the receptacle's internal bus bar to pass current to the next outlet. If the outlet fails, the downstream outlets lose power, and the internal brass tabs become a bottleneck for heat. Instead, use WAGO 221-412 Lever Nuts ($0.48 each) to create pigtails.
- Connect the two incoming hots and one 6-inch black pigtail into a WAGO 221.
- Connect the two incoming neutrals and one 6-inch white pigtail into a second WAGO 221.
- Connect all ground wires (including the box if metal) with a green wire nut or WAGO lever nut, adding a bare copper pigtail.
Step 5: Termination and Torqueing
Form a J-hook at the end of your pigtails using needle-nose pliers. Loop the J-hook clockwise around the brass (hot) and silver (neutral) terminal screws. This ensures that tightening the screw pulls the wire loop tighter rather than pushing it out. Tighten the screw using a calibrated torque screwdriver.
Step 6: Box Dressing and Final Mounting
Carefully fold the wires into the back of the junction box. Place the WAGO lever nuts at the very back, as their low profile (0.33 inches) leaves ample room for the receptacle yoke. Mount the new Leviton T5262-W, ensuring it sits flush against the plaster ears without warping the yoke. Install a new, unblemished nylon faceplate.
Torque Specifications: The Missing Link in DIY Wiring
The Consumer Product Safety Commission (CPSC) highlights that loose connections are a leading cause of electrical fires. In 2026, the National Electrical Code (NEC) 110.14(D) strictly mandates that terminations be torqued to the manufacturer's specifications. Guessing 'hand-tight' is no longer acceptable or safe.
| Wire Gauge | Typical Terminal Screw Size | Required Torque (Inch-Pounds) | Recommended Tool |
|---|---|---|---|
| 14 AWG Solid | #8-32 or #10-32 | 12 in-lbs | Klein 605-4 Torque Screwdriver |
| 12 AWG Solid | #10-32 | 16 in-lbs | Klein 605-4 Torque Screwdriver |
| 10 AWG Solid (30A) | #10-32 or #12-24 | 35-40 in-lbs | Wheeler 4401 Torque Driver |
Note: Always verify the specific torque value stamped on the back yoke of your chosen receptacle, as manufacturer specifications supersede general guidelines.
Upgrading to Arc Fault Protection
If your hot outlet was caused by degraded wiring inside the walls (not just at the terminal), replacing the standard breaker in your panel with an Arc Fault Circuit Interrupter (AFCI) is highly recommended. Modern AFCI breakers (like the Eaton BR220AFC, approx. $48) utilize digital signal processing to detect the high-frequency signatures of micro-arcing that occur before a wire gets hot enough to ignite surrounding wood framing. While the AFCI breaker won't stop a massive overload, it will trip instantly upon detecting the parallel or series arcing caused by a loose, heating connection.
When to Call a Licensed Electrician
While replacing a standard 15A or 20A duplex receptacle is well within the capabilities of an informed DIYer, certain edge cases require a licensed professional:
- Aluminum Wiring: If you discover silver-colored wire (common in homes built between 1965 and 1973), do not connect it to a standard copper-rated outlet. It requires special CO/ALR rated devices or Alumiconn pigtailing to prevent galvanic corrosion and catastrophic fires.
- Melted Wire Sheathing: If the outer NM-B (Romex) jacket is melted more than 2 inches into the wall cavity, the conductors inside may be compromised.
- Panel Warmth: If the outlet is hot, and the corresponding breaker in the main panel is also warm to the touch, the bus bar stab in the panel may be failing.
Frequently Asked Questions
Can I just wrap the hot wires in electrical tape and push them back?
Absolutely not. Electrical tape does not mitigate electrical resistance. The heat will continue to build, eventually melting the adhesive and the tape, leading to a direct short circuit or fire. The physical connection must be remade or replaced.
My dimmer switch is hot to touch. Is that the same problem?
No. Standard triac-based dimmer switches intentionally dissipate waste heat through their aluminum front plate and heat sink fins. It is normal for a dimmer to feel warm (up to 140°F under full load). However, standard electrical outlets have no heat sinks and should never feel warm.
How much does it cost to hire an electrician for this specific repair?
In 2026, an electrician's diagnostic service call typically ranges from $150 to $250. If the repair is simply swapping a backstabbed outlet for a side-wired commercial receptacle, the total bill, including parts and an hour of labor, usually falls between $225 and $350. If wall repairs or circuit tracing are required, costs will scale accordingly.