
The Foundation: Why Tool Quality Dictates Wiring Safety
When approaching electrical outlet wiring, the margin between a safe, code-compliant installation and a potential fire hazard is often measured in fractions of an inch and inch-pounds of torque. As of 2026, local building inspectors are strictly enforcing updated National Electrical Code (NEC) mandates regarding terminal torque and tamper-resistant technologies. Relying on a generic multi-tool or outdated materials is no longer sufficient for modern residential or commercial circuits.
This comprehensive tool and material guide strips away the guesswork, providing exact model numbers, material specifications, and pro-grade techniques required for flawless electrical outlet wiring. Whether you are upgrading a 15-amp bedroom circuit or installing a dedicated 20-amp kitchen appliance receptacle, having the right arsenal is non-negotiable.
The Core Hand Tool Arsenal
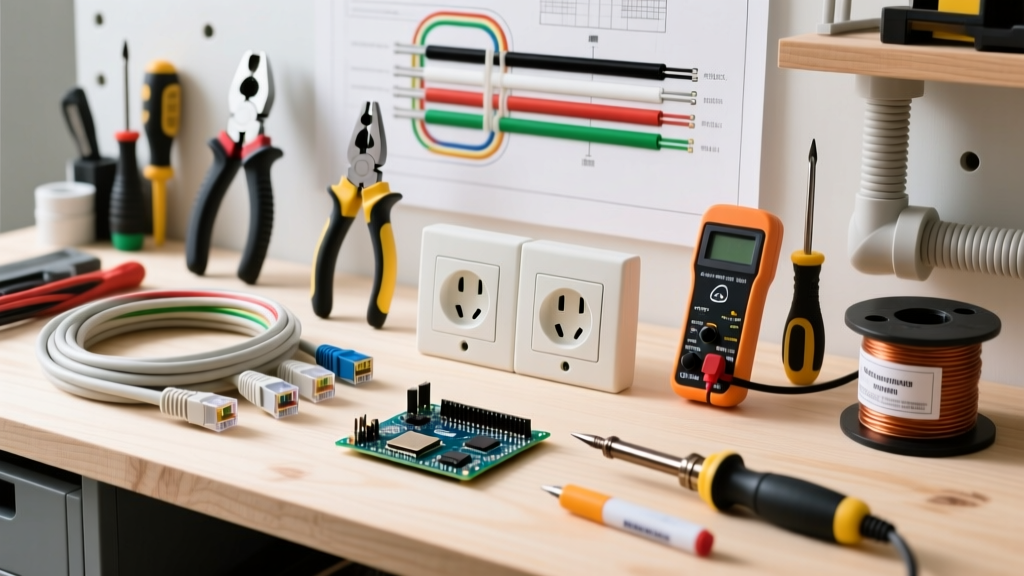
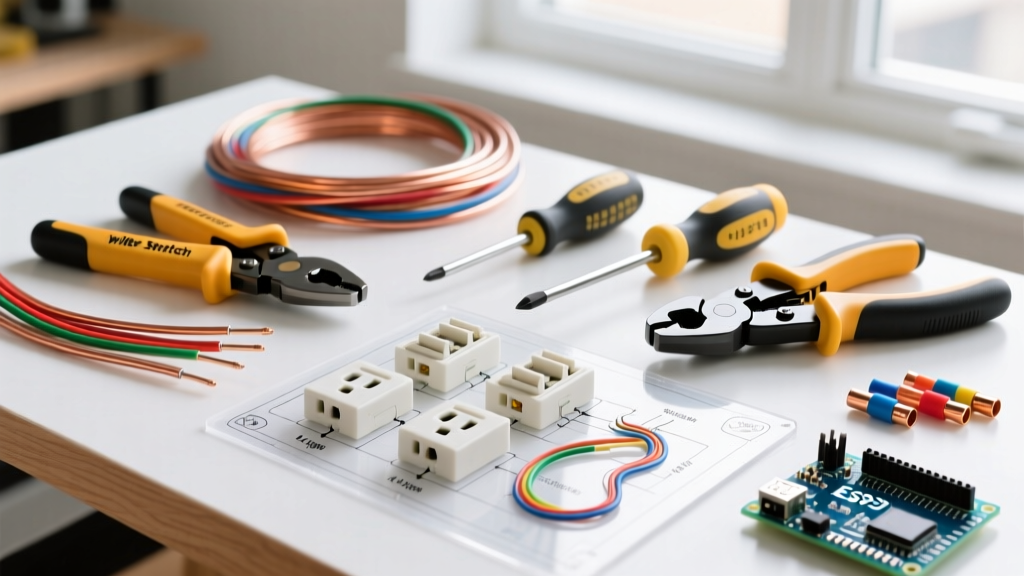
Professional electricians do not use the same strippers for 14 AWG and 10 AWG wire. Precision prevents nicking the copper conductor, which creates a microscopic fracture point that can snap under thermal expansion. Below is the essential tool matrix for any serious wiring project.
| Tool Category | Recommended Pro Model | Primary Function & Advantage | Est. Cost (2026) |
|---|---|---|---|
| Wire Stripper | Klein Tools 11063W | Strips 10-20 AWG solid/stranded without nicking copper. | $38.00 |
| Voltage Tester | Klein NCVT-3 | Dual-range AC detection (12-1000V) prevents false negatives. | $35.00 |
| Torque Driver | Wiha 28501 Insulated | Calibrated terminal tightening to exact NEC specs. | $145.00 |
| Lineman Pliers | Klein 200048EINS | High-leverage cutting, twisting, and gripping with fish tape puller. | $42.00 |
| Receptacle Gauge | Palmer 110-090 | Tests slot tension to ensure plugs will not fall out over time. | $12.00 |
Material Selection: Wire, Receptacles, and Connectors
The physical components you embed into your walls will remain there for decades. Selecting the correct grade and gauge is the cornerstone of reliable electrical outlet wiring.
Wire Gauge and Jacket Types
For standard 15-amp lighting and general-purpose receptacle circuits, 14/2 NM-B (Non-Metallic Sheathed Cable) is the baseline. However, for kitchens, bathrooms, garages, and outdoor receptacles, the NEC mandates 20-amp circuits, requiring 12/2 NM-B wire.
Pro Tip: Opt for Southwire Romex SIMpull cables. The proprietary jacket lubricant reduces pulling friction by up to 50%, saving your knuckles and preventing jacket tearing when fishing wires through tight stud bays. Expect to pay around $0.65 per linear foot for 12/2 SIMpull in 2026.
Receptacle Grades: Builder vs. Commercial Spec
Not all white duplex receptacles are created equal. The internal brass contacts and the steel mounting straps vary wildly in thickness.
- Builder Grade (e.g., Leviton 5252): Costs roughly $1.20. Features thin straps that bend easily during installation and lighter internal contacts. Suitable only for low-draw areas like guest bedrooms.
- Commercial Spec (e.g., Leviton 5362): Costs roughly $3.50. Features a rigid, thick-gauge steel strap for perfect leveling and robust brass contacts designed to withstand thousands of plug insertions. This is the recommended standard for all residential electrical outlet wiring.
- Hospital Grade (e.g., Hubbell 8300): Costs $15.00+. Features a green dot indicator, individual terminal isolation, and extreme grip tension. Required in healthcare facilities but overkill for standard homes.
The Torque Mandate: Why Your Screwdriver Needs a Clutch
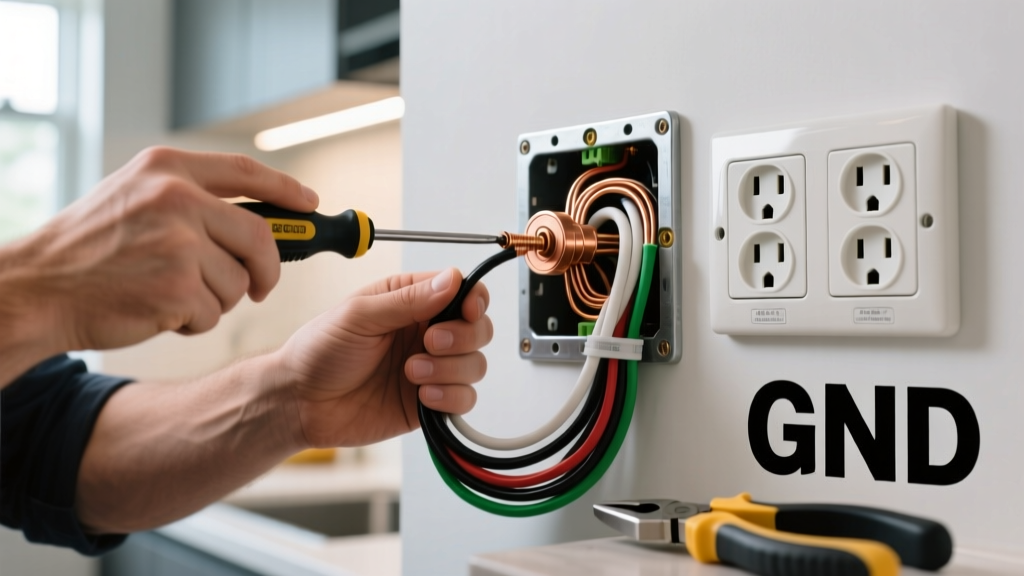
The most significant shift in modern electrical outlet wiring enforcement revolves around NEC Article 110.14(D). This code section requires that all mechanical connections be tightened using a calibrated torque tool to the values specified by the manufacturer.
Code Alert: According to the National Fire Protection Association (NFPA 70), failing to torque a receptacle terminal to its specified inch-pound rating is a direct code violation. Most standard 15A and 20A Leviton and Hubbell receptacles require between 14 and 16 in-lbs of torque.
Why does this matter? Under-torquing leaves a high-resistance gap that generates immense heat under load. Over-torquing strips the brass threads or deforms the terminal plate, reducing the surface contact area. A calibrated torque screwdriver, such as the Wiha 28501, clicks precisely when the correct tension is achieved, eliminating human error and ensuring long-term thermal stability.
Pigtailing vs. Daisy-Chaining: The Continuity Debate
When wiring multiple outlets on a single circuit, you have two choices for passing power to the next device:
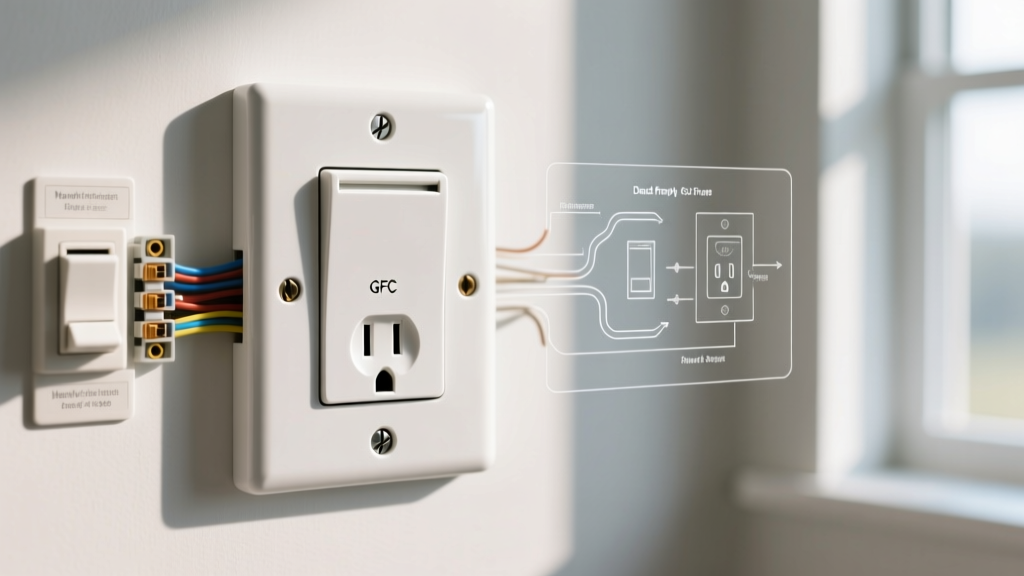
- Daisy-Chaining (Line/Load Pass-Through): Connecting the incoming hot/neutral wires to the top terminals, and the outgoing wires to the bottom terminals. While faster, if the receptacle fails or is removed, the entire downstream circuit loses power.
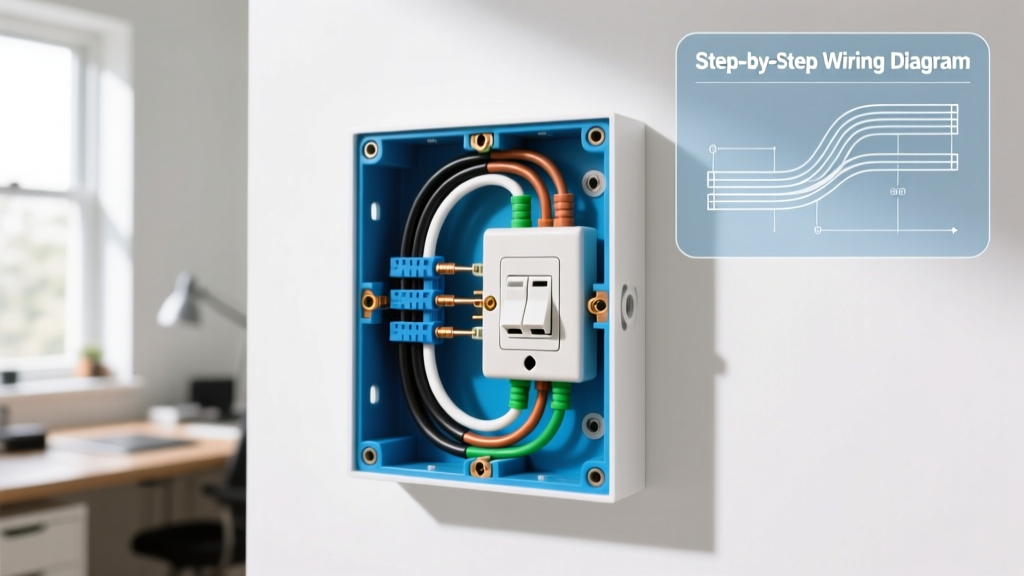
- Pigtailing: Using a short 6-inch piece of wire (the pigtail) connected via a wire nut or push-in connector to join the incoming, outgoing, and receptacle wires.
Expert Verdict: Always use the pigtailing method for your neutral (white) wires, especially on Multi-Wire Branch Circuits (MWBCs) or AFCI/GFCI circuits. Breaking the neutral path through a daisy-chained receptacle can cause catastrophic voltage imbalances. Use Wago 221-3 Lever Nuts (approx. $0.50 each) or Ideal Twister 33 Yellow Wire Nuts for secure, easily inspectable pigtails.
Common Wiring Failure Modes & How Your Tools Prevent Them
Understanding how and why electrical outlet wiring fails allows you to preemptively eliminate hazards during installation.
The 'Backstab' Push-In Failure
Many budget receptacles feature quick-insert holes on the back. These rely on a tiny internal metal spring to grip the 14 AWG wire. Over years of thermal cycling (heating up under load and cooling down), the spring tension fatigues. The wire loosens, arcs, and melts the plastic housing. Solution: Never use backstabs. Use your Klein 11063W strippers to prep the wire and wrap it clockwise around the brass side-terminal screw, tightening with your torque driver.
Thermal Creep and Loose Terminals
Copper wire and brass terminals expand and contract at slightly different rates when subjected to electrical load. Over a decade, this 'thermal creep' can cause a hand-tightened screw to back out. According to safety data aggregated by the Consumer Product Safety Commission (CPSC), loose connections are a leading cause of residential electrical fires. The aforementioned Wiha torque driver completely neutralizes this failure mode by applying exact, manufacturer-approved clamping force from day one.
Safety Gear and Final Inspection Checklist
Before energizing any newly wired circuit, ensure you have completed the following safety and inspection protocols, aligning with OSHA electrical safety guidelines for hazard mitigation:
- PPE: Wear ANSI Z87.1 rated safety glasses and insulated gloves when first energizing the panel.
- Visual Check: Ensure no bare copper ground wire is touching the brass (hot) terminal.
- Strand Check: Verify no stray 'whiskers' of copper are protruding from the wire nuts or terminal screws.
- Tester Verification: Use a plug-in circuit analyzer (e.g., Sperry ET6402) to confirm correct polarity, proper grounding, and the absence of bootleg grounds.
Investing in the correct tools and premium materials for your electrical outlet wiring project is an investment in the structural safety of your property. By adhering to modern torque requirements, selecting commercial-spec receptacles, and utilizing pigtailing techniques, you ensure your electrical infrastructure remains safe, efficient, and fully compliant for decades to come.