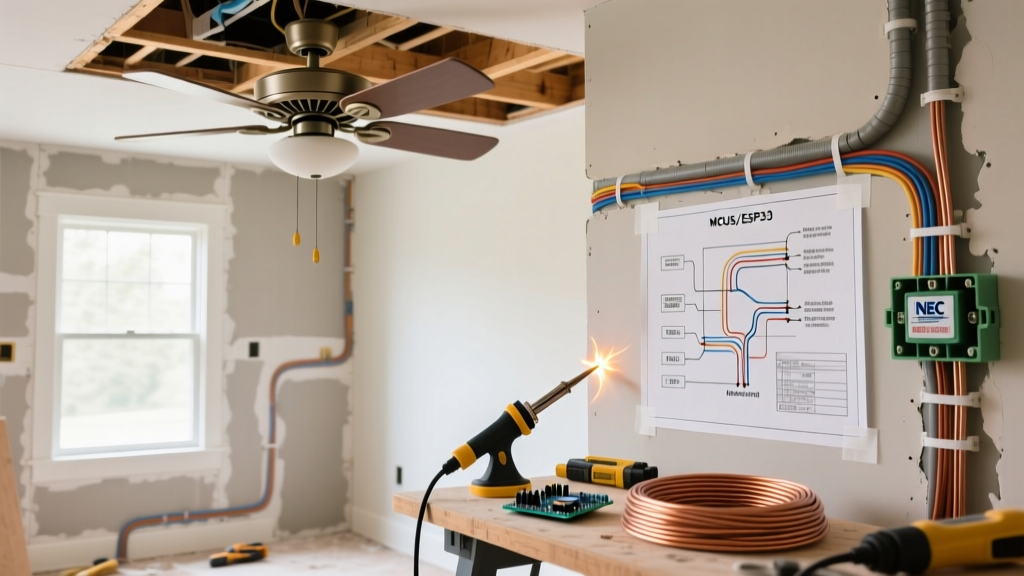

The Hidden Complexities of Ceiling Fan Retrofits
When planning a room renovation, upgrading a standard flush-mount light fixture to a ceiling fan is one of the most impactful changes you can make for both air circulation and aesthetic appeal. However, treating a ceiling fan installation as a simple swap is a critical mistake. The dynamic torque generated by a spinning fan motor places vastly different mechanical and electrical demands on your ceiling infrastructure compared to a static light fixture. Properly planning fan electrical wiring during the demolition and rough-in phases of your remodel ensures long-term safety, code compliance, and seamless smart-home integration.
In 2026, the modern ceiling fan is rarely just a motor and a light kit. Homeowners are increasingly demanding independent switch control, variable-speed smart switches, and integrated LED arrays. This guide breaks down the exact structural, electrical, and code-level requirements you must address before closing up your drywall.
Structural Integrity: Upgrading the Ceiling Box
The most common failure point in fan installations is the ceiling electrical box. Standard residential light boxes are typically rated to support static loads up to 35 pounds. A mid-range 52-inch ceiling fan, such as the Hunter Original or Minka-Aire F844-DK, weighs between 20 and 30 pounds. While this seems within the limit, the dynamic vibration and rotational torque can loosen standard mounting screws over time, leading to catastrophic failure.
NEC Article 314.27(C) Compliance
The National Electrical Code (NEC) is explicit regarding ceiling fan support. According to NFPA guidelines and NEC Article 314.27(C), outlet boxes used for ceiling fan support must be listed for the purpose and marked by the manufacturer as suitable for ceiling fan mounting. If the fan exceeds 35 pounds, it must be supported independently of the outlet box.
Renovation Pro-Tip: During the rough-in phase, always install a fan-rated brace box even if you are only hanging a light fixture temporarily. Upgrading a standard box to a fan-rated box after the drywall is finished requires cutting large access holes and patching, which adds $150 to $300 in drywall repair costs.
For remodels where attic access is unavailable, use an expandable metal brace bar like the Raco 283 Super Saf-T Brace (approximately $18). This device twists to expand between the ceiling joists, gripping the wood with hardened steel spikes and providing a rock-solid mounting point for a 1/2-inch knockout fan-rated pancake or standard-depth box.
Wire Gauge and Cable Routing Strategies
Planning the cable routing is where the distinction between a basic installation and a premium renovation becomes apparent. You must decide how the fan and light will be controlled before pulling wire.
Scenario A: Single Switch Control (Pull Chains)
If you plan to control both the fan motor and the light kit from a single wall switch (using the fan's pull chains or a basic remote receiver for speed/light adjustment), you only need a standard 2-wire cable with a ground.
- 15-Amp Circuit: 14/2 NM-B (Romex) cable.
- 20-Amp Circuit: 12/2 NM-B cable.
Cost factor: Southwire 14/2 NM-B costs roughly $0.35 per foot, while 12/2 NM-B is about $0.45 per foot.
Scenario B: Independent Dual Switch Control
For a premium renovation, running independent power to the fan motor and the light kit is highly recommended. This requires a 3-wire cable with a ground, allowing two separate wall switches (or a dual smart switch) to control the light and fan independently without relying on a remote control hub.
- 15-Amp Circuit: 14/3 NM-B (Black, Red, White, Bare Ground).
- 20-Amp Circuit: 12/3 NM-B.
In this configuration, the black wire carries switched hot for the light, the red wire carries switched hot for the fan motor, and the white wire serves as the shared neutral.
Smart Home Integration and Neutral Wire Requirements
The smart home landscape in 2026 heavily relies on hardwired smart switches rather than smart bulbs or remote-controlled fan receivers. If you plan to install a smart fan speed controller like the Lutron Caseta PD-FSQNX (approx. $65) or the Leviton Decora Smart ZW4SF, you must ensure a neutral wire is present at the wall switch box.
Older homes built before the 1980s often lack a neutral wire in the switch loop. During your renovation rough-in, you must pull a neutral conductor down to the switch box. Failing to do so will limit you to older, less reliable smart switches that leak current through the fan motor, which can cause LED light kits to flicker or ghost-glow when turned off.
Material and Cost Breakdown for a Standard Retrofit
Below is an estimated material cost breakdown for upgrading a single room's ceiling fixture to a dual-switch smart ceiling fan setup during a renovation. Prices reflect early 2026 averages at major electrical suppliers.
| Component | Specification / Model | Estimated Cost |
|---|---|---|
| Fan-Rated Ceiling Box & Brace | Raco 283 Brace + 288 Octagon Box | $28.00 |
| Wiring (Independent Control) | Southwire 14/3 NM-B (50 ft roll) | $24.50 |
| Wall Switch Box (2-Gang Upgrade) | Carlon B618R-UPC (Old Work 2-Gang) | $4.50 |
| Smart Fan Speed Controller | Lutron Caseta PD-FSQNX (with Pico remote) | $115.00 |
| Wire Connectors & Tape | Ideal 341 Wire-Nuts & 3M Super 33+ | $8.00 |
| Total Material Cost | Excludes the ceiling fan unit itself | $180.00 |
Step-by-Step Renovation Wiring Workflow
Execute the electrical rough-in following this precise sequence to avoid rework and ensure CPSC electrical safety standards are met.
- Power Verification & Demolition: Turn off the breaker and verify zero voltage with a non-contact tester and a multimeter. Remove the existing fixture and light box.
- Joist Bracing: Insert the expandable brace bar through the ceiling hole. Twist the bar until the steel spikes bite deeply into the center of the adjacent wooden joists. Ensure the brace is perfectly level.
- Box Mounting: Slide the fan-rated outlet box over the threaded shaft of the brace bar. Secure it using the provided locking nuts. The front edge of the box should sit exactly flush with or 1/16-inch recessed from the finished drywall surface.
- Cable Pulling: Route the 14/3 NM-B cable from the switch box to the ceiling box. Leave at least 8 inches of slack extending past the front edge of the ceiling box.
- Jacket Stripping: Strip the outer NM-B jacket back to exactly 1/4 inch inside the box using a cable ripper (Romex splitter). Do not score the inner wire insulation.
- Termination Preparation: Strip 3/4 inch of insulation from the individual conductors. Form a J-hook on the solid copper ends for mechanical connection to screw terminals, or leave them straight for push-in/back-wire connectors.
Ceiling Canopy Wiring Specifics
When hanging the fan, the canopy wiring can become cramped. To prevent wire damage and ensure the canopy sits flush against the ceiling:
- Use lever-nuts (e.g., Wago 221-413) instead of traditional twist-on wire nuts inside the ceiling canopy. Lever-nuts take up 30% less vertical space and provide a more secure, vibration-resistant connection.
- Connect the fan's blue wire (light kit hot) to the red wire of your 14/3 NM-B cable.
- Connect the fan's black wire (motor hot) to the black wire of your 14/3 NM-B cable.
- Pigtail all bare copper ground wires together with a green wire nut, and bond them to the green grounding screw inside the metal ceiling box.
Final Inspection and Airflow Testing
Before installing the decorative fan blades, power on the circuit and test both the light and motor independently from the wall switches. Once verified, attach the blades. According to ENERGY STAR guidelines, the fan blades should be mounted at least 7 feet above the floor for safety, and 8 to 9 feet is optimal for airflow efficiency. Use a torque screwdriver (set to the manufacturer's specification, typically 12-15 in-lbs for terminal screws) to ensure all electrical connections are tight, preventing arcing and heat buildup over years of continuous vibration.
By front-loading the planning of your fan electrical wiring, you eliminate the most common renovation bottlenecks, ensuring your new ceiling fan is structurally sound, code-compliant, and ready for modern smart-home control.