
The #1 DIY Mistake: Plumbing PVC vs. Electrical Conduit
When homeowners tackle a basement remodel or run power to a detached garage, the local hardware store is usually the first stop. This leads to the most common and dangerous mistake in residential wiring: using plumbing PVC for electrical runs. While they look nearly identical, pvc pipe for electrical wiring and plumbing PVC are manufactured to entirely different chemical and safety standards.
Critical Warning: Plumbing PVC (marked NSF-pw) lacks UV inhibitors and flame retardants. If used outdoors, it will become brittle and shatter within a single season of sun exposure. If a wire faults inside plumbing PVC, the pipe can sustain combustion. Electrical PVC conduit (marked UL 651 or NEMA TC-2) is self-extinguishing and UV-stabilized. Never substitute plumbing pipe for electrical conduit.
According to the National Fire Protection Association (NFPA), National Electrical Code (NEC) Article 352 strictly governs the use of Rigid Polyvinyl Chloride Conduit (Type PVC). Inspectors will immediately fail any rough-in that utilizes non-UL-listed plumbing pipe for wire protection.
Schedule 40 vs. Schedule 80: Selecting the Right Wall Thickness
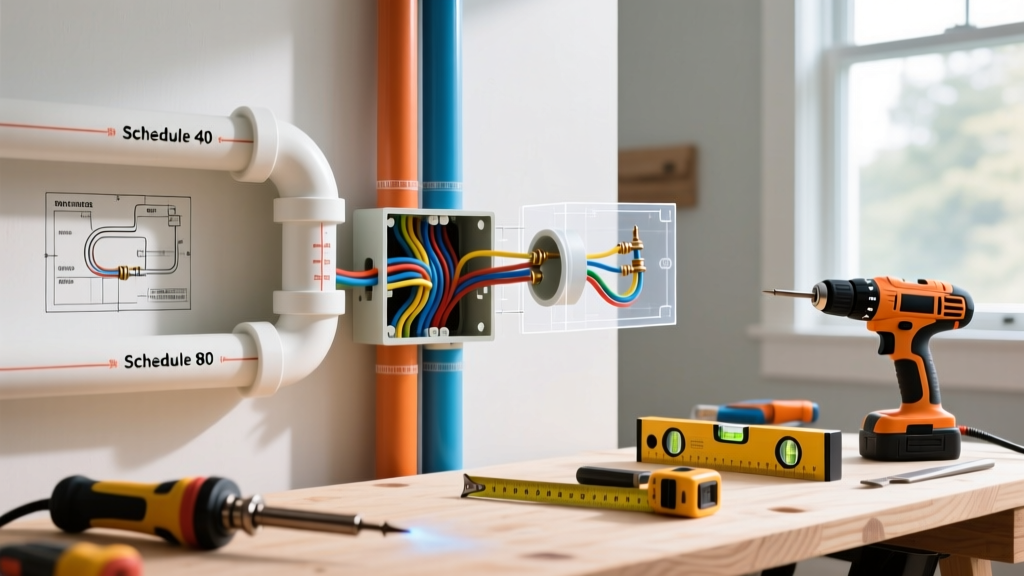
Electrical PVC conduit is primarily available in two wall thicknesses: Schedule 40 and Schedule 80. Choosing the correct schedule depends on the physical environment of your home project.
| Feature | Schedule 40 PVC (Gray) | Schedule 80 PVC (Dark Gray) |
|---|---|---|
| Wall Thickness (1/2 inch) | 0.109 inches | 0.147 inches |
| Impact Resistance | Standard (Indoor/Underground) | High (Exposed/Physical Damage) |
| Internal Diameter (1/2 inch) | 0.602 inches | 0.526 inches |
| Avg. Cost per 10ft Stick (2026) | $3.80 - $4.50 | $8.50 - $10.50 |
| Best Home Application | Underground direct burial, interior walls | Exterior walls under 8ft, garage surfaces |
Pro Tip: Because Schedule 80 has a thicker wall, its internal diameter is smaller. This drastically reduces your conduit fill capacity. If you are pulling multiple circuits, you may need to upsize to 3/4-inch Schedule 80 to match the fill capacity of 1/2-inch Schedule 40.
NEC Article 352: Code Requirements You Cannot Ignore
To ensure your home project passes inspection, you must adhere to the installation parameters outlined in NEC Article 352. Here are the most frequently violated rules by DIYers:
- Support Spacing (NEC 352.30): PVC conduit must be securely fastened within 3 feet of every outlet box, junction box, or splice box. For 1/2-inch through 1-inch conduit, you must add a strap or hanger every 3 feet along the run. (Note: This is much tighter than the 4.5-foot spacing allowed for EMT metal conduit).
- Expansion Joints (NEC 352.44): PVC expands and contracts significantly with temperature changes. If your outdoor run will experience a temperature variance of more than 25°F, or if the run exceeds 25 feet in direct sunlight, you must install a PVC expansion coupling. PVC expands at a rate of roughly 3.38 inches per 100 feet for every 100°F temperature change.
- Temperature Limits (NEC 352.20): Standard PVC conduit is rated for continuous use up to 50°C (122°F). If you are routing conduit near a furnace flue, water heater exhaust, or inside a hot attic space that exceeds this ambient temperature, you must switch to Rigid Metal Conduit (RMC) or CPVC.
Step-by-Step Installation: From Cut to Pull
Step 1: Calculating Conduit Fill (The 40% Rule)
NEC Chapter 9, Table 1 dictates that when pulling three or more conductors through a conduit, the wires cannot occupy more than 40% of the conduit's internal cross-sectional area. Overfilling causes friction, which can strip wire insulation during the pull and create a massive heat buildup under load.
| Conduit Size & Type | Total Internal Area | 40% Fill Limit | Max 12 AWG THHN Wires |
|---|---|---|---|
| 1/2' Schedule 40 PVC | 0.285 sq in | 0.114 sq in | 6 wires |
| 3/4' Schedule 40 PVC | 0.508 sq in | 0.203 sq in | 10 wires |
| 1' Schedule 40 PVC | 0.832 sq in | 0.333 sq in | 16 wires |
Step 2: Cutting and Deburring
Cut the PVC using a ratcheting PVC cutter for a perfectly square edge, or a fine-tooth hacksaw. If using a hacksaw, you must use a deburring tool or a chamfer bit to remove the inner and outer plastic burrs. Leaving an inner burr acts like a cheese grater on your THHN wire insulation when you pull the wires through, exposing bare copper and creating an immediate short-circuit hazard.
Step 3: Bending Without Kinking
Unlike EMT, you cannot use a mechanical bender on PVC. You must use heat.
- Insert a steel bending spring into the conduit to prevent the walls from collapsing inward.
- Use a heat gun (like the Wagner HT1000) set to roughly 250°F - 300°F. Keep the gun moving continuously to avoid scorching the plastic.
- Once the PVC becomes pliable (usually after 45-60 seconds of even heating), bend it slowly over your knee or a form to the desired angle.
- Hold the bend in place and wipe it with a damp rag to rapidly cool and set the plastic.
Step 4: Solvent Welding (Gluing) the Joints
For electrical PVC, you do not always need the purple primer required for plumbing, depending on your local jurisdiction. Products like Oatey Clear PVC Cement are UL-listed for electrical conduit and can be applied directly to clean, dry pipe. However, many local inspectors still mandate the use of purple primer (like Oatey No. 31310) simply because it provides a visual indicator that the joint was properly prepared. Always apply a thin, even coat to the pipe and a medium coat to the fitting, push together, and give it a quarter-turn to distribute the cement. Hold for 15 seconds to prevent push-out.
Real-World Failure Modes and Troubleshooting
Even experienced DIYers run into issues when working with pvc pipe for electrical wiring. Here is how to troubleshoot the most common failure modes:
- Fish Tape Getting Stuck: This is almost always caused by 'glue dams.' If you apply too much PVC cement to the outside of the pipe before inserting it into the fitting, the excess glue squeezes inward, creating a hard plastic ridge inside the conduit. Always apply glue sparingly near the end of the pipe.
- Conduit Buckling in Summer Sun: If an exterior run looks wavy or buckled in July, you failed to install expansion couplings. You will need to cut out a section of the run and retrofit a PVC expansion joint, securing the conduit tightly on one side of the joint and allowing it to slide on the other.
- Condensation Inside Underground Runs: When PVC is direct-buried and transitions into a climate-controlled home, temperature differentials cause the pipe to 'breathe,' pulling in moist air that condenses inside the conduit. To prevent water from entering your breaker panel, use a sealing fitting (like a Hubbell Killark) packed with duct seal compound at the point where the conduit enters the building.
Frequently Asked Questions
Can I paint electrical PVC conduit to match my house?
Yes, but you must use a paint specifically formulated for plastics, such as Krylon Fusion for Plastic or Rust-Oleum Paint for Plastic. Standard latex or oil-based paints will peel off the smooth PVC surface within months. Do not sand the PVC before painting, as this compromises the UV-resistant outer layer.
Is PVC conduit allowed inside residential walls?
Yes, NEC Article 352 permits PVC conduit inside walls, but it must be protected by at least 1.5 inches of concrete or be routed behind drywall where it is not subject to physical damage. For exposed interior surfaces (like a finished basement ceiling), Schedule 40 is acceptable, but many local codes prefer EMT metal conduit for exposed indoor runs due to its superior physical impact resistance.
How deep do I need to bury PVC conduit for a garage subpanel?
According to NEC Table 300.5, rigid PVC conduit supplying a residential branch circuit or feeder must be buried at a minimum depth of 18 inches. If you are running the conduit under a concrete driveway or patio, the burial depth requirement is reduced to 12 inches, provided the PVC is Schedule 80 or protected by at least 2 inches of concrete.