
The PVC Conduit Debate: Is DIY Worth the Risk?
When planning an underground service run, a detached garage subpanel, or exposed commercial wiring, pvc conduit for electrical wiring is the undisputed industry standard. It is lightweight, corrosion-resistant, and significantly cheaper than EMT (Electrical Metallic Tubing) or rigid steel. However, the apparent simplicity of cutting and gluing plastic has led to a surge in DIY installations that frequently fail local electrical inspections or, worse, create latent fire and shock hazards.
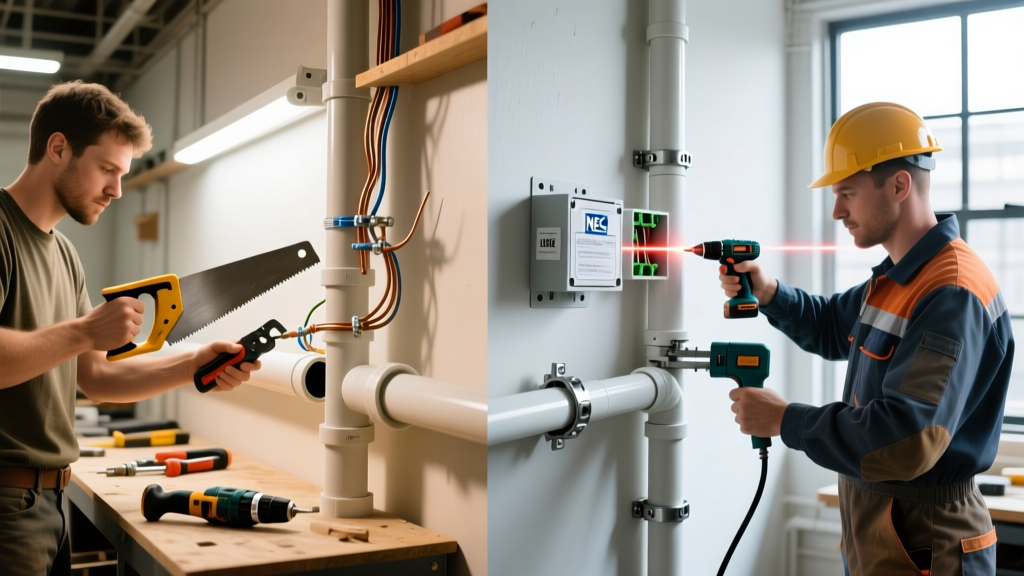
This analysis breaks down the technical, financial, and code-compliance realities of installing PVC conduit yourself versus hiring a licensed electrical contractor. By examining material specifications, National Electrical Code (NEC) mandates, and real-world failure modes, you can make an informed decision for your 2026 wiring project.
The Material Reality: Electrical PVC vs. Plumbing PVC
The most catastrophic mistake DIYers make is purchasing white plumbing PVC from the plumbing aisle to save a few cents. U.S. Consumer Product Safety Commission (CPSC) guidelines and NEC Article 352 strictly require conduit to be listed for electrical use.
- Electrical PVC (Gray): Manufactured to UL 651 standards. It contains specific UV inhibitors (if rated for sunlight) and fire-retardant additives. It is designed to not propagate flames and to self-extinguish.
- Plumbing PVC (White): Rated for pressure (NSF-pw). It lacks UV stabilizers, becomes brittle in sunlight within a single season, and is not legally permitted for electrical wire protection.
Furthermore, professionals distinguish between Schedule 40 (standard wall thickness, typically gray) and Schedule 80 (extra-thick wall, typically dark gray). Schedule 80 is mandated by the NEC in areas subject to severe physical damage, such as below-grade transitions or low-level wall exposures in commercial garages. As of early 2026, a 10-foot stick of 3/4-inch Schedule 40 electrical PVC averages $4.35, while Schedule 80 costs roughly $8.10 per stick.
The DIY Route: Costs, Execution, and Hidden Failure Modes
Taking the DIY approach to PVC conduit installation offers undeniable upfront labor savings, but it requires a meticulous understanding of solvent welding and thermal dynamics.
Required Tooling and Material Costs
A basic DIY setup for a 100-foot run of 3/4-inch PVC requires specific tools to ensure clean cuts and proper seating:
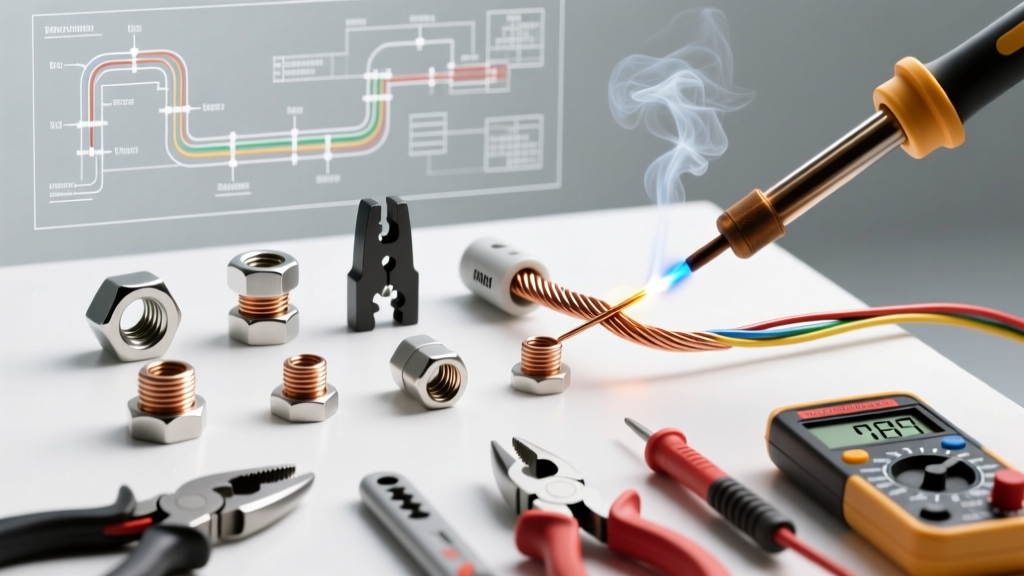
- Milwaukee PVC Ratcheting Shears ($48.00): Essential for square cuts. Hacksaws leave internal burrs that strip THHN wire insulation during pulls.
- Oatey Medium Clear PVC Cement & Purple Primer ($18.50 combined): Primer is legally required in most jurisdictions to soften the PVC before the solvent weld.
- Strap Hangers and Masonry Anchors ($25.00): For securing the run.
Common DIY Failure Modes
- The "Dry Fit" Trap: DIYers often dry-fit entire runs without marking alignment lines. Once primer and cement are applied, you have roughly 15 seconds to align the fitting before the joint locks. Unmarked joints result in crooked, unprofessional-looking runs that inspectors may reject.
- Over-Gluing: Applying too much cement inside the coupling causes a "bead" of hardened solvent to push into the conduit interior. When pulling wire, this hardened ridge acts as a cheese grater, stripping the insulation off your THWN-2 conductors and creating a dead short.
- Ignoring Thermal Expansion: PVC expands and contracts significantly with temperature changes. A 100-foot run of PVC can change length by over 4 inches across a 100°F temperature swing. Failing to install PVC expansion fittings (which cost ~$35 each) results in buckled runs or fittings tearing out of junction boxes during winter.
The Professional Advantage: Efficiency and Code Mastery
Licensed electricians do not just glue pipes together; they engineer the raceway system for optimal wire pulling and long-term structural integrity. According to the National Fire Protection Association (NFPA), adherence to NEC Article 352 is non-negotiable for safe conduit installation.
Heat Bending vs. Fitting Overload
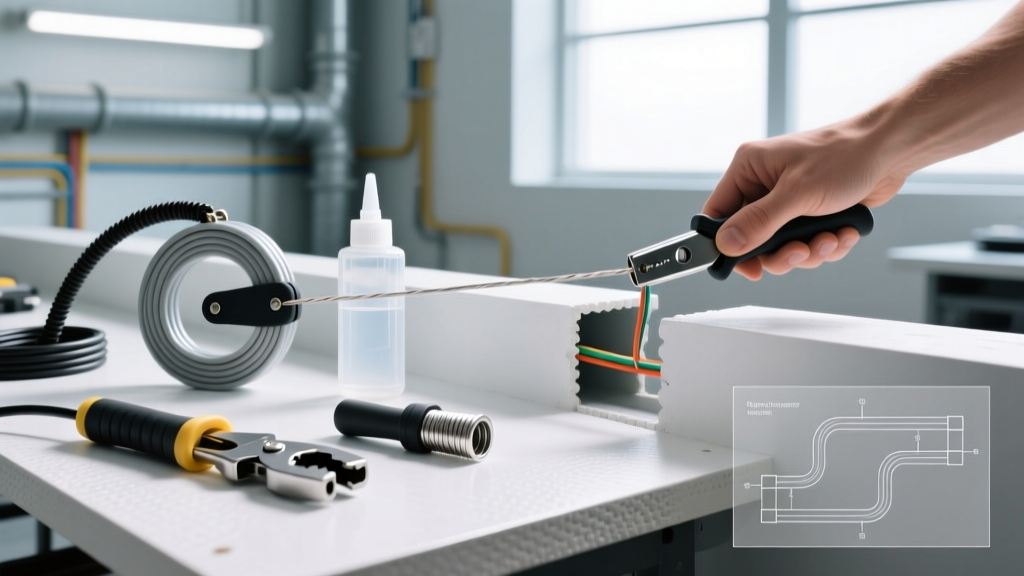
Every time you add a sweep elbow or a coupling, you increase the friction for the wire pull. The NEC limits conduit runs to a maximum of 360 degrees of bends between pull points. While a DIYer might use four $6.00 sweep elbows to navigate a corner and a vertical rise, a professional will use a hot box or heating blanket to bend a single continuous piece of PVC. This creates a sweeping, custom-radius bend that drastically reduces pulling tension and eliminates the cost of multiple fittings.
Mastery of NEC Support Spacing
Inspectors frequently fail DIY jobs due to improper support spacing. Professionals know NEC Table 352.30 by heart, ensuring the conduit is secured exactly to code without wasting expensive hangers.
| Conduit Size (Inches) | Maximum Spacing Between Supports | Required Support Within X Feet of Box |
|---|---|---|
| 1/2" – 3/4" | 3 Feet | 3 Feet |
| 1" – 1 1/2" | 5 Feet | 3 Feet |
| 2" – 2 1/2" | 6 Feet | 3 Feet |
| 3" – 6" | 7 Feet | 3 Feet |
Financial and Timeline Comparison: 100-Foot Subpanel Run
To provide a realistic perspective, here is a cost and time matrix for a standard 100-foot underground and exposed run of 3/4-inch Schedule 40 PVC feeding a 60-amp detached garage subpanel, based on 2026 national averages.
| Metric | DIY Installation | Professional Electrician |
|---|---|---|
| Material Cost | $280 - $350 | $250 - $300 (Contractor pricing) |
| Labor Cost | $0 (Your time) | $900 - $1,400 |
| Total Estimated Cost | $280 - $350 | $1,150 - $1,700 |
| Time to Complete | 12 - 18 Hours (Over weekends) | 4 - 6 Hours (One day) |
| Inspection Pass Rate | ~45% (First attempt) | ~98% (First attempt) |
| Wire Pull Difficulty | High (Due to fitting overuse) | Low (Custom heat-bent sweeps) |
Decision Framework: When to DIY and When to Hire
The choice between DIY and professional installation should not be based solely on budget. It must be based on the complexity of the physical environment and your tolerance for code-compliance risks.
When DIY is Justifiable
You can successfully install PVC conduit for electrical wiring yourself if your project meets the following criteria:
- Straight Trench Runs: Long, straight underground runs with minimal directional changes.
- Simple Exposed Walls: Running conduit along flat, unobstructed block or stud walls where standard 90-degree fittings are sufficient.
- Willingness to Study: You have read NEC Article 352, understand how to calculate PVC fill capacity (NEC Chapter 9, Table 1), and know how to properly deburr and solvent-weld joints.
When to Hire a Professional
The Occupational Safety and Health Administration (OSHA) and local building departments strongly advise professional intervention for complex scenarios. Hire a licensed electrician if:
- Complex Obstacle Navigation: The run requires navigating around HVAC ductwork, plumbing stacks, or tight joist bays requiring custom offset bends.
- Concrete Encasement: Runs that will be poured into concrete slabs require precise securing and specific concrete-tight fittings to prevent collapse or water ingress during the pour.
- Main Service Entries: Any PVC conduit connecting directly to the utility meter or main service disconnect involves extreme arc-flash risks and strict utility company specifications that DIYers are not legally permitted to handle.
Final Verdict
Installing PVC conduit for electrical wiring is highly accessible for the disciplined DIYer who respects the chemical and physical properties of the material. However, the margin for error is razor-thin. A single over-glued joint can ruin hundreds of dollars of copper wire during a pull, and a missed expansion fitting can tear a conduit body off a junction box in the dead of winter. If your run involves complex geometry, strict inspection timelines, or high-amperage service entries, the professional premium pays for engineered efficiency and guaranteed code compliance.