
The Legal Boundary: Electrical Wiring Repair vs. Alteration
When a cable is damaged by a stray drywall screw or rodent activity, the immediate instinct is to patch it. However, the National Electrical Code (NEC) draws a strict legal and safety boundary between a simple 'repair' and an 'alteration.' Understanding this distinction is the foundation of any code-compliant electrical wiring repair.
According to the National Fire Protection Association (NFPA 70), a repair is defined as restoring the electrical system to a safe, functional condition without changing its fundamental design or capacity. Replacing a damaged 15-foot segment of 12/2 NM-B (Romex) cable with an identical 12/2 NM-B cable is a repair. Conversely, adding a new receptacle, upgrading wire gauge, or changing the routing to accommodate a new appliance is an alteration.
Why does this matter? Because under the 2023 NEC (which continues to govern local adoptions through 2026), alterations often trigger mandatory system-wide upgrades—such as AFCI or GFCI protection—whereas pure repairs generally do not. Misclassifying your work can result in failed inspections, voided insurance claims, and severe fire hazards.
NEC-Compliant Splicing: How to Repair Damaged Conductors
The most common element of an electrical wiring repair is splicing. NEC Article 300.5(E) and 300.15 mandate that all conductor splices must be made inside an approved junction box, and that box must remain accessible (not buried behind drywall or plaster). However, there are specific, listed exceptions for non-metallic (NM) sheathed cables.
Splicing Method Comparison Matrix
Choosing the right connector is critical for long-term thermal stability and preventing arc faults. Below is a comparison of standard splicing methods used in residential repairs.
| Splicing Method | Specific Product Example | Cost (Approx.) | NEC Accessibility Rule | Pros & Cons |
|---|---|---|---|---|
| Wire Nuts (Twist-On) | Ideal 33 Yellow | $0.15 / ea | Must be in accessible box | Proven track record; requires proper pre-twisting and torque. |
| Lever-Nuts | Wago 221-413 (3-port) | $0.45 / ea | Must be in accessible box | Tool-free, accepts 12-24 AWG solid/stranded; bulkier profile. |
| Push-In Connectors | Ideal In-Sure 3-Port | $0.25 / ea | Must be in accessible box | Fast installation; strictly for solid copper wire only. |
| Concealed Splice Kit | TE Connectivity Tyco NM Splice | $12.00 / ea | Listed for concealed (behind drywall) | Solves inaccessible repair issues; expensive, single-use. |
Code Insight: NEC 300.14 requires that at least 6 inches (150 mm) of free conductor be left at every outlet and switch box for splicing. If your repair leaves you with 4 inches of wire, you must use a listed extension device or replace the entire run back to the previous accessible box.
The AFCI/GFCI Trap: When a Repair Triggers an Upgrade
The most frequent point of failure for DIYers and general contractors during an electrical wiring repair is inadvertently triggering an Arc-Fault Circuit Interrupter (AFCI) upgrade mandate. Under NEC 210.12, if you are performing an alteration or extending a branch circuit in a dwelling unit, the entire circuit must typically be upgraded to Combination-Type AFCI protection.
But what if you are just repairing a damaged cable? If you are simply cutting out a damaged section of 14/2 NM cable and splicing in a new 6-foot segment using a concealed splice kit (a pure repair), most Authorities Having Jurisdiction (AHJs) will not require an AFCI breaker upgrade. However, if your repair involves replacing the circuit breaker itself, or if you are upgrading a standard receptacle to a GFCI receptacle in a wet location (NEC 210.8), the AHJ may require the branch circuit to be brought up to current 2026 code standards.
Cost Reality Check: Upgrading a standard 15A Eaton BR breaker ($6.50) to a 15A Combination AFCI/GFCI Dual Function breaker (Eaton BRPDF115) costs approximately $52.00 per circuit. If a panel replacement is required because the legacy panel (e.g., Federal Pacific or Zinsco) cannot accept modern AFCI breakers, expect panel replacement costs to range from $1,800 to $3,200.For deeper insights into arc fault prevention, the Electrical Safety Foundation International (ESFI) provides extensive data on how combination AFCIs mitigate series and parallel arcing conditions that standard thermal breakers miss.
Legacy Wiring: Knob-and-Tube and Aluminum Repair Limitations
Repairing legacy wiring introduces severe code restrictions. Knob-and-Tube (K&T) wiring, governed by NEC Article 394, is strictly limited to maintenance. You cannot extend K&T wiring, nor can you use it to add new loads. If a K&T conductor is damaged, the code-compliant electrical wiring repair involves abandoning the damaged run entirely and pulling a new modern NM-B or MC cable back to the nearest accessible junction box.
Aluminum Branch Circuit Pigtailing
For homes built between 1965 and 1973 utilizing AA-1350 aluminum branch wiring, standard copper-to-aluminum splices using wire nuts are a severe fire hazard due to galvanic corrosion and differing thermal expansion rates. The Consumer Product Safety Commission (CPSC) recognizes only two permanent repair methods for aluminum wiring:
- COPALUM Crimping: A proprietary tool and connector system that cold-welds copper to aluminum. This must be performed by a specially certified contractor and costs roughly $35 to $50 per receptacle.
- AlumiConn Lugs: A miniature aluminum lug connector with independent set-screws for copper and aluminum. Priced around $3.50 per connector, this is the most viable DIY-accessible (though AHJ approval varies) repair method. It requires strict torque application using a calibrated inch-pound screwdriver to meet NEC 110.14(D) standards.
Step-by-Step: Executing a Code-Compliant Concealed NM Cable Repair
When a drywall installer accidentally nicks a 12/2 NM-B cable behind a wall, cutting a massive hole to install a standard junction box is often undesirable. Here is the exact procedure for using a listed concealed splice kit (e.g., TE Connectivity / Tyco NM Splice Kit) to perform a legal, hidden electrical wiring repair.
- De-energize and Verify: Turn off the breaker and verify zero voltage using a CAT III rated non-contact voltage tester and a digital multimeter.
- Excavate the Damage: Cut away the drywall to expose at least 12 inches of cable on both sides of the damage.
- Excise and Strip: Cut out the damaged cable segment. Using a precision wire stripper, remove exactly 11/16 inch of insulation from the black, white, and ground wires. Do not nick the copper.
- Prepare the Splice Kit: Open the listed splice enclosure. Insert the ground wires into the ground bus bar and tighten to the manufacturer's specified torque.
- Terminate Conductors: Insert the stripped black and white wires into the respective insulated crimp barrels. Use the provided ratcheting crimp tool to secure the connections. The ratchet will not release until the exact compression force is achieved.
- Secure and Close: Snap the enclosure lid shut. Use the provided cable ties to secure the NM jacket to the strain-relief tabs on the enclosure. This ensures the splice cannot be pulled apart inside the wall cavity.
- Document the Repair: While the splice kit is listed for concealed use, best practice dictates leaving a small, discreet access panel or noting the exact location on the as-built electrical plan for future remodelers.
Common Code Violations to Avoid During Repairs
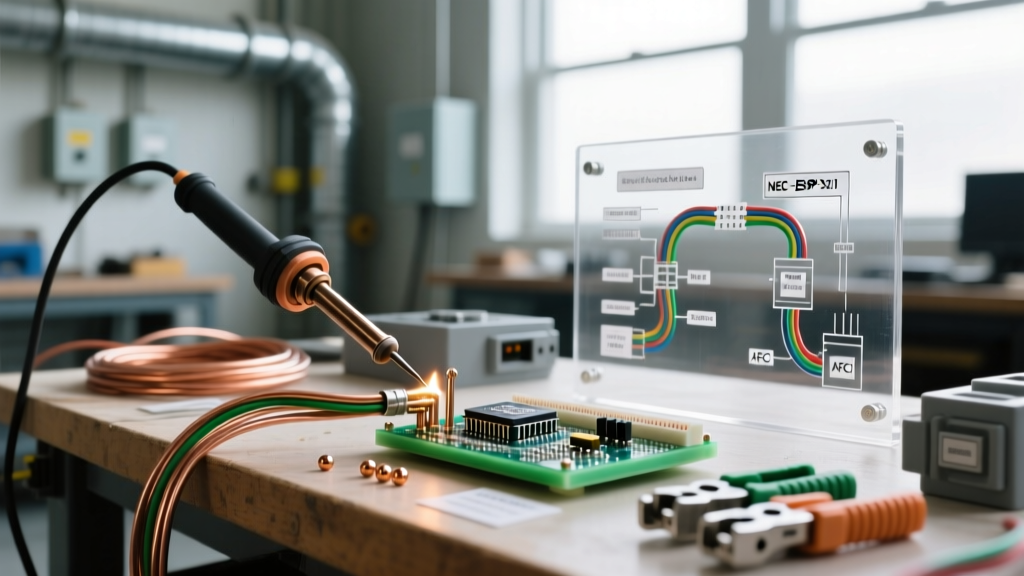
- The 'French Splice' (Solder and Tape): Soldering wires and wrapping them in electrical tape is a relic of the past. NEC 110.14(B) requires splicing devices to be specifically listed for the purpose. Tape alone is not an approved insulator for splices.
- Overfilling Junction Boxes: When adding repair pigtails, you must recalculate the box fill volume per NEC 314.16. A standard single-gang plastic box (18 cubic inches) can easily become overfilled if you add three Wago lever-nuts and extra grounding pigtails, leading to heat buildup and crushed conductors.
- Mixing Grounding Systems: When repairing a circuit in an older home with ungrounded (2-prong) receptacles, you cannot simply swap in a 3-prong receptacle without providing a valid equipment grounding conductor (EGC) or utilizing a GFCI receptacle with the 'No Equipment Ground' label, as permitted by NEC 406.4(D)(2).
Final Thoughts on Code Compliance
A successful electrical wiring repair is not just about restoring continuity; it is about maintaining the thermal and fault-clearing integrity of the entire branch circuit. By adhering strictly to NEC splicing rules, understanding the financial and technical triggers of AFCI upgrades, and utilizing listed concealed repair kits, you ensure the safety and legality of the electrical system for decades to come.