
Introduction to Garbage Disposal Electrical Wiring
Upgrading your kitchen sink often involves replacing a builder-grade 1/3 HP disposal with a premium, high-torque model like the InSinkErator Evolution Excel (1 HP) or the Waste King L-8000 (1 HP). While the plumbing connections are straightforward, the garbage disposal electrical wiring requires careful attention to load calculations, circuit sizing, and National Electrical Code (NEC) compliance. As of 2026, modern kitchens feature more dedicated appliance circuits than ever before, and treating a disposal as a simple plug-and-play accessory is a leading cause of tripped breakers and electrical fires.
This comprehensive home project guide breaks down the exact electrical requirements for hardwiring or wiring a cord-and-plug disposal, ensuring your installation is safe, code-compliant, and built to last. Whether you are running a new 14/2 NM-B cable from your main panel or tapping into an existing small-appliance branch circuit, understanding the nuances of motor loads is critical.
NEC Code Requirements for Kitchen Disposals
The National Fire Protection Association (NFPA) outlines specific rules for motor-driven appliances in the NFPA 70 National Electrical Code (NEC). A garbage disposal is classified as a continuous or non-continuous motor load depending on its usage cycle, which dictates how overcurrent protection must be sized.
NEC Code Alert (2023/2026 Editions): Under NEC Section 210.8(D), GFCI protection is mandatory for all 125V to 250V receptacles located within 6 feet of the top inside edge of the sink bowl. However, if your disposal is hardwired directly into a junction box or the disposal chassis, GFCI protection is not explicitly mandated by the base NEC, though local inspectors (AHJs) may still require it. If you use an appliance cord and plug, the under-sink receptacle must be GFCI-protected.
Circuit Sizing: 15-Amp vs. 20-Amp Breakers
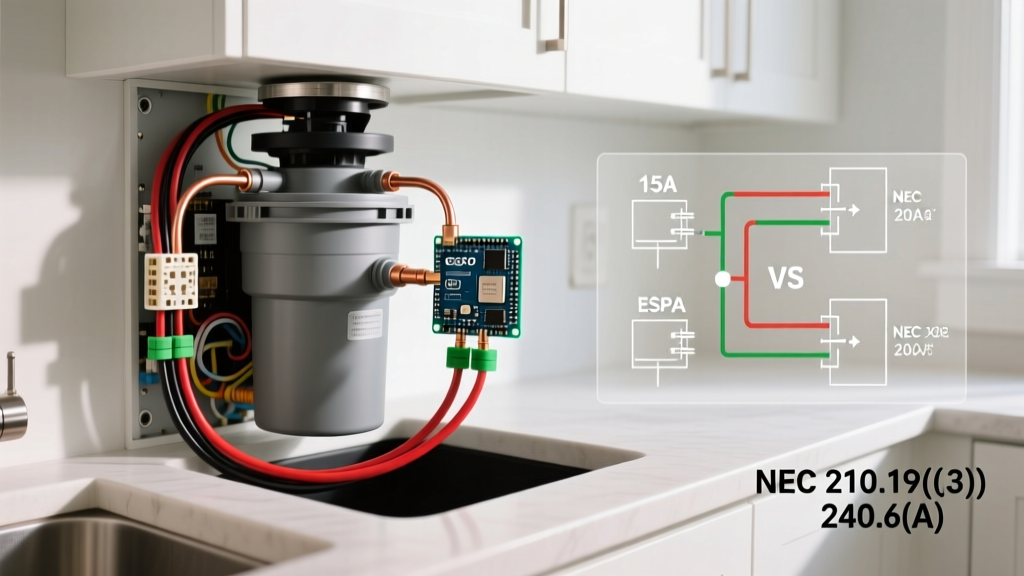
Most standard household garbage disposals range from 1/3 HP to 1 HP. According to NEC Article 430.52, the branch-circuit short-circuit and ground-fault protective device (the breaker) must be capable of carrying the starting current of the motor. Fortunately, modern disposals have low inrush currents compared to older models. A dedicated 15-amp circuit is sufficient for almost all residential disposals up to 1 HP. For premium 1.25 HP models, or if the disposal shares a circuit with a dishwasher, a 20-amp circuit is required.
| Disposal Horsepower | Max Amp Draw | Min. Circuit Size | Wire Gauge (NM-B) | Breaker Type |
|---|---|---|---|---|
| 1/3 HP to 1/2 HP | 4.0A - 6.0A | 15 Amp | 14 AWG (14/2) | 15A Standard |
| 3/4 HP to 1 HP | 7.0A - 9.5A | 15 Amp or 20 Amp | 14 AWG or 12 AWG | 15A or 20A |
| 1.25 HP (Premium) | 10.0A - 12.5A | 20 Amp Dedicated | 12 AWG (12/2) | 20A Standard |
Hardwired vs. Appliance Cord Connections
When planning your garbage disposal electrical wiring, you must choose between a hardwired connection and a cord-and-plug setup. Both are legal, but they serve different practical needs.
- Hardwired Connection: The NM-B (Romex) cable runs directly from the wall switch or junction box into the disposal's electrical compartment. Pros: Eliminates the failure point of a plug, keeps the under-sink area free of dangling cords, and avoids the cost of a GFCI receptacle. Cons: Replacing the disposal requires opening the electrical compartment and re-terminating wires.
- Cord-and-Plug Connection: A 3-prong appliance cord is wired to the disposal, which plugs into an under-sink outlet. Pros: Makes disposal replacement a 5-minute job. Cons: Requires a GFCI receptacle (adding $15-$25 to material costs), takes up physical space under the sink, and cords can degrade if exposed to under-sink moisture.
Step-by-Step Garbage Disposal Electrical Wiring Installation
Follow these precise steps for a safe, code-compliant hardwired installation. Material costs for this project typically range from $35 to $60, assuming you are running a new 50-foot circuit from the panel (14/2 NM-B wire averages $0.45 per foot in 2026).
Step 1: Power Verification and Cable Routing
Turn off the main breaker or the specific branch circuit breaker. Verify the power is dead using a CAT IV non-contact voltage tester or a digital multimeter (like the Klein Tools MM400). Route your 14/2 or 12/2 NM-B cable from the switch box to the under-sink junction box. NEC 334.30 requires the cable to be secured within 8 inches of the electrical box using a proper staple or strap.
Step 2: Wiring the Wall Switch
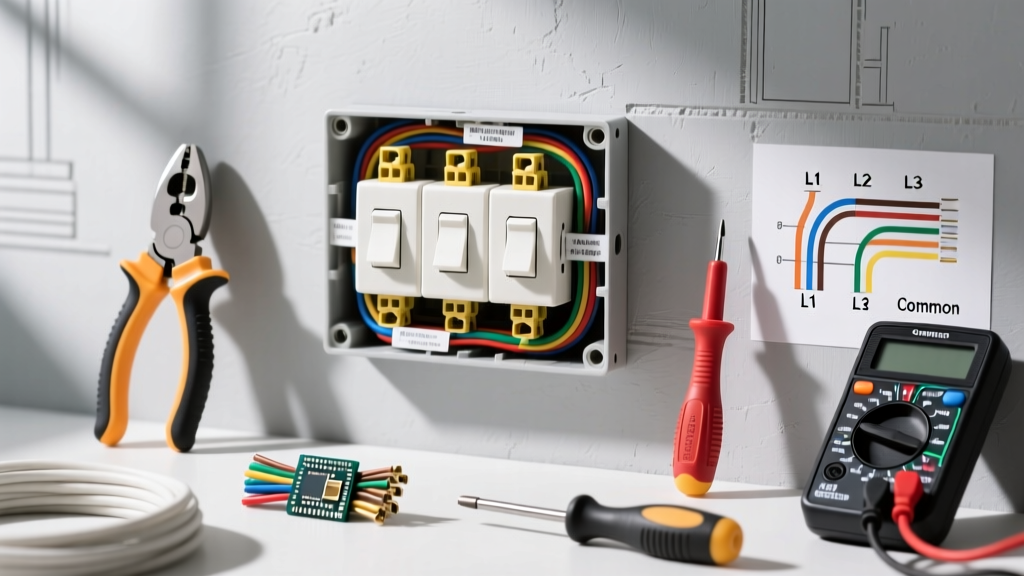
Install a 15-amp single-pole switch (such as the Leviton Decora 15A). Strip 3/4 inch of insulation from the black and white wires. Connect the bare copper ground wire to the green grounding screw on the switch and the metal box (if applicable). The black (hot) wire from the panel connects to one brass terminal, and the black (load) wire heading to the disposal connects to the other. The white neutral wires are spliced together in the back of the box using Wago 221 lever nuts or Ideal 341 Blue wire nuts.
Step 3: Termination at the Disposal Chassis
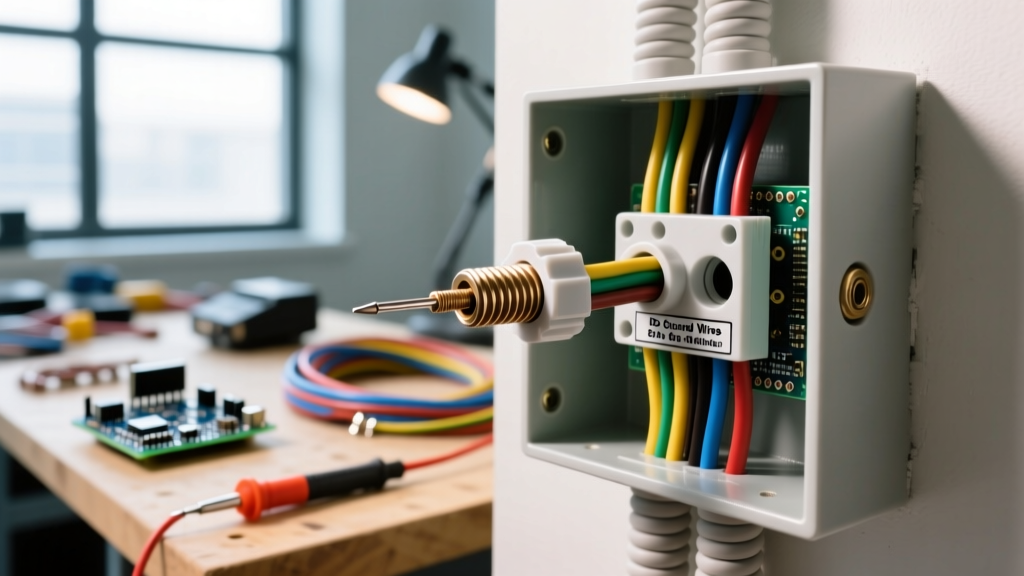
Remove the electrical cover plate on the bottom of the disposal. Install a 1/2-inch metal or plastic strain relief cable connector into the knockout hole. Feed the NM-B cable through the connector and tighten it securely—this prevents the wires from being pulled out if the disposal vibrates. Strip the wires and connect black to black, white to white, and ground to the green chassis screw. Tuck the wires neatly into the compartment and replace the cover plate.
Common Wiring Mistakes and Troubleshooting
Even experienced DIYers encounter issues when wiring motor-driven appliances. Review these common failure modes before closing up your walls.
- Shared Neutral Overload: If you wire the disposal and the dishwasher on a single 15-amp circuit with a shared neutral (multi-wire branch circuit), ensure they are on opposite legs of the panel. If placed on the same leg, the neutral wire will carry the combined amperage, overheating the 14 AWG wire and creating a severe fire hazard.
- Immediate Breaker Tripping: If the 15A breaker trips the millisecond you flip the switch, do not simply reset it. This usually indicates a jammed impeller plate or a shorted motor winding. Insert the included hex wrench into the bottom center of the disposal and manually rotate the motor shaft to clear the jam before resetting the breaker.
- Humming Without Rotation: If the disposal hums but doesn't spin, the internal start capacitor may have failed, or the flywheel is bound. Press the red thermal overload reset button on the bottom of the unit. If it fails to reset, the motor is burned out and the unit must be replaced.
- Unbonded Grounding: Failing to connect the bare copper ground wire to the disposal chassis leaves the metal sink basin energized in the event of an internal short. Always verify ground continuity with a multimeter.
When to Call a Licensed Electrician
While running a new cable and terminating a switch is well within the capabilities of an advanced DIYer, you should hire a licensed electrician if your main electrical panel lacks space for a new breaker, if you need to upgrade from a 100-amp to a 200-amp service, or if your home features outdated knob-and-tube or ungrounded aluminum wiring. For more information on general household electrical hazards and safety protocols, refer to the Consumer Product Safety Commission (CPSC) electrical safety guidelines.
Proper garbage disposal electrical wiring ensures your kitchen operates efficiently and safely for decades. By respecting NEC motor load requirements, selecting the correct wire gauge, and executing clean terminations, you eliminate the risk of electrical fires and nuisance tripping, protecting both your home and your plumbing investment.