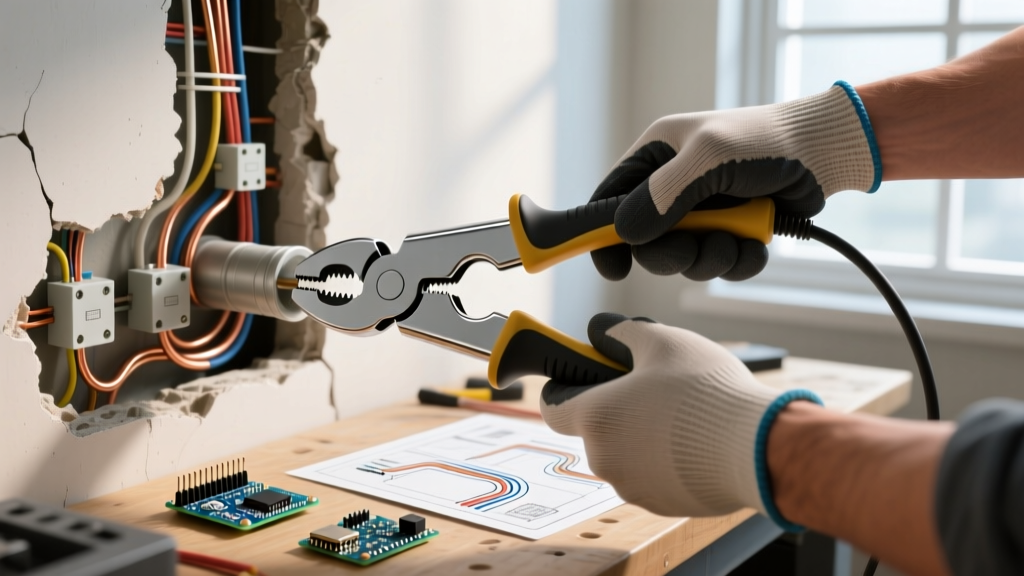

The Reality of Renovation Wiring: Why Your Pulling Strategy Matters
When planning a home renovation or commercial retrofit, electrical wiring presents a unique set of challenges that new construction simply does not. You are no longer working with open, accessible stud bays. Instead, you are navigating finished drywall, blown-in cellulose insulation, unpredictable fireblocks, and decades-old framing anomalies. In these constrained environments, selecting the correct electrical wire puller tool is not just a matter of convenience—it is a critical factor in preventing insulation damage, avoiding drywall blowouts, and ensuring the long-term safety of the circuit.
A damaged wire jacket caused by excessive pulling tension or friction against jagged wood can lead to ground faults or arc flashes years down the line. According to the National Fire Protection Association (NFPA) NEC guidelines, maintaining the integrity of the conductor insulation during installation is a fundamental code requirement. This guide breaks down the physics of wire pulling, the best tools for 2026 retrofit scenarios, and actionable step-by-step methodologies for executing flawless long-distance pulls.
The Physics of Wire Pulling in Existing Walls
Before selecting a tool, you must understand the forces at play. When pulling Non-Metallic Sheathed Cable (NM-B) or individual THHN conductors through existing wall cavities, you are fighting two primary forces: linear tension and sidewall pressure.
- Linear Tension: The pulling force applied directly to the conductor. For copper conductors, the general industry rule of thumb is a maximum pulling tension of 50 pounds per circular mil area, but for standard 12 AWG or 14 AWG NM-B cable pulled by the jacket, you should never exceed 40 to 50 pounds of total force. Exceeding this stretches the copper, altering its resistance and potentially tearing the outer PVC jacket.
- Sidewall Pressure: When a cable navigates a bend (such as going through a drilled top plate and turning down into a stud bay), the cable presses against the side of the hole. High sidewall pressure crushes the cable jacket and deforms the internal conductors. The jamming point occurs when the ratio of the bend radius to the cable diameter forces the cable to wedge tightly against the wood.
Top Electrical Wire Puller Tool Categories for Retrofits
The modern electrician's arsenal has evolved significantly. Here is a deep dive into the specific tools required for renovation planning, complete with current market pricing and model recommendations.
1. High-Carbon Steel Fish Tapes
Steel fish tapes remain the industry standard for pulling through empty conduit and open, unobstructed cavities. For renovations, a 50-foot to 75-foot tape with a slotted head is ideal. The Klein Tools 56334 (50ft Steel Fish Tape) retails for approximately $45 in 2026. Its high-carbon steel construction offers excellent pushability, but it is prone to snagging on fiberglass insulation or splitting wood fireblocks if forced. Steel tapes are strictly for pulling once a path is established, not for blind pushing through insulated bays.
2. Fiberglass Push/Pull Rods (Fish Sticks)
When dealing with insulated exterior walls or dropped ceilings, fiberglass rods are mandatory. The Greenlee 50504 Splinter Guard Fiberglass Fish Rod Set (priced around $85) features a textured grip and a splinter-guard coating that prevents the fiberglass from degrading and embedding in your hands. Fiberglass rods excel at pushing through dense blown-in insulation without coiling, allowing you to guide the tip precisely to your cutout box.
3. Vacuum-Assisted Pull Systems
For long horizontal runs through joist bays or finished soffits where pushing a rigid rod is impossible, a vacuum-assisted pull is the ultimate renovation hack. By tying a lightweight parachute string to a plastic bag or specialized foam pull-ball, you can use a high-CFM shop vacuum (like the Milwaukee M18 FUEL 6-Gallon Wet/Dry Vacuum) at the destination box to suck the string through the cavity. Once the string is retrieved, you tie it to your electrical wire puller tool or directly to the cable (using a pulling grip) to guide the wire back.
4. Wire Pulling Lubricants
Lubrication reduces the coefficient of friction, directly lowering linear tension and sidewall pressure. For NM-B cable, Polywater J (Clear) is the premium choice, costing about $18 per quart. It dries clear, does not degrade PVC jackets, and is compatible with future wire additions. Avoid using dish soap or petroleum-based oils, which can degrade wire insulation over time and violate NEC standards.
Comparison Matrix: Tool Selection by Wall Type
| Wall/Cavity Type | Primary Puller Tool | Secondary / Support Tool | Est. Pull Time (50ft) |
|---|---|---|---|
| Open Unfinished Stud Bays | Steel Fish Tape (Klein 56334) | Wire Pulling Lubricant | 5 - 8 Minutes |
| Insulated Exterior Walls | Fiberglass Rods (Greenlee 12ft) | Borescope Camera, Glow Rod | 15 - 25 Minutes |
| Finished Drywall / Plaster | Vacuum + String Method | Milwaukee M18 Vacuum, Pull Grips | 20 - 30 Minutes |
| Masonry / Concrete Block | Steel Fish Tape (Rigid) | Conduit Reamer, Polywater J Lube | 10 - 15 Minutes |
Step-by-Step: Executing a Long-Distance Retrofit Pull
Follow this precise sequence to minimize drywall damage and prevent cable stretching during a complex renovation pull.
- Map the Cavity with a Borescope: Before cutting drywall, drill a 1/2-inch pilot hole and insert a wireless borescope (such as the Ridgid SeeSnake micro). Identify fireblocks, plumbing lines, and HVAC ducts. Mark the center of the studs on the wall.
- Drill Fireblocks with Offset Auger Bits: When drilling through top plates or fireblocks, use a 7/8-inch self-feeding auger bit (e.g., Milwaukee SELFEEDE). Drill slightly off-center to avoid hitting existing nails or plates on the opposite side of the drywall.
- Install Nail Plates: If your drilled hole is less than 1.25 inches from the edge of the stud, NEC code mandates the installation of a steel nail plate to prevent future drywall screws from piercing the new cable.
- Feed the Electrical Wire Puller Tool: Attach your fiberglass rod or steel tape to the pulling string. If using a steel tape, wrap the connection tightly with electrical tape and coat it in Polywater J lubricant to create a smooth, tapered transition that will not catch on wood splinters.
- Pull with Controlled Tension: Pull the cable at a steady, walking pace. Have a second person at the spool feed the cable to prevent it from twisting or kinking. If tension spikes, stop immediately. Do not yank. Apply more lubricant or use a fish tape to clear the obstruction from the opposite direction.
Common Failure Modes and Edge Cases
Even with the best equipment, renovations present unpredictable variables. Recognizing these failure modes will save you hours of rework.
- Tape Coiling in Open Cavities: Pushing a steel fish tape more than 10 feet into an open, uninsulated wall cavity often results in the tape coiling up like a spring. Solution: Always use stiff fiberglass rods for pushing through open spaces; reserve steel tape strictly for conduit or verified clear paths.
- Insulation Stripping at the Entry Hole: Pulling NM-B cable through a rough, un-reamed hole in a top plate can strip the outer PVC jacket, exposing the paper wrap and bare ground wire. Solution: Always use a conduit reamer or a round file to smooth the edges of drilled wood holes before pulling. Apply a generous bead of clear wire lubricant to the hole edge.
- Stamped Fish Tape Head Failure: Cheap, stamped-metal fish tape heads frequently snap off under heavy renovation tension, leaving the head trapped inside the wall. Solution: Invest in forged steel heads or replaceable screw-on tips. Inspect the head for metal fatigue before every major pull.
Pro-Tip for 2026 Smart Home Retrofits: When pulling Cat6A or fiber optic cables alongside electrical lines in a renovation, never use the same pulling grip or tape head. Data cables have a strict maximum pulling tension of 25 pounds. Use a dedicated, smaller-diameter fiberglass rod and a specialized mesh pulling grip (like a Klein Tools 32-7 swivel grip) to distribute the tension evenly across the cable jacket without crushing the internal splines.
Final Thoughts on Renovation Planning
Integrating the right electrical wire puller tool into your renovation plan is an investment in both efficiency and safety. By understanding the physics of sidewall pressure, utilizing modern fiberglass and vacuum-assisted methods, and strictly adhering to lubrication best practices, you can navigate the chaotic environment of existing walls with precision. Always consult the latest Klein Tools and Greenlee specifications to ensure your tools are rated for the specific gauge and cable type you are installing, ensuring a flawless, code-compliant renovation.