
The Hidden Dangers of 'Simple' Lighting Circuits
Among residential and commercial electricians, electrical light wiring is often mistakenly categorized as beginner-level work. However, according to the National Fire Protection Association (NFPA), lighting circuits and their associated junction boxes are frequent culprits in residential electrical fires, primarily due to loose terminations, overloaded neutrals, and outdated push-in connectors. As we navigate the 2026 smart-home boom, the integration of LED drivers, PoE (Power over Ethernet) lighting, and Wi-Fi-enabled smart switches has added unprecedented complexity to standard 120V lighting loops. This guide strips away the fluff and delivers actionable, code-compliant safety protocols for rough-in and trim-out phases.
⚠️ The 'Dead Front' Mandate
Before stripping a single wire, verify the circuit is de-energized at the breaker and physically lock out the panel if working in a shared commercial space. Relying solely on a wall switch to kill power is a fatal error; switch loops often carry live line voltage directly into the ceiling canopy. Always test with a True-RMS multimeter or a non-contact voltage tester at the actual wire ends.
Core NEC Requirements for Lighting Circuits
The National Electrical Code (NEC) is updated every three years, and the 2023/2026 cycles have drastically expanded protection requirements. Understanding these is non-negotiable for safe electrical light wiring.
1. AFCI Protection (Article 210.12)
Arc-Fault Circuit Interrupters (AFCI) are now mandatory for virtually all 120V, 15A and 20A lighting circuits in dwelling units. This includes living rooms, bedrooms, hallways, and closets. An arc fault—often caused by a nail piercing a wire or a loose terminal screw—creates high-temperature plasma that standard thermal breakers will not detect in time to prevent ignition. Use combination-type AFCI breakers (e.g., Square D HOM115AFIC) rather than relying solely on AFCI receptacles, which do not protect the home-run wiring from the panel to the first device.
2. GFCI Expansion
While historically reserved for wet locations, recent NEC revisions mandate Ground-Fault Circuit Interrupter (GFCI) protection for lighting outlets in specific damp or high-risk areas, including unfinished basements, crawl spaces, and within 6 feet of utility sinks. If you are wiring a hardwired LED shop light in a basement, it must be on a GFCI-protected circuit.
Wire Gauge, Breaker Sizing, and Voltage Drop Matrix
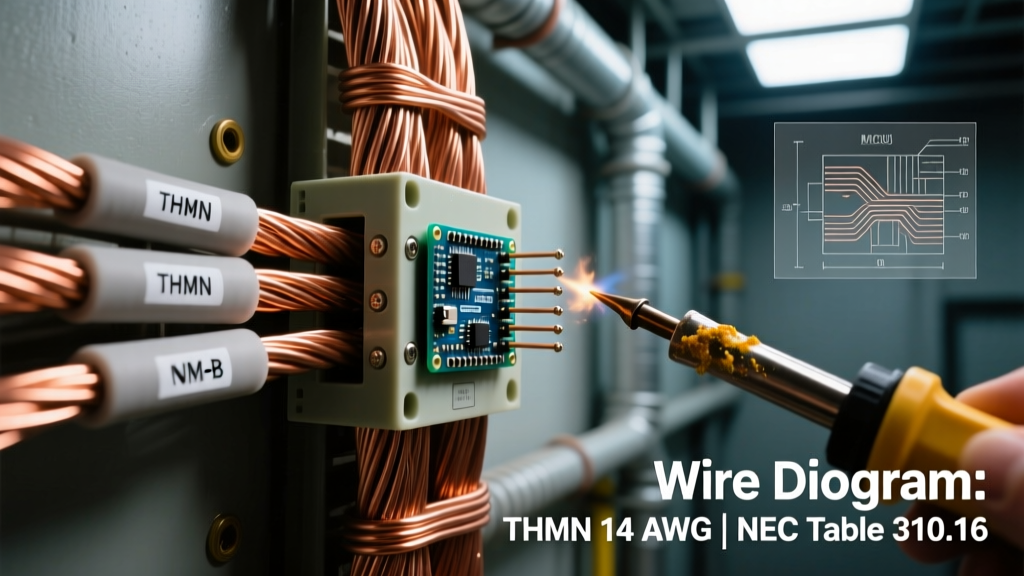
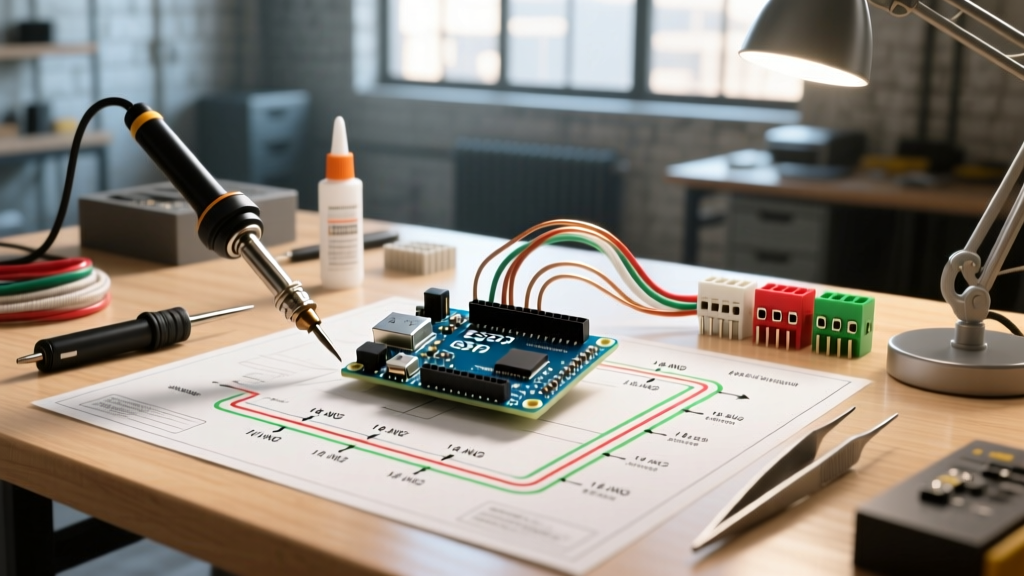
Undersized wiring is a primary cause of thermal degradation in lighting circuits. While 14 AWG is legally permissible for 15A circuits, many master electricians in 2026 exclusively pull 12 AWG for all lighting runs to mitigate voltage drop and allow for future circuit upgrades. Below is the definitive sizing matrix for 120V residential lighting.
| Wire Gauge (Copper) | Max Breaker Size | Max Continuous Wattage (120V) | Ideal Use Case |
|---|---|---|---|
| 14 AWG | 15 Amp | 1,440W | Short bedroom/hallway runs (<50 ft) |
| 12 AWG | 20 Amp | 1,920W | Kitchens, long runs, commercial LED arrays |
| 10 AWG | 30 Amp | 2,880W | High-bay warehouse lighting, 240V fixtures |
Pro Tip on Voltage Drop: For any lighting run exceeding 50 feet from the panel, calculate the voltage drop. A 3% drop on a 120V circuit (3.6V) is the maximum allowable for optimal LED driver longevity. If your run is 80 feet on a 15A circuit, upgrade to 12 AWG or even 10 AWG wire to prevent premature failure of smart bulbs and LED transformers.
Termination Torque: The Most Ignored Safety Metric
According to OSHA electrical safety guidelines and independent forensic engineering studies, loose electrical connections are responsible for the vast majority of thermal failures in junction boxes. When a wire is under-torqued, thermal expansion and contraction cycles cause the wire to creep out of the terminal, increasing resistance and generating intense heat.
Step-by-Step Torque Protocol
- Strip precisely: Use a precision stripper like the Klein Tools 11055 to remove exactly 3/4 inch of insulation. Never nick the copper conductor, which creates a fracture point.
- Form the hook: For side-wired screw terminals, bend the wire into a tight 'J' hook using needle-nose pliers. The hook must wrap clockwise around the screw so that tightening the screw pulls the wire tighter, rather than pushing it out.
- Apply exact torque: Use an insulated torque screwdriver (e.g., Wiha 32090 or Klein Tools 32500). Standard 15A and 20A residential switches and receptacles typically require between 12 and 16 inch-pounds of torque. Check the manufacturer's stamp on the device yoke for the exact specification.
The Death of the 'Backstab': Never use the push-in (backstab) terminals on the back of cheap $1.50 builder-grade switches. These rely on a tiny brass spring clip that loses tension over time, leading to arcing. Always use the side-screw terminals or, if the device is commercial-grade (like Leviton Decora Pro), use the specified back-wire clamp plates that are secured by the side screws.
The Smart Switch Neutral Wire Dilemma
In 2026, smart lighting is standard. Devices like the Leviton Decora Smart Wi-Fi or GE Cync require a neutral wire to power their internal radios when the light is turned off. In older homes (pre-1985), switch loops often only contain a Line (hot) and a Load (switched hot), with no neutral present in the wall box.
Dangerous Workarounds vs. Safe Solutions
- NEVER bootleg a ground: Some DIYers connect the smart switch's neutral wire to the bare copper ground wire. This is a severe code violation and a lethal shock hazard. It forces return current onto the grounding system, which is not designed to carry continuous load, and will trip GFCI/AFCI breakers immediately.
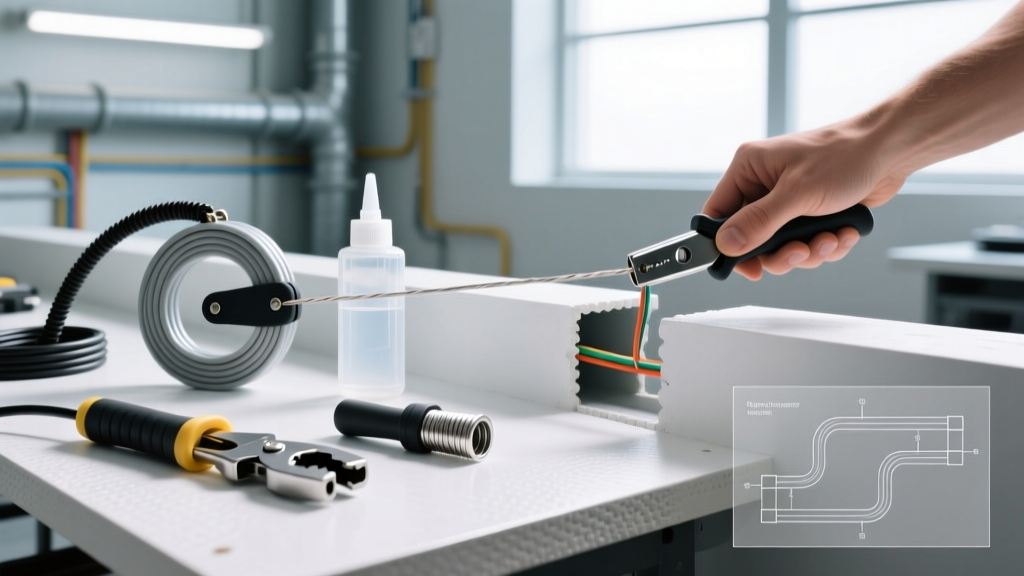
- Safe Solution 1 (Fish a Neutral): Use the existing cable as a pull-string to fish a new 12/2 or 14/2 NM-B cable from the ceiling canopy down to the switch box, providing a dedicated neutral.
- Safe Solution 2 (No-Neutral Tech): Utilize a system designed for no-neutral environments, such as the Lutron Caseta PD-6ANS. This system uses a proprietary low-power communication protocol and requires wiring a Lutron Picos switch, completely bypassing the need for a neutral at the wall box while maintaining strict UL safety listings.
Advanced Junction Box Management: Wago vs. Wire Nuts
Lighting junction boxes, especially 4-inch octagonal ceiling boxes, quickly become overcrowded when wiring multi-way switches or integrating smart home hubs. Traditional twist-on wire nuts require significant physical force and can result in cold joints if the installer's grip fatigues.
For modern electrical light wiring, transition to Wago 221 Series Lever-Nuts. These inline splicing connectors are UL-listed, rated for 600V, and accept 24-12 AWG solid or stranded wire. They allow you to visually verify the wire insertion depth through the transparent housing and can be easily released if a mistake is made. When packing a crowded ceiling box, use the Wago 221 mounting carrier (Model 221-500) to neatly stack the connectors against the drywall, preventing them from being crushed against the fixture canopy.
Common Failure Modes and Edge Cases
Even seasoned professionals encounter edge cases that compromise safety. Be vigilant against the following:
1. Multi-Wire Branch Circuits (MWBC) Without Handle Ties
If you are wiring a commercial lighting grid using an MWBC (sharing a single neutral between two hot phases on a 240V split-phase system), the NEC strictly requires a simultaneous disconnect mechanism. You must use a 2-pole breaker or an approved handle tie (e.g., Square D HOMTH2). If an electrician turns off only one pole to service a light fixture, the shared neutral will still carry the unbalanced return current from the other live phase, presenting a lethal shock hazard at the neutral splice.
2. Recessed Can Thermal Overload
When retrofitting IC-rated (Insulation Contact) LED recessed lights into insulated ceilings, ensure the thermal cutoff switch inside the junction box is not physically pinned against a wooden joist or compressed fiberglass. While IC-rated fixtures are safe to touch insulation, blocking the convective airflow inside the micro-J-box will cause the thermal protector to nuisance-trip, turning the light off randomly as it heats up.
Essential Diagnostic Tools for 2026
To guarantee your electrical light wiring is safe before closing up walls, invest in these specific diagnostic tools:
- Fluke 117 True-RMS Multimeter: Essential for verifying exact voltage and testing for phantom voltages induced by adjacent live wires in the same conduit.
- Milwaukee 2207-20 Non-Contact Voltage Tester: Features dual-range detection to isolate low-voltage smart home wiring from 120V line voltage.
- Seek Thermal CompactPRO: A smartphone-attached thermal imaging camera. After loading the circuit to 80% capacity for 30 minutes, scan all accessible junction boxes and breaker terminals. Any termination glowing yellow or red indicates high resistance and an impending failure point.
For comprehensive consumer safety recalls and wiring hazard alerts, always consult the U.S. Consumer Product Safety Commission (CPSC) Electrical Safety Center before specifying off-brand LED drivers or imported smart switches. Safe electrical light wiring is not just about making the bulb turn on; it is about ensuring the infrastructure remains stable, cool, and code-compliant for decades to come.