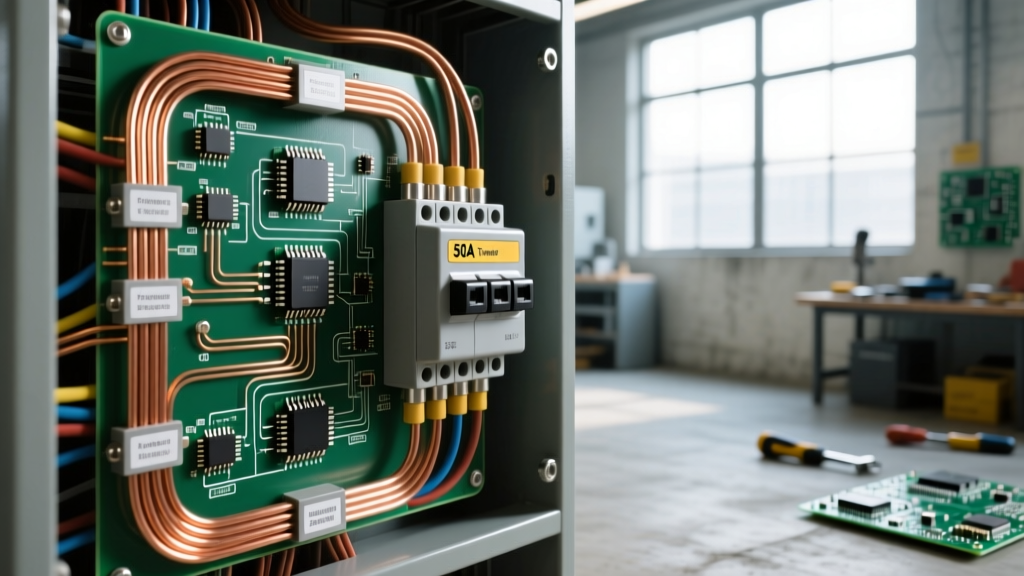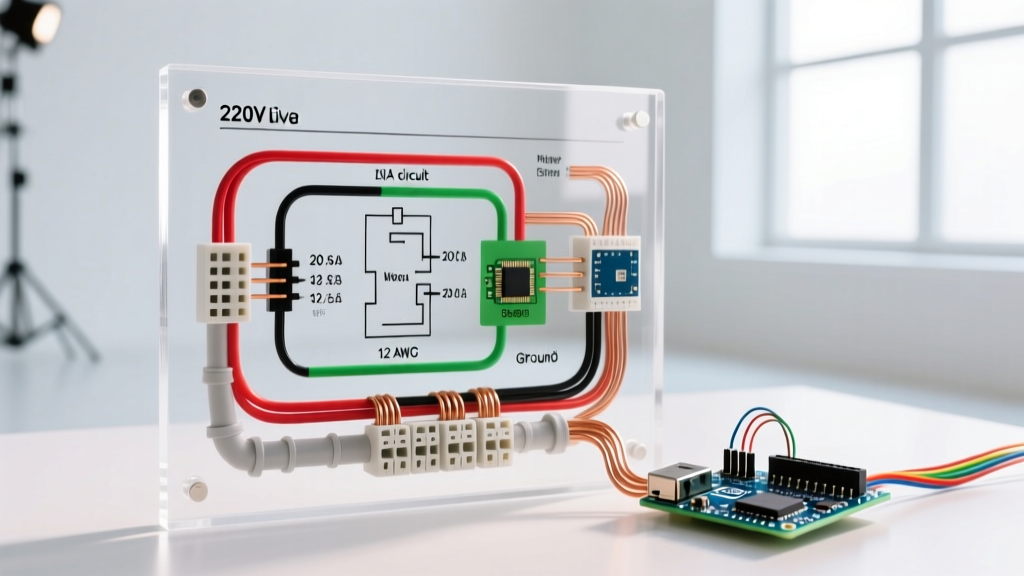

The Reality of 220V vs 240V Power in Modern Homes
When homeowners and DIYers search for a 220 electrical wiring diagram, they are usually looking to install a heavy-duty appliance like an EV charger, a welder, a central HVAC system, or an electric range. However, as an installation planner, the first technical reality you must accept is that true "220V" systems are largely a legacy concept. Modern North American residential electrical service delivers split-phase 240V power. Appliances rated for 220V are designed with a voltage tolerance that allows them to operate perfectly and safely on a 240V supply. Understanding this distinction is critical when selecting breakers, calculating voltage drop, and interpreting wiring schematics.
Safety Warning: Working on a main service panel or installing a 240V split-phase circuit exposes you to lethal voltage levels. Always shut off the main breaker, verify zero voltage with a CAT III or CAT IV multimeter, and consult your local Authority Having Jurisdiction (AHJ) regarding permit requirements before beginning any high-voltage installation.
Anatomy of a 220 Electrical Wiring Diagram
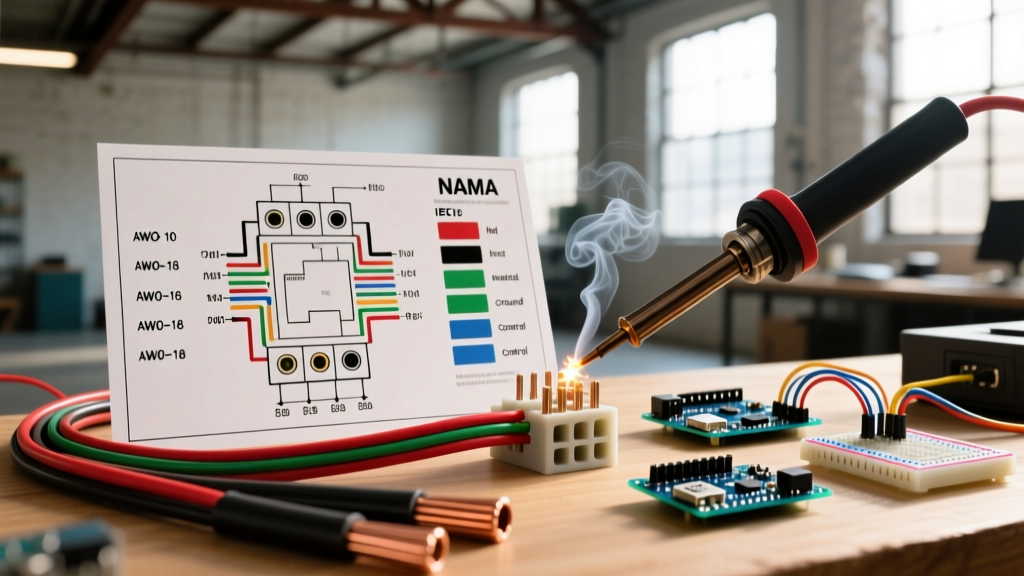
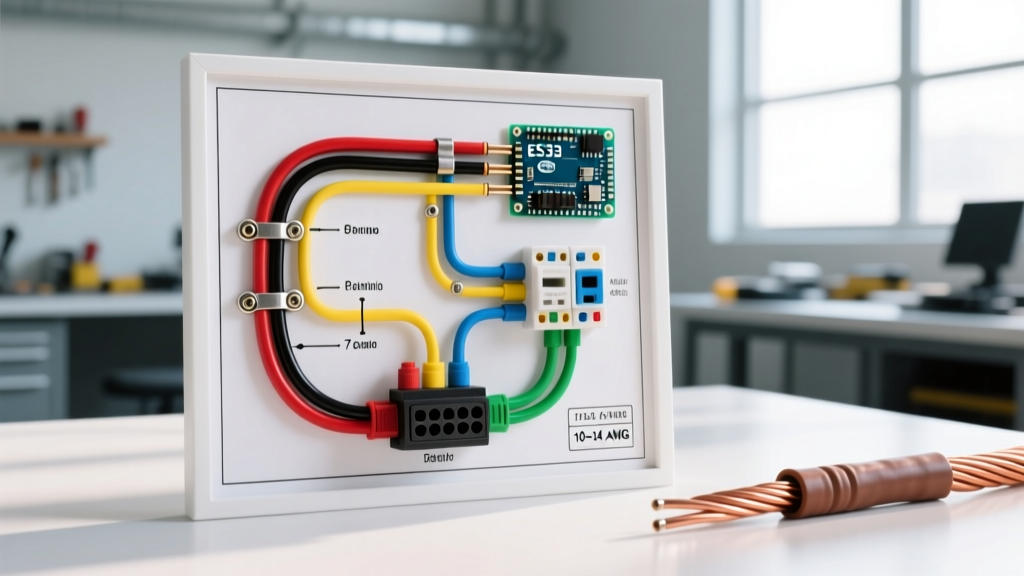
A standard residential split-phase system utilizes a center-tapped transformer to provide two 120V "hot" legs (L1 and L2) that are 180 degrees out of phase with each other. When you measure across both hot legs, you get 240V. Depending on the appliance, your wiring diagram will follow one of two primary configurations:
1. The 3-Wire Configuration (Pure 240V)
Used for appliances that do not require 120V for internal control boards or lights (e.g., baseboard heaters, well pumps, and basic air compressors). The diagram will show:
- Hot 1 (Black): Connected to L1 breaker pole.
- Hot 2 (Red or White re-identified): Connected to L2 breaker pole.
- Ground (Bare/Green): Connected to the equipment grounding bar.
2. The 4-Wire Configuration (120V/240V Split)
Required by modern NEC codes for electric dryers, ranges, and ovens. These appliances use 240V for the heating elements but need 120V for timers, digital displays, and drum motors. The diagram includes:
- Hot 1 (Black) & Hot 2 (Red): 240V supply.
- Neutral (White): Provides the 120V return path for control circuits. Must be connected to the neutral bar, not the ground bar.
- Ground (Bare/Green): Safety fault path.
Load Calculation and Breaker Sizing Matrix
One of the most common mistakes when planning a 240V circuit is ignoring the NEC continuous load rule. According to NEC Article 210.20(A), if a load is expected to run continuously for 3 hours or more (like an EV charger or a hard-wired heater), the branch circuit must be rated at 125% of the continuous load. This means a 40A continuous EV charger requires a 50A breaker.
| Appliance Type | Typical Wattage | Max Amperage | Load Type | Required Breaker | NEMA Receptacle |
|---|---|---|---|---|---|
| Level 2 EV Charger | 9,600W | 40A | Continuous | 50A (2-Pole) | NEMA 14-50R |
| Electric Dryer | 5,500W | 23A | Non-Continuous | 30A (2-Pole) | NEMA 14-30R |
| Electric Range/Oven | 12,000W | 50A | Non-Continuous | 50A (2-Pole) | NEMA 14-50R |
| Window AC / PTAC | 3,600W | 15A | Non-Continuous | 20A (2-Pole) | NEMA 6-20R |
| MIG Welder (240V) | 7,200W | 30A | Non-Continuous | 30A or 50A | NEMA 6-30R / 6-50R |
Wire Gauge Selection: Navigating NEC 110.14(C)
Choosing the correct wire gauge for your 220 electrical wiring diagram is not just about looking at a basic ampacity chart. You must account for the termination temperature rating of your breakers and receptacles, governed by NEC 110.14(C). Most standard residential breakers (like the Square D Homeline series) and receptacles are rated for 75°C terminations, even if the wire insulation (like THHN) is rated for 90°C.
Here is how this impacts your material planning for copper conductors:
- 10 AWG: Rated 30A at 60°C, 35A at 75°C. Standard use: 30A dryers and water heaters.
- 8 AWG: Rated 40A at 60°C, 50A at 75°C. If using NM-B (Romex), the NEC restricts it to the 60°C column (40A max). If pulling individual THHN wires in conduit to a 75°C rated breaker, you can safely use 8 AWG for a 50A circuit.
- 6 AWG: Rated 55A at 60°C, 65A at 75°C. The universal standard for 50A circuits (EV chargers, ranges) when using NM-B cable, as it safely covers the 50A requirement even under the strict 60°C derating rule.
- 4 AWG: Rated 70A at 60°C, 85A at 75°C. Required for 60A continuous loads (like a 48A hardwired EV charger) or 70A subpanel feeds.
Receptacle Configurations and the 2026 GFCI Mandate
When your diagram calls for a receptacle rather than a hardwired connection, you must select the correct NEMA configuration. The NEMA 6-series (e.g., 6-30, 6-50) provides two hots and a ground (pure 240V). The NEMA 14-series (e.g., 14-30, 14-50) provides two hots, a neutral, and a ground (120V/240V).
A critical update for installation planning involves Ground Fault Circuit Interrupter (GFCI) protection. Recent NEC cycles, heavily enforced in 2026, mandate GFCI protection for 240V receptacles installed in garages, crawl spaces, and unfinished basements (NEC 210.8(F)). If you are installing a NEMA 14-50R in a garage for an EV charger, you must either install a highly expensive 2-pole GFCI breaker (often exceeding $120) or hardwire the EV charger directly to a junction box, which bypasses the receptacle GFCI requirement. According to the U.S. Department of Energy, hardwiring is increasingly recommended for EV chargers to avoid nuisance tripping and receptacle overheating issues common with high-amp continuous plugs.
Voltage Drop and Routing Considerations
A 220 electrical wiring diagram is only as good as its physical execution. If your circuit run exceeds 50 feet, voltage drop becomes a severe factor. The NEC recommends a maximum voltage drop of 3% for branch circuits. On a 240V circuit, a 3% drop equates to 7.2 volts. If your appliance receives less than 232V, motors will overheat, and heating elements will underperform.
Always use a verified calculator, such as the Southwire Voltage Drop Calculator, before finalizing your wire gauge. For example, running a 50A EV charger 100 feet from the panel using 6 AWG copper results in a 3.15% drop. To comply with best practices and ensure optimal charging speeds, you must upsize to 4 AWG copper for that specific run.
2026 Material Cost Breakdown for a 50A Circuit
Budgeting accurately is a core component of installation planning. Below is an estimated material cost breakdown for a standard 50-foot run of a 50A, 240V circuit using THHN wires in PVC conduit (prices reflect early 2026 retail averages):
- Square D Homeline 50A 2-Pole Breaker (HOM250CP): $14.50
- Southwire 6 AWG THHN Copper (Black, Red, Green, 150 ft total): $1.15/ft = $172.50
- Carlon 1-Inch Schedule 40 PVC Conduit & Fittings (50 ft): $3.10/ft = $155.00
- Leviton 50A 125/250V NEMA 14-50R Receptacle (279-S00): $18.99
- Heavy-Duty Steel Receptacle Box & Cover: $22.00
- Miscellaneous (Wire staples, conduit glue, wire nuts, torque seal): $35.00
Total Estimated Material Cost: $417.99. If hiring a licensed electrician, expect labor rates between $85 and $150 per hour, bringing the total installed cost for a 50-foot run to roughly $900 to $1,400, depending on local permitting fees and drywall patching requirements.
Final Inspection and Torque Verification
The final step in executing your 220 electrical wiring diagram is mechanical verification. NEC 110.14(D) requires that all electrical connections be tightened to the manufacturer's specified torque values using a calibrated torque screwdriver or wrench. Loose connections on a 240V high-amperage circuit create high resistance, leading to localized heating, melted breaker lugs, and eventual electrical fires. Apply torque seal to your breaker and receptacle terminals to provide a visual indicator for the AHJ inspector that the connections have been properly verified. By combining precise load calculations, strict adherence to temperature derating rules, and modern GFCI compliance, your high-voltage installation will be safe, efficient, and ready for decades of reliable service.