
The Thermodynamics of a Perfect Solder Joint
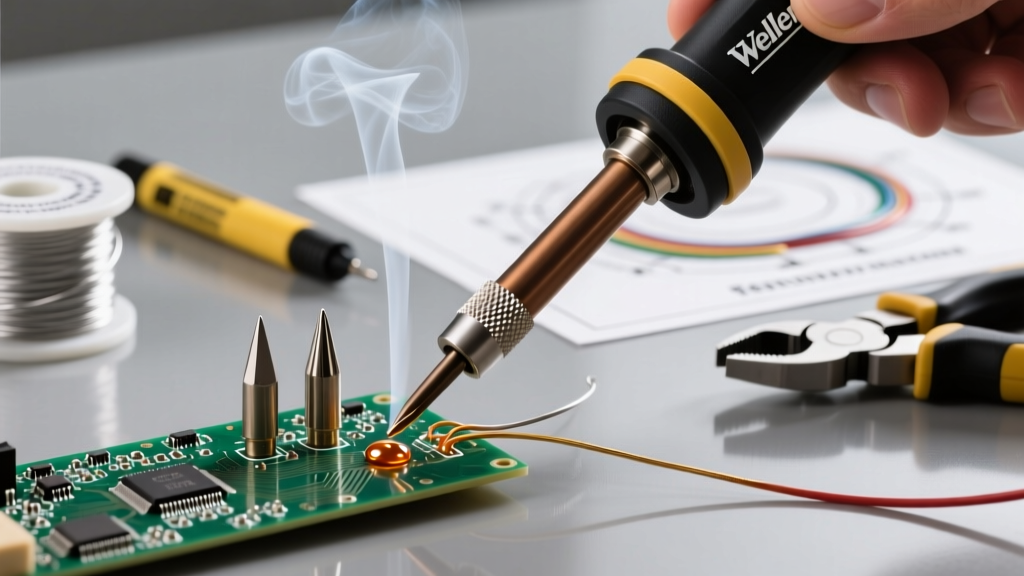
For beginners, the most common misconception about soldering is that the iron's job is to melt the solder. In reality, the soldering iron's job is to heat the components and the PCB pad so that they, in turn, melt the solder wire on contact. Understanding this fundamental shift in perspective is the key to mastering soldering iron temperature control. If you simply melt solder on the iron tip and try to transfer it to a cold joint like paint, you will create a cold, brittle connection that will inevitably fail under vibration or thermal cycling.
According to the SparkFun Through-Hole Soldering Tutorial, proper wetting—the metallurgical bond between the solder and the copper pad—only occurs when both surfaces reach the solder's melting point simultaneously. This requires a precise balance of tip temperature, thermal mass, and dwell time.
Soldering Iron Temperature Chart by Application
There is no single "correct" temperature for all tasks. The ideal setting depends heavily on the solder alloy, the thermal mass of the joint, and the sensitivity of the components. Use this reference table as your baseline for 2026 DIY electronics projects:
| Application | Solder Alloy | Melting Point | Ideal Iron Temperature | Max Dwell Time |
|---|---|---|---|---|
| General PCB (Through-Hole) | Sn63/Pb37 (Leaded) | 183°C (361°F) | 300°C - 330°C (572°F - 626°F) | 2 - 3 seconds |
| General PCB (SMD / Lead-Free) | SAC305 (Lead-Free) | 217°C (423°F) | 350°C - 380°C (662°F - 716°F) | 2 - 4 seconds |
| Thick Wires (14-18 AWG) | Sn60/Pb40 (Leaded) | 188°C (370°F) | 360°C - 400°C (680°F - 752°F) | 3 - 5 seconds |
| Plumbing (Copper Pipes) | 95/5 Tin-Antimony | 250°C (482°F) | 400°C+ (Use Torch/High-Watt) | N/A |
The 150°C Offset Rule
Why do we set the iron to 330°C when the solder melts at 183°C? This is known as the thermal offset. When a room-temperature (20°C) copper pad and component lead touch your 330°C iron tip, the tip's temperature drops instantly due to thermal transfer. A high-quality station uses a PID controller and a ceramic heater to recover that lost heat in milliseconds. Setting your iron roughly 100°C to 150°C above the solder's melting point ensures the joint reaches flow temperature before the flux burns off.
Lead vs. Lead-Free: The Alloy Dictates the Heat
The transition to RoHS-compliant, lead-free solder has fundamentally changed how hobbyists and professionals manage heat.
- Sn63/Pb37 (63/37 Leaded): This is a eutectic alloy, meaning it transitions directly from solid to liquid at exactly 183°C without a "pasty" or plastic phase. It is incredibly forgiving for beginners, requiring lower soldering iron temperature settings and resulting in naturally shiny, easy-to-inspect joints.
- SAC305 (Lead-Free): Composed of Tin, Silver, and Copper, this alloy melts at a much higher 217°C. More problematically, it has a pasty range. If you move the component while the solder is cooling through this plastic phase, you will create a disturbed joint that looks grainy and has high electrical resistance. Lead-free solder also oxidizes tip plating much faster, requiring strict temperature discipline and frequent tinning.
3 Common Beginner Failure Modes (and How Heat Causes Them)
1. The "Cold" Joint (Insufficient Thermal Transfer)
Visual Symptom: The solder looks dull, grainy, or forms a bulbous ball around the wire without flowing flat against the pad.
The Cause: Your iron temperature is too low, or you are using a tip with insufficient thermal mass (like a fine conical point) on a large ground plane. The solder melted against the iron, but the PCB pad never reached flow temperature. As noted in Adafruit's Guide to Excellent Soldering, a cold joint lacks a proper intermetallic layer and will cause intermittent circuit failures.
2. Lifted Pads and Burnt Flux (Excessive Heat & Dwell Time)
Visual Symptom: The copper pad peels away from the fiberglass board, or the flux turns into a hard, black, uncleanable crust.
The Cause: Setting your soldering iron temperature above 400°C for standard FR-4 PCBs is a recipe for disaster. Standard FR-4 has a Glass Transition Temperature (Tg) of around 130°C - 140°C. If you hold a 400°C iron on a pad for more than 4 seconds, the epoxy resin softens, and the copper delaminates. Always prioritize a slightly higher temperature with a faster dwell time (under 3 seconds) over a lower temperature with a prolonged 10-second dwell time.
3. The Ground Plane Heat Sink Effect
Visual Symptom: Solder refuses to flow on pins connected to large copper pours (like ground pins on a voltage regulator).
The Cause: The massive copper area acts as a heat sink, pulling thermal energy away from the joint faster than a standard 60W iron can replenish it. Solution: Do not just turn the temperature dial to max, which will oxidize your tip. Instead, switch to a wider chisel tip to increase surface area contact, and apply generous amounts of liquid or gel flux to improve thermal conductivity before applying the iron.
Smart Irons vs. Traditional Stations: Thermal Recovery in 2026
The market for soldering tools has evolved dramatically. Older, cheap "wall-wart" irons without temperature feedback loops will drop from 350°C to 200°C the moment they touch a joint, stalling out and causing cold joints. Modern stations utilize rapid thermal recovery:
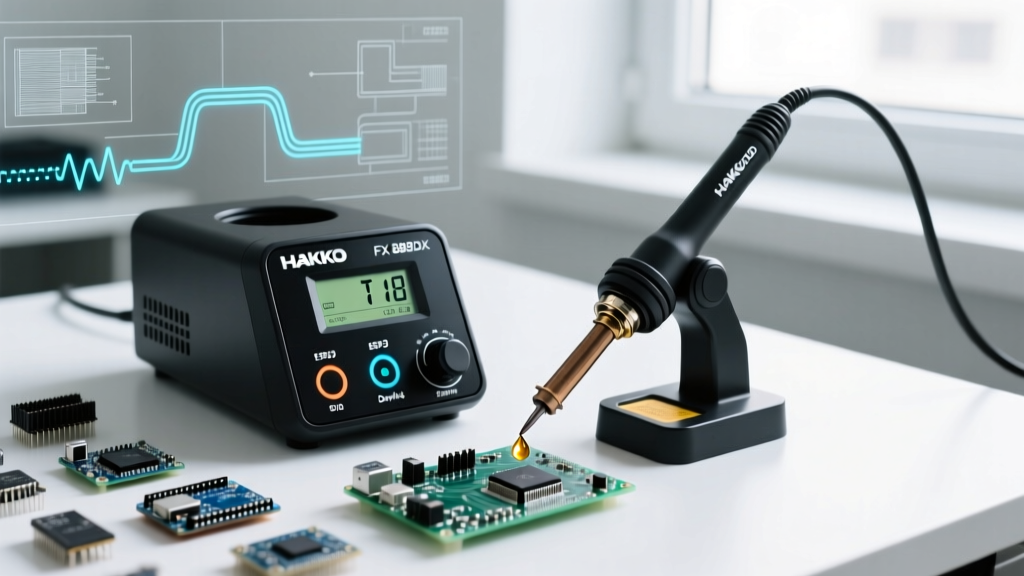
- Hakko FX-888D (~$115): The undisputed analog/digital workhorse. Its 70W heater and T18 tip series offer massive thermal mass and reliable PID control.
- Weller WE1010NA (~$125): Features a 75W element with incredibly fast sensor feedback, maintaining strict temperature tolerances even on heavy ground planes.
- Pinecil V2 (~$26): A revolutionary USB-C PD smart iron running the open-source IronOS firmware. Despite its tiny size, its RISC-V chip samples the tip temperature multiple times per second, pushing 65W to the tip for near-instant thermal recovery that rivals stations triple its price.
Tip Geometry: The Hidden Variable in Temperature Control
Beginners often default to the conical (pencil) tip included in cheap kits. This is a critical mistake. The very point of a conical tip has near-zero thermal mass; it will instantly drop in temperature upon touching a joint.
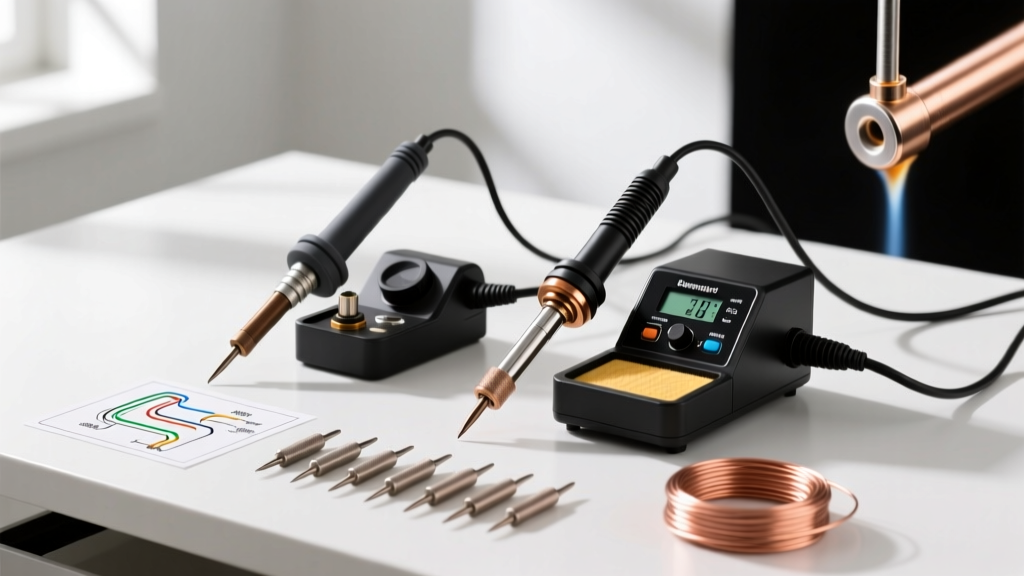
For 90% of beginner through-hole and basic SMD work, a 2.4mm Chisel Tip (such as the Hakko T18-D24) is the optimal choice. The flat bevel allows you to "sandwich" the component lead against the PCB pad, maximizing surface area contact and ensuring rapid, even heat transfer.
The "Water Drop" Calibration Test
If you are using an older, uncalibrated iron or a cheap analog dial station, you can verify your soldering iron temperature using the Leidenfrost effect. Flick a tiny drop of water onto the hot tip:
- Sizzle and Evaporate (1-2 seconds): Tip is roughly 200°C - 250°C. Good for delicate SMD work with leaded solder.
- Dances and Beads Up: Tip is roughly 300°C - 350°C. The ideal sweet spot for general through-hole leaded soldering.
- Instant, Violent Steam Flash: Tip is dangerously hot (400°C+). You are actively burning off the iron's protective plating and oxidizing the core. Turn it down immediately.
Frequently Asked Questions (FAQ)
Should I leave my soldering iron at maximum temperature to be ready?
No. Leaving an iron at 400°C+ when not in use accelerates tip oxidation, turning the protective iron plating into a black, non-wetting crust. Always use a "sleep" mode if your station supports it, or manually dial the soldering iron temperature down to 200°C between sessions.
Why does my solder ball up and stick to the iron instead of the joint?
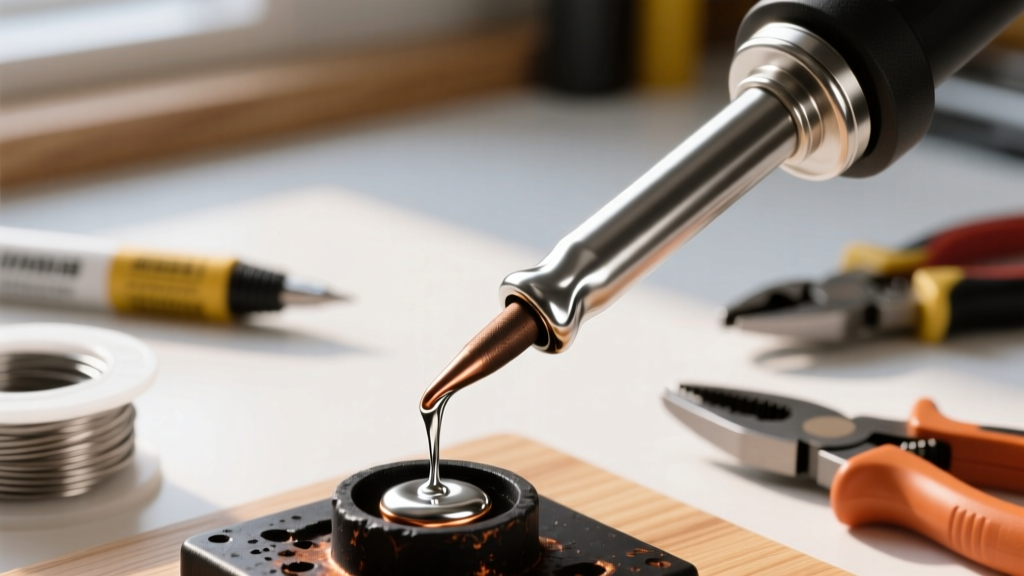
This happens when the flux core inside your solder wire burns off before the joint reaches flow temperature, or your tip is oxidized. The solder oxidizes instantly in the air, forming a skin. Wipe the tip on a damp brass sponge, re-tin it with fresh solder, and apply external flux to the joint before reapplying heat.
Does the soldering iron temperature matter for wire splicing?
Absolutely. When soldering 16 AWG silicone wires for RC cars or drones, the thick copper strands act as a massive heat sink. You must increase your iron temperature to 380°C - 400°C and use a wide chisel or bevel tip to get enough thermal energy into the wire to melt the solder through the strands, rather than just encasing the outside in a "cold sleeve."