
The Hidden Cost of a Dirty Soldering Iron
When electronics hobbyists and assembly technicians ask, "how do you clean a soldering iron properly without ruining the tip?", the answer requires looking beyond simple wiping. A soldering iron tip is not just a piece of metal; it is a precision-engineered thermal transfer device. According to the IPC J-STD-001 standards for soldered electrical and electronic assemblies, proper wetting and thermal transfer are non-negotiable for reliable joints. A dirty or oxidized tip acts as a thermal insulator, forcing you to increase the station temperature or dwell time, which ultimately damages sensitive PCB pads and components.
In 2026, with the widespread adoption of high-reliability lead-free alloys like SAC305 (Tin-Silver-Copper) requiring higher operating temperatures (340°C–360°C), tip oxidation occurs exponentially faster than it did with legacy Sn63/Pb37 leaded solders. Mastering tip maintenance is no longer optional—it is a critical skill for anyone serious about electronics repair, microcontroller wiring, or SMD rework.
The Metallurgy of Tip Degradation
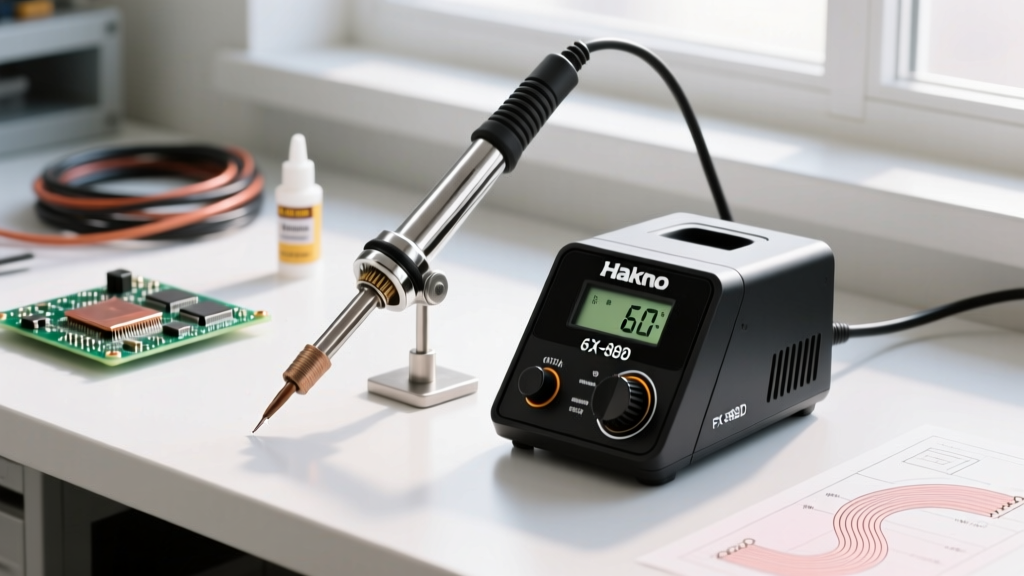
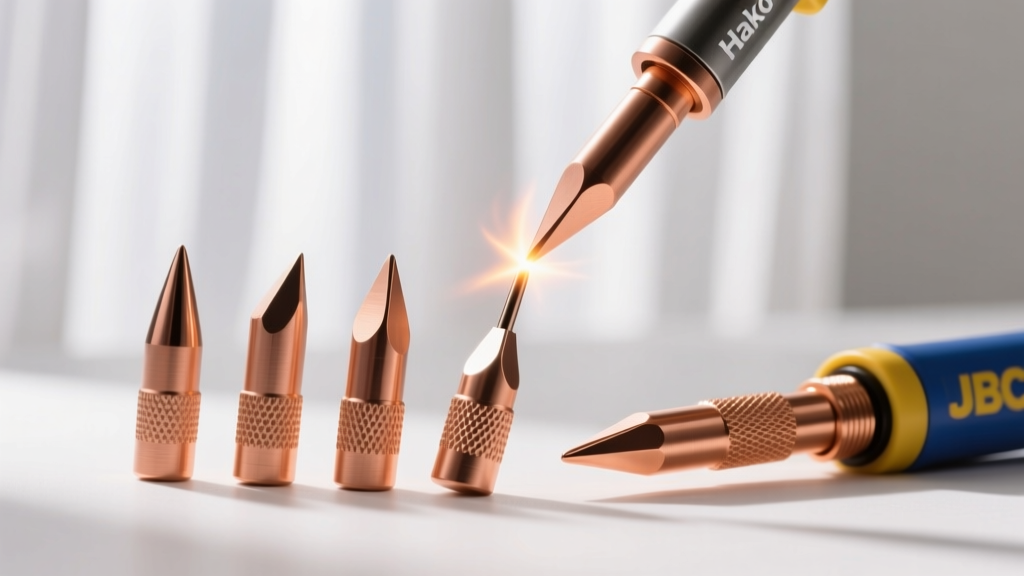
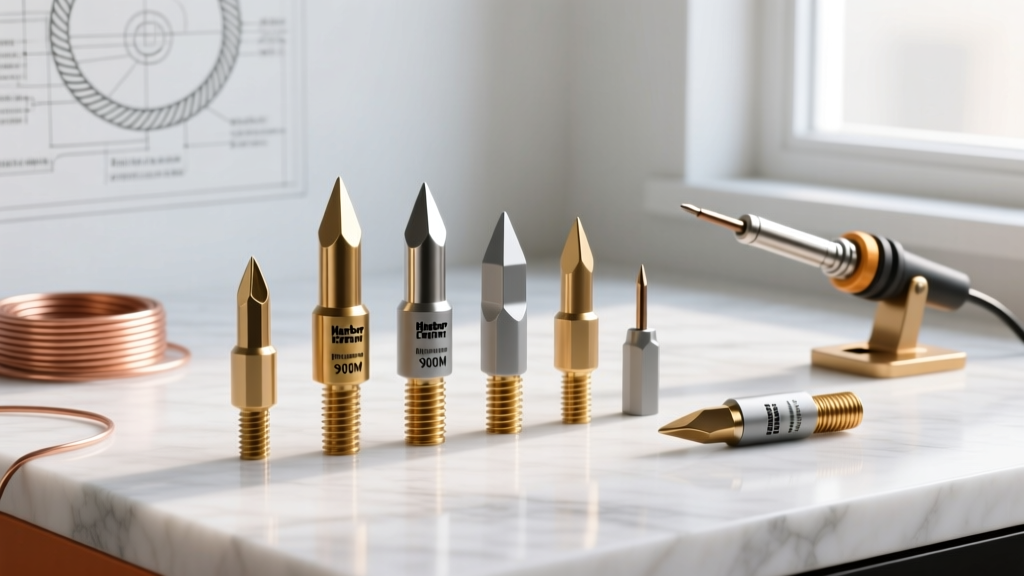
To understand cleaning techniques, you must understand the tip's anatomy. Modern soldering iron tips (such as those for the Hakko FX-888D or Weller WE1010NA) consist of a highly conductive copper core, plated with a layer of iron to prevent the copper from dissolving into the molten solder, and finally coated with a microscopically thin layer of chromium to resist corrosion.
When the iron plating is exposed to air at high temperatures, it rapidly forms iron oxide. This black, crusty layer has incredibly poor thermal conductivity. Furthermore, burned flux residue leaves behind a carbonized shell that physically blocks molten solder from wetting the tip. If you attempt to force a solder joint with an oxidized tip, the heat transfer drops by up to 80%, leading to cold solder joints and lifted PCB traces.
The Great Debate: Brass Wire Sponge vs. Cellulose Sponge
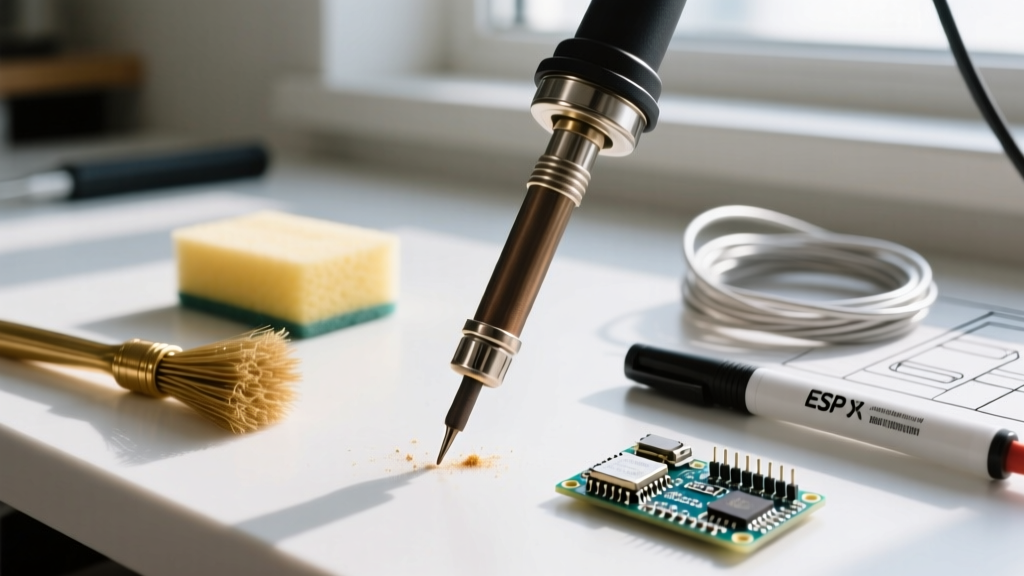
The most common point of confusion when learning how to clean a soldering iron is choosing the right wiping medium. Both brass wool and damp cellulose sponges have distinct metallurgical impacts on your tip.
| Cleaning Medium | Thermal Shock Risk | Abrasiveness | Best Use Case |
|---|---|---|---|
| Brass Wire Sponge | Low (Ambient temp metal) | Low (Softer than iron plating) | Daily maintenance, lead-free soldering, high-temp stations |
| Damp Cellulose Sponge | High (Rapid quenching) | None (If properly hydrated) | Heavy flux residue removal, lower-temp leaded soldering |
| Steel Wool / Sandpaper | Low | Extreme (Destroys plating) | NEVER USE. Will permanently ruin the tip. |
Expert Warning on Thermal Shock: When a 350°C soldering iron tip touches a wet cellulose sponge, the surface temperature plummets by over 200°C in milliseconds. According to Hakko's official tip care guidelines, this repeated thermal cycling causes micro-fractures in the iron plating, eventually allowing solder to eat through to the copper core and destroy the tip from the inside out. Always wring out sponges until they are barely damp, never soaking.
Step-by-Step: Routine In-Session Cleaning
Proper cleaning is a continuous loop, not an end-of-session chore. Follow this exact sequence while actively soldering to maintain optimal thermal transfer:
- Apply Fresh Solder (Tinning): Before wiping, apply a generous amount of fresh, flux-cored solder to the tip. This creates a protective barrier against immediate oxidation and helps lift old carbonized flux.
- The 'Figure-8' Wipe: Gently drag the tip through your brass wire sponge in a figure-8 motion. Do not jam the tip deep into the brass, as this can bend the delicate internal heating element in ceramic heater stations.
- Inspect the Meniscus: Look at the tip. It should have a bright, shiny, concave meniscus of molten solder. If it looks dull or matte, repeat step 1.
- Final Re-Tinning: Always leave a thick blob of solder on the tip when setting the iron down in its holder. This sacrificial layer will oxidize instead of the iron plating.
Deep Cleaning: Rescuing Heavily Oxidized Tips
If you inherit a neglected soldering station or accidentally left your iron on at 400°C over the weekend, the tip will likely be coated in a hard, black, glassy oxide layer. Standard wiping will not remove this. You need a chemical reduction process using a Tip Tinner/Activator.
The Tip Tinner Rescue Method
Products like the MG Chemicals 4900-113G Tip Tinner (typically priced around $12–$15) contain a mixture of phosphoric acid and powdered solder alloy. Here is how to execute the rescue:
- Step 1: Set your station to a moderate temperature (around 250°C / 480°F). High heat will cause the activator to boil off violently.
- Step 2: Plunge the blackened tip directly into the tip tinner paste for 3 to 5 seconds. You will see it bubble as the mild acid etches away the iron oxide.
- Step 3: Remove the tip and immediately wipe it on a damp cellulose sponge or brass wool to remove the acidic residue.
- Step 4: Instantly apply fresh, high-quality flux-cored solder (such as Kester 245) to re-tin the newly exposed iron plating.
Note: Tip tinner is highly acidic. Use it only for rescue operations, never for routine cleaning, as frequent use will slowly eat away the iron plating.
Fatal Mistakes That Destroy Soldering Iron Tips
Even experienced engineers occasionally fall back on bad habits when frustrated with a stubborn joint. Avoid these tip-killing errors at all costs:
- Using Abrasives: Sandpaper, emery cloth, and Dremel tools will strip the 0.1mm iron plating in seconds, exposing the copper core to immediate dissolution.
- Using the Tip as a Pry Tool: Prying off stubborn components or scraping away plastic debris can chip the iron plating or bend the tip shaft, breaking the internal thermal sensor coupling.
- Running at Maximum Temperature: Running a station at 450°C when 320°C would suffice accelerates oxidation by a factor of four. Only use high heat for massive ground planes, and drop it back down immediately after.
- Using Acid-Core Plumbing Solder: Never use plumbing solder on electronics. The highly corrosive acid flux will eat through the tip plating and leave conductive, corrosive residue on your PCBs.
Expert Maintenance Schedule for 2026 Workstations
To maximize the ROI on your soldering equipment, implement this structured maintenance cadence:
- Daily (End of Shift): Clean with brass wool, apply a heavy coat of fresh SAC305 or Sn63/Pb37 solder, and power down the station. Never leave a station powered on unattended.
- Weekly: Remove the tip from the heater barrel (once completely cool). Wipe the outside of the ceramic heater element with isopropyl alcohol (IPA) to remove any flux vapors that may have condensed. This prevents the tip from seizing inside the barrel.
- Monthly: Inspect the tip under a magnifying lamp for pitting or micro-craters. If pitting is visible on the working face, the tip must be replaced. A pitted tip will cause uneven wetting and tombstoning on SMD components.
Frequently Asked Questions
Q: Can I use a wet paper towel instead of a cellulose sponge?
A: No. Paper towels contain clay fillers and bleaching chemicals that can leave abrasive micro-particles on the tip when burned by the iron. Always use pure, sulfur-free cellulose sponges designed specifically for electronics soldering.
Q: Why does my new lead-free soldering tip turn blue and purple?
A: This is called 'heat tinting' and is a normal result of the iron plating oxidizing at the higher temperatures required for lead-free alloys (340°C+). As long as the very working edge remains shiny and wettable when tinned, the discoloration on the upper shaft is purely cosmetic and does not affect performance.