
The State of Terminal Soldering in 2026: An Expert Roundup
Terminal soldering remains a cornerstone of high-reliability electronics manufacturing, aerospace wiring harnesses, and heavy-duty industrial prototyping. While crimping dominates high-volume automotive production, soldering to terminals—specifically turret, bifurcated, hook, and cup terminals—is irreplaceable for extreme-vibration environments, RF shielding, and precision analog circuits. To cut through outdated forums and generic tutorials, we synthesized insights from IPC-certified master instructors, aerospace harness engineers, and high-reliability manufacturing leads to build this definitive guide on terminal soldering techniques and failure analysis.
According to the latest revisions of the IPC J-STD-001 standard, the acceptability of a soldered terminal connection hinges on specific wetting angles, visible meniscus formation, and the absence of thermal damage to adjacent wire insulation. But achieving this in practice requires a deep understanding of thermal mass, flux chemistry, and tip geometry.
Terminal Topologies: Expert Difficulty & Application Matrix
Not all terminals behave the same under a soldering iron. The thermal dissipation rate varies wildly depending on the terminal’s geometry and its connection to a ground plane. Below is our expert-compiled matrix for common terminal types.
| Terminal Type | Primary Application | Thermal Mass | Expert Difficulty | Recommended Tip Geometry |
|---|---|---|---|---|
| Cup Terminal | MIL-SPEC connectors, sensor wiring | High (Enclosed) | Moderate | Bevel (C4) or Mini-Wave |
| Turret Terminal | Point-to-point analog, tube amps | Medium (Exposed) | Easy | Chisel (D24) or Knife |
| Bifurcated Terminal | Relay coils, heavy power distribution | Very High | Hard | Heavy Chisel (D32) or Spade |
| Hook / Pierced | PCB edge connections, RF shields | Variable | Moderate | Micro-Pencil or Conical |
Expert Consensus: The Great Soldering vs. Crimping Debate
When designing a wiring harness, engineers frequently debate whether to crimp or solder a terminal. We asked three senior aerospace wiring specialists to weigh in on where terminal soldering definitively outperforms crimping.
“In high-vibration environments like rotary-wing aircraft, a properly soldered cup terminal prevents the micro-fretting corrosion that plagues crimped connections over time. The solder alloy physically locks the wire strands into the terminal barrel, eliminating the microscopic air gaps where oxidation begins.”
— Senior Avionics Harness Engineer, Defense Contracting Sector
However, experts universally warn against “solder-crimping” (soldering a wire inside a crimp barrel meant for mechanical deformation). The solder wicks into the crimp zone, creating a rigid transition point that will inevitably snap under mechanical stress. Always use terminals explicitly designed for soldering, featuring open barrels, cups, or pierced tabs.
Thermal Profiles & Tooling: What the Pros Use
The most common mistake hobbyists and junior technicians make is underestimating the thermal mass of a brass or beryllium-copper terminal. A standard 40W pencil iron will stall the moment it touches a heavy bifurcated terminal, leading to prolonged heat application, burnt flux, and ruined components.
The 2026 Pro-Grade Tooling Shortlist
- Hakko FX-951 (70W) with T15-D32 Tip: The industry workhorse. The heavy chisel tip provides maximum surface area contact for bifurcated and large cup terminals. Priced around $280, it offers rapid thermal recovery via composite cartridge technology.
- Weller WT1012 (90W): Excellent for continuous production line work. The active heating element sits directly inside the tip, minimizing thermal lag when transitioning from a heavy ground terminal to a delicate signal wire.
- Metcal PS-900 (Induction Heating): For MIL-SPEC and aerospace applications, Metcal’s SmartHeat technology uses RF induction to maintain a precise Curie temperature at the tip. If the terminal sucks heat away, the tip instantly draws more power without overshooting the set temperature, preventing damage to PTFE wire insulation.
Alloy Selection: Leaded vs. Lead-Free
While commercial electronics have largely transitioned to SAC305 (Tin/Silver/Copper) lead-free alloys, high-reliability and aerospace sectors maintain exemptions for Sn63/Pb37 (Tin/Lead). Sn63/Pb37 remains the gold standard for terminal soldering due to its lower melting point (183°C), superior wetting characteristics, and resistance to tin whisker growth. For Sn63/Pb37, experts recommend a tip temperature of 315°C to 330°C. For SAC305, temperatures must be elevated to 360°C–380°C, which drastically increases the risk of melting PVC wire jackets and lifting PCB pads.
Top 3 Terminal Soldering Failure Modes (And How to Fix Them)
Even with the right tools, technique dictates reliability. Based on failure analysis data aligned with NASA-STD-8739.3 workmanship requirements, here are the most frequent terminal soldering defects.
1. Solder Wicking and Starved Joints
The Failure: The solder flows up the wire strands and away from the terminal cup, leaving a dry, starved connection at the actual joint interface.
The Cause: The technician heated the wire instead of the terminal. Solder naturally flows toward the highest heat source.
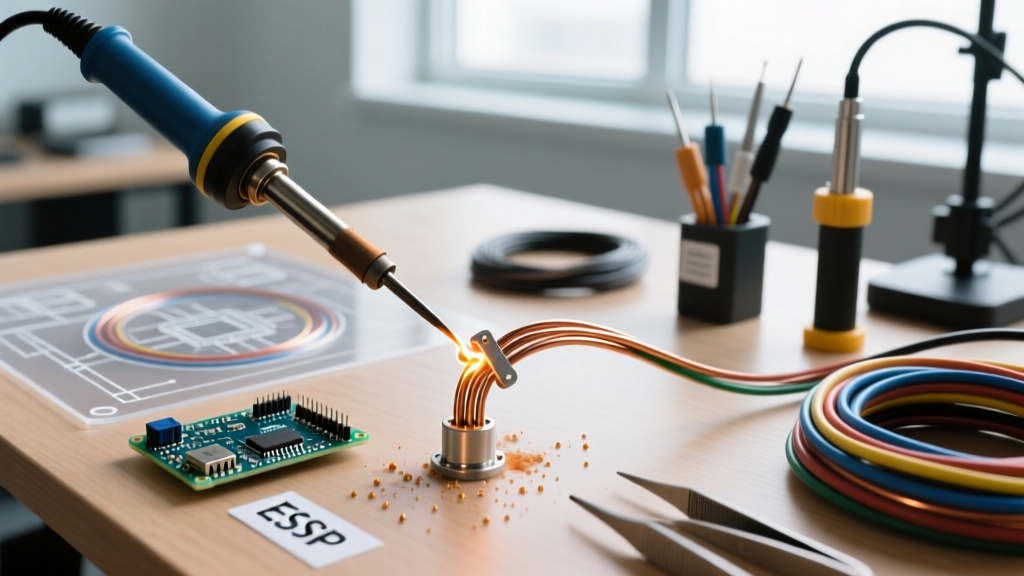
The Expert Fix: Always apply the iron tip to the terminal, not the wire. Place the tinned wire into the cup, apply the iron to the outside of the cup, and feed the solder wire directly into the junction where the wire meets the cup. Capillary action will draw the solder into the barrel.
2. Insulation Melt-Back
The Failure: The PVC, Teflon, or Kapton wire jacket shrinks back, exposing bare wire strands outside the terminal.
The Cause: Stripping the wire too short, or leaving the iron on the terminal for more than 3-4 seconds.
The Expert Fix: The strip length should equal the terminal depth plus exactly 1/32″ (0.8mm). If using PTFE (Teflon) wire, which is highly heat resistant, melt-back is less of an issue, but for standard PVC, use a thermal stripper or a precision mechanical stripper to avoid nicking, and rely on a high-wattage iron to complete the joint in under two seconds.
3. The “Cold” Rosin Inclusion
The Failure: The solder joint looks dull, grainy, or has a visible pocket of amber flux trapped inside the cup.
The Cause: Insufficient heat to fully activate the flux and allow it to boil off, or removing the iron before the solder has completely flashed and settled.
The Expert Fix: Use a mildly activated rosin flux (RMA) like Kester 186 for heavy terminals. The activation temperature of RMA flux is higher than no-clean fluxes, requiring the terminal to reach at least 200°C before the flux properly cleans the oxidation. Hold the iron in place for one full second after the solder flows to allow the flux vapors to escape.
Step-by-Step: The Perfect Cup Terminal Solder Joint
Follow this exact sequence for MIL-SPEC style solder cup connectors (e.g., Amphenol PT series or Cannon D-sub connectors).
- Pre-Tin the Wire: Strip the wire, apply a microscopic amount of flux, and tin the exposed strands. The tinned length must be slightly shorter than the cup depth to prevent wicking.
- Pre-Tin the Cup: Apply the iron to the outside of the cup. Feed a tiny amount of solder into the inside of the cup until it forms a thin, shiny coating. Remove heat.
- Mating: Insert the pre-tinned wire into the pre-tinned cup.
- Reflow: Apply the iron to the outside of the cup. Within 1-2 seconds, the solder inside will reflow. Feed a small amount of additional solder wire to the top edge of the cup to form a smooth, concave meniscus.
- Cooling: Remove the iron, then remove the solder wire. Hold the wire perfectly still for 4 seconds. Any movement during the plastic-to-solid phase transition of the alloy will cause a fractured (disturbed) joint.
- Cleaning: If using RMA flux, clean the terminal with 99% Isopropyl Alcohol and a stiff-bristled ESD-safe brush to prevent long-term corrosion.
Final Expert Takeaways
Terminal soldering is an exercise in thermal management. The experts agree that investing in a high-wattage, temperature-controlled station with interchangeable, geometry-specific tips will eliminate 90% of common defects. By respecting the thermal mass of the terminal, choosing the correct flux chemistry for your wire gauge, and adhering to strict IPC wetting standards, you can build connections that will survive decades of mechanical and thermal shock.