
The Reality of Soldering a Gas Tank
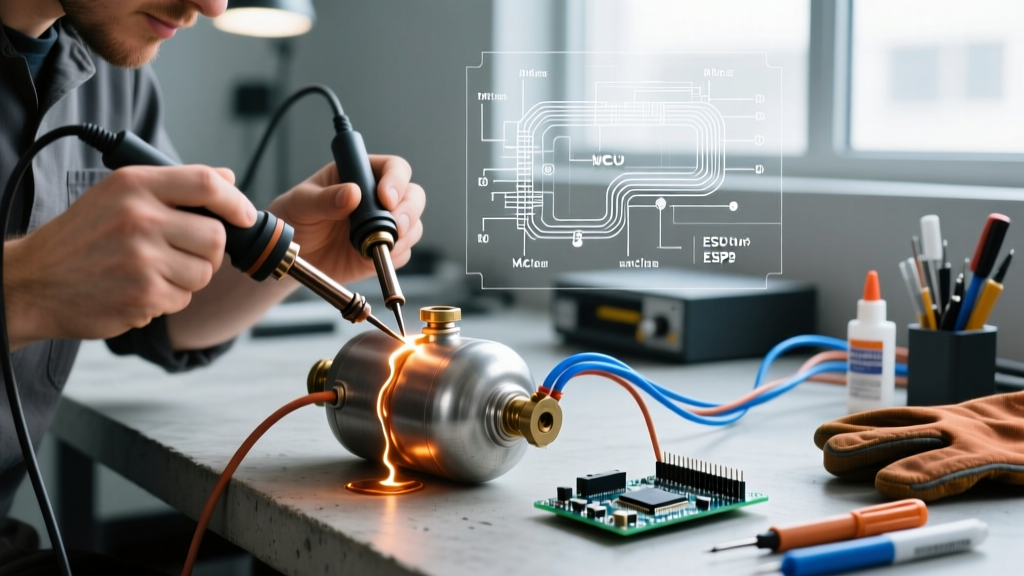
The phrase soldering a gas tank triggers immediate red flags for any seasoned fabricator or mechanic. Applying an open flame or high-temperature iron to a vessel that previously contained volatile hydrocarbons is inherently dangerous. However, in the realm of vintage motorcycle restoration, small-engine repair, and classic automotive bodywork, soft soldering and silver-bearing solder alloys remain valid, time-tested methods for sealing seams, filling depressions, and repairing non-structural pinholes.
The critical factor separating a successful restoration from a catastrophic shop fire is not just the solder alloy used, but the decision framework applied before the torch is ever lit. As of 2026, with modern fuel systems operating at higher pressures and utilizing aggressive ethanol blends, understanding the metallurgical and safety boundaries of fuel tank repair is mandatory.
The Fuel Tank Repair Decision Framework
Before selecting a repair method, you must run your specific scenario through this two-step diagnostic framework.
1. Identify Tank Pressure and Application
- Gravity-Fed / Vintage Systems (0-3 PSI): Classic Harley-Davidson, Triumph, or small-engine tractor tanks. These operate under minimal hydrostatic pressure. Soft soldering and silver-bearing solders are highly effective here for seam sealing and lead-loading.
- Modern EFI / GDI Systems (35-65+ PSI): Modern fuel-injected vehicles require tanks that can withstand high internal pressure and aggressive ethanol-blended fuels. Never soft-solder a pressurized EFI tank. The shear strength of soft solder is insufficient, and it will eventually rupture or degrade. These require professional TIG welding or complete replacement.
2. Assess the Damage Geometry
- Pinhole Leaks & Rust Pitting: Best addressed with chemical tank sealers (e.g., POR-15) or two-part steel epoxies. Solder struggles to adhere to heavily pitted, rust-compromised steel.
- Split Seams & Fabrication Gaps: Ideal for soldering. Capillary action draws the flux and molten alloy into the clean steel joint.
- Structural Mounting Tabs: Solder lacks the tensile strength to hold tank mounts under vibration. Brazing or TIG welding is required.
Method Comparison Matrix: Solder vs. Braze vs. Epoxy
Use this matrix to determine the correct chemical and thermal approach for your specific tank damage.
| Method | Operating Temp | Tensile Strength | Best Use Case | Explosion Risk |
|---|---|---|---|---|
| Soft Solder (50/50 Lead-Tin) | 360°F - 420°F | ~6,000 PSI | Vintage lead-loading, cosmetic seam filling | Moderate (Requires purging) |
| Silver-Bearing Solder (Stay-Brite) | 490°F | 12,500 PSI | Sealing non-pressurized seams, petcock threads | Moderate (Requires purging) |
| Silver Brazing (Hard Solder) | 1,100°F - 1,300°F | ~40,000 PSI | Structural tabs, heavy-gauge steel repairs | Extreme (Mandatory inert gas purge) |
| Chemical Epoxy / Tank Sealer | Ambient (Cures at 70°F+) | 3,900 PSI (Lap Shear) | Internal rust sealing, micro-pinholes | Zero (No heat required) |
Metallurgy and Alloy Selection for Steel Tanks
When the decision framework dictates that soldering is the correct path, alloy selection dictates the longevity of the repair. Standard rosin-core electronics solder will fail instantly; you must use solid wire with an aggressive acid flux.
Harris Stay-Brite vs. Traditional 50/50 Lead-Tin
For sealing petcock threads or repairing small seam splits on gravity-fed steel tanks, Harris Stay-Brite is the industry standard. It is a tin-based alloy containing a small percentage of silver. It melts at a manageable 490°F but flows like soft solder, offering a tensile strength of 12,500 PSI—more than double that of standard 50/50 lead-tin solder. Furthermore, its silver content provides superior resistance to the vibrational fatigue common in motorcycle applications.
Note on Flux: You must pair this with a zinc-chloride-based liquid flux (like Harris Stay-Clean). Zinc-chloride chemically etches the steel to allow the solder to wet the surface. However, it is highly corrosive. Post-repair neutralization is not optional; it is mandatory to prevent flash-rust from destroying the repair from the inside out.
Critical Safety Protocol: Purging and Hot Work
WARNING: Liquid gasoline is not the primary explosion hazard; it is the invisible, heavier-than-air hydrocarbon vapors. A single spark or localized heat spike in a vapor-rich environment will cause a catastrophic detonation. Always adhere to OSHA Standard 1910.252 regarding hot work in the presence of flammables.
According to NFPA 51B: Fire Prevention During Welding and Hot Work, any container that has held combustible liquids must be properly purged, tested, and continuously monitored before heat is applied. When soldering a gas tank, rely on one of these two proven purging methods:
The Water Displacement Method
This is the safest method for localized soft-solder repairs. Fill the tank entirely with water, then drain it out until the water level is exactly one inch below the repair area. The water acts as a massive heat sink, preventing the surrounding steel from reaching the auto-ignition temperature of residual vapors, while physically displacing any remaining explosive gases away from the torch flame.
Inert Gas Purging (Argon)
For repairs near the top of the tank where water displacement is impractical, you must displace the oxygen and hydrocarbons with an inert gas. Tape off all vents and caps, insert an Argon line (flowing at 15-20 CFH) into the filler neck, and let it purge for 10 minutes. Because Argon is heavier than air, it will settle and push the volatile vapors out of the lowest petcock drain. Test the exhaust gas with a combustible gas detector before lighting your torch.
Step-by-Step: Executing a Soft Solder Repair
Once the tank is purged and the decision framework has validated the repair, follow this precise sequence:
- Mechanical Prep: Use a fiberglass scratch brush or 120-grit sandpaper to remove paint, rust, and zinc plating down to bare, shiny steel. Solder will not adhere to galvanized coatings or clear coats.
- Flux Application: Apply zinc-chloride liquid flux to the bare steel. Do not skimp; the flux must cover the entire repair zone and an extra half-inch perimeter.
- Thermal Application: Use a high-BTU torch (such as the Bernzomatic TS8000 running on MAP-Pro gas, which burns at 3,730°F). Heat the steel, not the solder. Keep the flame moving to avoid warping the thin-gauge tank metal.
- Neutralization: While the tank is still warm, flood the repair area and the inside of the tank with a baking soda and boiling water solution. This neutralizes the acid flux, stopping the corrosive action immediately.
When to Abort: Red Flags and Edge Cases
Not every tank can or should be soldered. Abort the soldering process and pivot to a replacement or professional TIG welding if you encounter the following:
- HDPE Plastic Tanks: Modern dirt bikes and ATVs use High-Density Polyethylene. Soldering irons and torches will simply melt the tank into a toxic, unusable slag. Use a specialized plastic welder or replace the tank.
- Severe Internal Scaling: If you shake the tank and hear a maraca-like rattle of rust flakes, soldering a pinhole is a waste of time. The surrounding metal is compromised. The tank must be chemically stripped (using muriatic acid or Evapo-Rust) and sealed with a two-part epoxy liner like Caswell or POR-15.
- Galvanized Steel: Heating galvanized steel releases zinc oxide gas, which causes metal fume fever (a severe, flu-like respiratory condition). If the tank is galvanized, you must chemically strip the zinc or grind it away completely before applying any heat.
Cost and Tooling Breakdown
Setting up for professional-grade tank soldering is remarkably cost-effective compared to purchasing a TIG welding rig, making it a staple in the DIY restorer's arsenal.
- Bernzomatic TS8000 Torch & MAP-Pro Cylinder: ~$65.00 (Provides the localized, high-BTU heat required to prevent warping thin steel).
- Harris Stay-Brite Kit (Solder & Flux): ~$22.00 (Yields enough material for dozens of seam repairs).
- Combustible Gas Leak Detector: ~$35.00 (A non-negotiable safety investment for verifying inert gas purges).
By adhering strictly to this decision framework, you ensure that soldering a gas tank remains a precise, controlled restoration technique rather than a hazardous gamble. Respect the pressure ratings, honor the purging protocols, and let the metallurgy guide your repair.