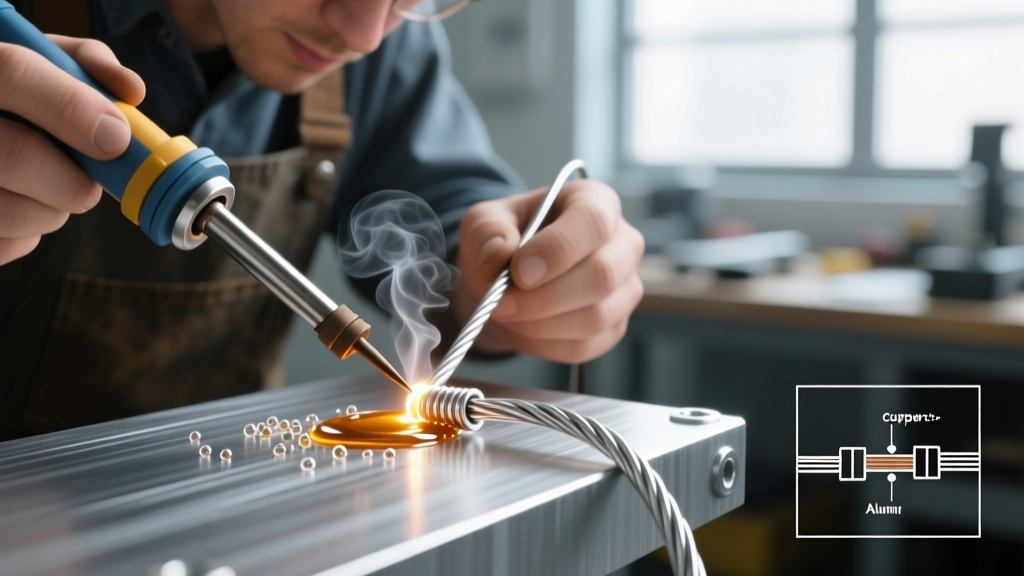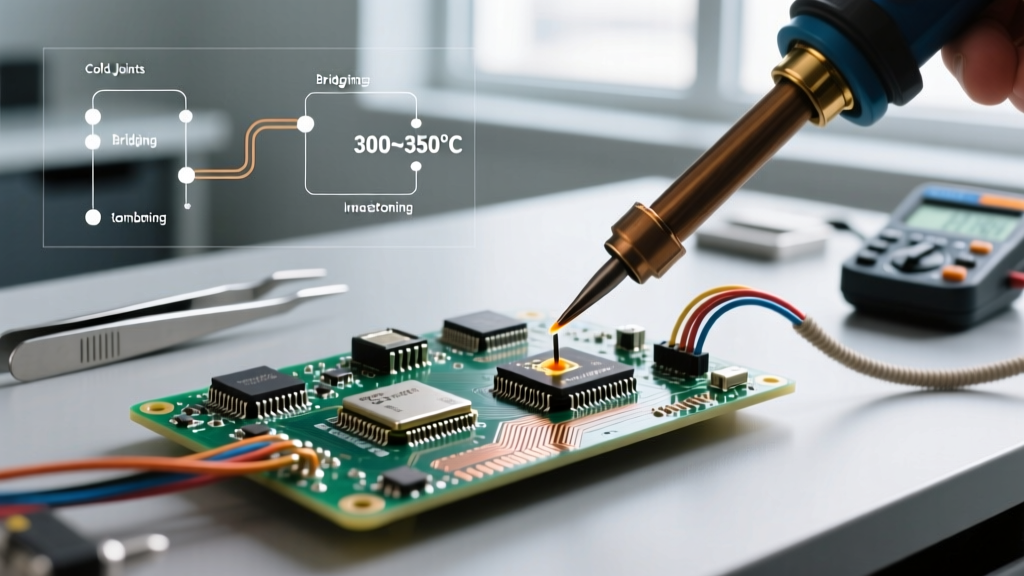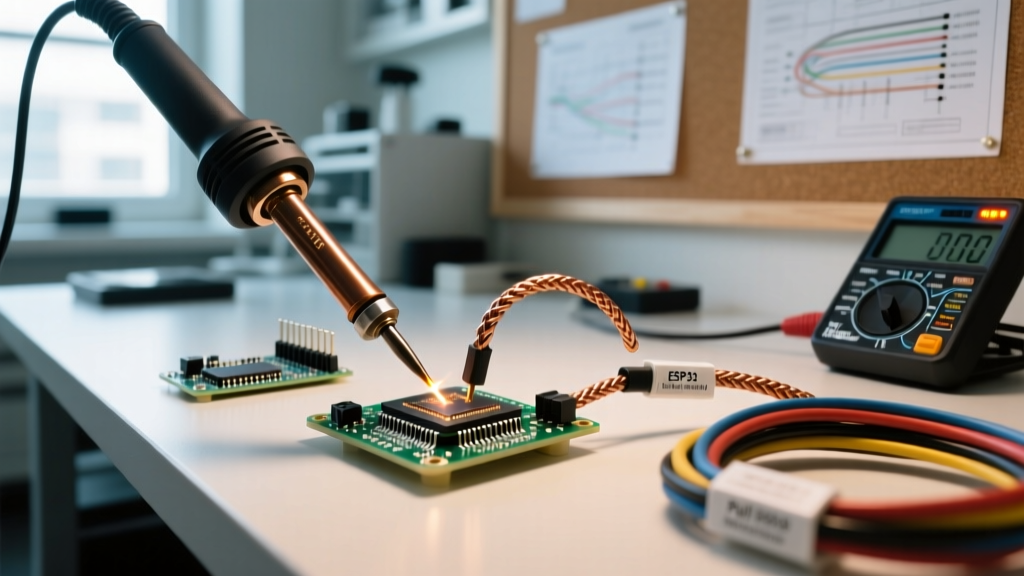

When most people search for information on soldering chain, they are directed toward jewelry repair and micro-torch techniques. However, in the electrical and electronics DIY sector, soldering chain presents an entirely different set of metallurgical and thermal challenges. Whether you are repairing a broken brass ball-chain on a ceiling fan pull switch, fabricating custom chain-style toggle switches for a DIY enclosure, or terminating heavy braided copper grounding chains to a chassis, the physics of heat dissipation through linked metals remains a formidable hurdle.
In this comprehensive 2026 troubleshooting guide and FAQ, we bridge the gap between standard PCB soldering and the heavy thermal mass requirements of chain links. We will cover exact temperature profiles, flux chemistry, and mechanical failure modes to ensure your electrical chain repairs are both conductive and structurally sound.
Why Soldering Chain in Electrical Projects is Uniquely Difficult
Soldering a continuous wire is straightforward because heat travels linearly. A chain, however, is a series of discrete thermal masses connected by tiny contact points. When you apply a soldering iron to a brass pull-chain ball, the sphere acts as a massive heat sink. If your iron lacks the thermal recovery rate to push past this dissipation, the flux will burn off before the solder reaches its liquidus state, resulting in a classic cold joint.
Furthermore, the metallurgy of electrical chains varies wildly. Decorative pull chains are often brass-plated steel or solid brass (a copper-zinc alloy that oxidizes aggressively under heat). Grounding chains and braided straps are usually tinned or bare copper. Each material demands a specific flux chemistry and tip geometry to achieve a reliable intermetallic compound (IMC) layer.
Troubleshooting Matrix: Common Soldering Chain Failures
Below is a diagnostic matrix for the most frequent issues encountered when soldering chain components in electrical applications.
| Symptom | Root Cause | Actionable Fix |
|---|---|---|
| Solder beads up and rolls off the brass ball link. | Severe zinc oxide formation; insufficient thermal mass transfer. | Switch to a Kester 186 RMA (Rosin Mildly Activated) paste flux. Use a 60W+ iron with a wide chisel tip (e.g., Hakko T15-D24) to maximize surface contact. |
| Plastic switch housing melts before the chain joint forms. | Capillary heat creep traveling down the chain wire into the polymer. | Clamp a large aluminum alligator clip or copper braided heat sink between the solder joint and the plastic housing to absorb migrating thermal energy. |
| Ground chain joint fractures under minor vibration. | Brittle IMC layer caused by excessive dwell time (overheating the joint). | Limit iron contact to 3-4 seconds. Use SAC305 (Sn96.5/Ag3.0/Cu0.5) lead-free alloy, as the 2% silver content dramatically improves fatigue and vibration resistance. |
| Joint looks dull, grainy, and crumbles when touched. | Disturbed joint during the plastic (cooling) phase of 63/37 Sn/Pb solder. | Hold the chain links completely stationary with locking tweezers until the solder transitions from shiny to fully matte (approx. 4-6 seconds). |
Step-by-Step: Repairing a Broken Brass Pull Chain
Ceiling fan and light fixture pull chains endure constant mechanical tensile stress. A repaired link must withstand repeated pulling without snapping. Here is the professional workflow for soldering chain links in these fixtures.
- Mechanical Prep: Do not rely on flux alone to clean a dirty chain. Use a fiberglass scratch pen or 600-grit sandpaper to expose bare metal on both the broken wire stub and the inside of the receiver ball. Clean with 99% isopropyl alcohol.
- Flux Application: Apply a generous dab of mildly activated rosin flux. Never use plumbing acid (zinc chloride) on electrical pull chains. The acid will become trapped inside the hollow brass balls and will corrode the thin steel core wire from the inside out within a few months, leading to a catastrophic failure.
- Pre-Tinning: Pre-tin the wire stub and the receiver ball separately. Use a high-wattage station like the Weller WE1010NA (70W) set to 340°C (644°F) for 63/37 Sn/Pb solder.
- Bridging the Joint: Insert the tinned wire into the tinned ball. Apply the iron to the exterior of the ball for exactly 2-3 seconds until the internal solder reflows and wicks around the wire. Remove heat immediately and hold still.
- Reinforcement (Optional): For high-stress chains, slide a piece of 1/16-inch heat shrink tubing over the joint before soldering, then shrink it post-solder to provide mechanical strain relief.
Code Compliance: Soldering Grounding Chains & Straps
A frequent question in industrial DIY and custom enclosure building is whether you can solder a braided copper grounding chain or strap to a steel chassis. According to the National Electrical Code (NEC), specifically NFPA 70 Article 250, soldering cannot be the sole means of securing an equipment grounding conductor. Under a high-current fault condition, the solder can melt before the breaker trips, severing the ground path and creating a lethal shock hazard.
Grounding chains and straps must be terminated using mechanical pressure—such as star washers, ring terminals, and machine screws. Soldering is only permissible in this context for signal grounding, EMI/RFI shielding straps, or static-dissipation chains where fault currents are not a factor. For detailed workmanship standards on electrical assemblies, refer to the IPC J-STD-001 guidelines, which dictate the acceptable wetting and fillet requirements for heavy thermal mass connections.
FAQ: Soldering Chain for Electronics & Electrical DIY
Can I use a butane micro-torch for soldering heavy chain links?
Yes, but with extreme caution. For heavy braided copper ground chains or thick steel link chains used in custom grounding mats, a 60W soldering iron may simply lack the joules required to bring the metal to temperature. A butane micro-torch (like the Blazer Big Shot) can provide the necessary BTU output. However, you must use a high-temperature, water-soluble flux and quench the chain in a baking soda/water solution immediately after the joint cools to neutralize any aggressive flux residues. Never use a torch on thin brass pull chains; you will melt the links into a solid, useless lump of brass.
What is the best solder alloy for chain-style toggle switches?
If you are building custom chain-toggle switches for low-voltage DC electronics (e.g., 12V automotive or marine panels), 63/37 Sn/Pb eutectic solder remains the gold standard in 2026 for DIYers due to its lack of a plastic phase, which prevents disturbed joints. However, if your project requires RoHS compliance or will operate in high-temperature environments (above 100°C), use SAC305. The silver content in SAC305 provides superior creep resistance, ensuring the chain link doesn't slowly deform under constant mechanical tension.
Why does my solder refuse to stick to stainless steel chains?
Stainless steel forms a passive chromium oxide layer that standard rosin fluxes cannot penetrate. If you are attempting to solder a stainless steel ball chain for a specialized marine or outdoor electrical switch, you must use a highly aggressive acid-based flux specifically formulated for stainless steel (such as Rubyfluid). After soldering, the chain must be scrubbed with a wire brush and neutralized, otherwise, the residual chlorides will cause rapid galvanic corrosion when exposed to humidity.
Recommended Gear for Chain Soldering in 2026
- Soldering Station: Hakko FX-951 ($330) or Weller WE1010NA ($115). You need a station with a high-wattage heater core to recover from the massive thermal drain of metal spheres.
- Tip Geometry: Avoid conical tips. Use a wide chisel (D24) or a mini-hoof tip to wrap the heating element around the curved surface of the chain link.
- Flux: Kester 186 RMA Paste (for brass/copper) or Kester 101 Water-Soluble (for heavily oxidized or steel chains, requiring post-solder cleaning).
- Heat Sinks: Copper braided desoldering wick (unfluxed) can be wrapped around the chain near plastic components to act as an improvised, high-surface-area heat sink.
Mastering the art of soldering chain components elevates your electrical DIY capabilities from basic wire splicing to robust, mechanical-grade fabrications. By respecting the thermal mass of the links and selecting the correct flux chemistry, your pull-chain repairs and grounding terminations will withstand years of mechanical and electrical stress.