
The 2026 Landscape of Radiator Repairs
When a radiator develops a pinhole leak or a cracked seam, vehicle owners and DIY mechanics are immediately faced with a critical decision: attempt a repair or replace the entire unit? With the cost of OEM aluminum-plastic composite radiators frequently exceeding $350 to $600 in 2026, repairing the existing core is an attractive alternative. However, the thermal cycling, internal pressure (typically 16 to 18 PSI), and exposure to corrosive ethylene glycol coolants demand a repair method that can withstand extreme environmental stress.
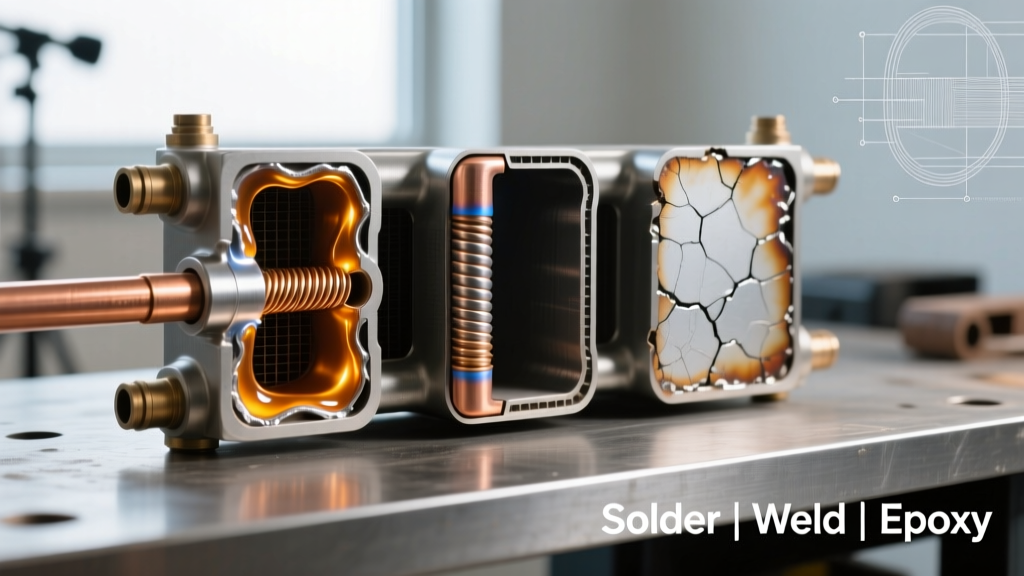
In this comprehensive method comparison, we evaluate soldering a radiator against TIG welding and chemical epoxy repairs. We will break down the metallurgical requirements, equipment costs, and real-world longevity of each technique to help you choose the definitive solution for your copper-brass or aluminum cooling system.
Method 1: Soldering a Radiator (The Capillary Approach)
Soldering relies on capillary action to draw a filler metal into a joint without melting the base metals. When it comes to soldering a radiator, the technique diverges sharply based on the core material.
Copper and Brass Radiators
Classic vehicles, heavy-duty agricultural equipment, and industrial generators often utilize copper-brass radiators. Soldering these is highly effective and relatively straightforward. The industry standard filler is a tin-silver alloy like Stay-Brite #8 (95% Tin, 5% Silver), which melts at a manageable 535°F (280°C). According to data published by the Engineering Toolbox, this specific alloy provides a tensile strength of up to 14,000 PSI, far exceeding the structural demands of a low-pressure copper cooling system.
Aluminum Radiators
Modern passenger vehicles almost exclusively use aluminum cores. Soldering aluminum is notoriously difficult due to the instant formation of aluminum oxide, which melts at over 3,700°F—far above the melting point of the aluminum base metal (approx. 1,220°F). To successfully solder an aluminum radiator, you must use a specialized low-temperature aluminum-zinc filler rod (such as Blue Demon AL3003) paired with an aggressive fluoroaluminate flux. The flux chemically strips the oxide layer, allowing the zinc-aluminum solder to flow and bond at roughly 720°F (382°C).
Method 2: TIG Welding (The Fusion Approach)
Tungsten Inert Gas (TIG) welding is the gold standard for fabricating and repairing aluminum radiators. By using an alternating current (AC) to break up the aluminum oxide layer and a 4043 aluminum-silicon filler wire, TIG welding creates a true metallurgical fusion joint.
- Pros: Unmatched structural integrity; permanent fix; no chemical flux residue to cause post-weld corrosion.
- Cons: Extremely high skill ceiling; requires expensive equipment (a quality AC/DC TIG machine like the Miller Diversion 180 costs over $800); high risk of warping thin radiator fins (often 0.004 to 0.006 inches thick) due to concentrated heat input.
While TIG welding is superior for thick-walled aluminum headers and cast housing seams, it is often too aggressive for repairing leaks in the thin, delicate fin-and-tube core of a standard automotive radiator.
Method 3: Chemical Epoxies and Stop-Leaks (The Adhesive Approach)
Epoxies, such as JB Weld RadiatorWeld, and liquid stop-leak additives rely on surface adhesion and particulate clogging, respectively. These are strictly surface-level mechanical bonds.
While a two-part epoxy can withstand up to 250°F and 3,900 PSI in a laboratory tensile test, it fails to account for the coefficient of thermal expansion (CTE). Aluminum expands and contracts at a significantly different rate than cured epoxy. Over dozens of heat cycles, the adhesive bond shears, and the leak returns. Liquid stop-leaks are even worse, often clogging narrow heater cores and thermostat passages, leading to catastrophic engine overheating.
Head-to-Head Comparison Matrix
| Feature | Soldering (Aluminum/Copper) | TIG Welding (Aluminum) | Chemical Epoxy |
|---|---|---|---|
| Equipment Cost | $40 - $90 (Torch, Flux, Rods) | $700 - $1,500+ (AC/DC TIG Setup) | $10 - $15 |
| Skill Level | Intermediate | Advanced / Professional | Beginner |
| Thermal Cycling Resistance | High (Metallurgical Bond) | Excellent (Fusion Bond) | Poor (Adhesive Shearing) |
| Best Application | Core tubes, tank seams, pinholes | Thick cast headers, bung installations | Plastic tank cracks (Temporary) |
| Longevity | 3 - 5+ Years | Lifetime of Vehicle | 1 - 6 Months |
Step-by-Step: How to Successfully Solder an Aluminum Radiator
If you are repairing a modern aluminum core, soldering a radiator requires meticulous preparation. Follow this exact procedure to ensure a lasting seal.
- Depressurize and Isolate: Drain the coolant below the repair line. Flush the specific area with distilled water to remove glycol, which will vaporize and blow out the solder joint if heated.
- Mechanical Preparation: Use a dedicated stainless steel wire brush to aggressively scour the aluminum around the leak. You must physically break the initial oxide layer.
- Apply Flux: Coat the cleaned area with a specialized aluminum soldering flux (e.g., Superior Flux No. 20). The flux will bubble and turn clear when the metal reaches the correct working temperature.
- Heat Management: Use a high-BTU torch like the Bernzomatic TS8000 fueled by MAP-Pro gas (burning at 3,730°F). Critical Expert Tip: Aluminum dissipates heat five times faster than steel. Do not hold the flame in one spot; use a broad, sweeping motion to bring the entire joint area up to 720°F evenly.
- Introduce the Filler: Touch the zinc-aluminum solder rod to the metal (not the flame). If the base metal is hot enough, the rod will instantly liquefy and be drawn into the defect via capillary action.
- Neutralize and Clean: Once cooled, scrub the joint with hot water and a baking soda solution to neutralize any remaining flux. Leftover flux is highly corrosive and will eat through the new solder joint within weeks.
Common Failure Modes and Edge Cases
Even experienced DIYers encounter failures when soldering a radiator. Understanding these edge cases is crucial for troubleshooting:
Expert Warning on Galvanic Corrosion: Never use a standard lead-tin or copper-phosphorus solder on an aluminum radiator. The dissimilar metals, combined with the electrolytic properties of wet coolant, will create a galvanic battery effect. This will rapidly corrode the aluminum core, turning a small pinhole into a massive, unrepairable tear within a single driving season.
- Thermal Shock Cracking: Quenching a freshly soldered aluminum joint with a wet rag causes immediate thermal shock, resulting in microscopic stress fractures that will leak under 16 PSI of system pressure. Always allow the joint to air-cool naturally.
- Plastic-to-Metal Seams: Modern radiators feature plastic end-tanks crimped onto aluminum cores with a rubber gasket. You cannot solder plastic to aluminum. If the leak originates at the crimped seam, soldering is ineffective; you must replace the radiator or attempt a high-temp epoxy as a strictly temporary measure.
- Internal Contamination: If the inside of the radiator tube is coated in stop-leak sludge or heavy scale, the solder will not penetrate the joint from the outside. The internal surface must be chemically flushed with a radiator cleaner prior to soldering.
Final Verdict: Which Method Should You Choose?
When evaluating the best approach for your cooling system, the material dictates the method. For classic copper-brass radiators, soldering a radiator with a tin-silver alloy and an acid flux remains the undisputed, most cost-effective champion. It requires minimal investment and yields a permanent, pressure-tight seal.
For modern aluminum radiators, low-temperature aluminum soldering (using zinc-aluminum rods and MAP-Pro gas) is the most practical DIY repair method, bridging the gap between the sheer difficulty of TIG welding and the inevitable failure of chemical epoxies. Reserve TIG welding for thick cast-aluminum housings and custom fabrications, and relegate epoxies strictly to emergency, trail-side fixes on plastic components. By matching the repair method to the metallurgy of your specific radiator, you can confidently extend the life of your cooling system without resorting to a costly full replacement.