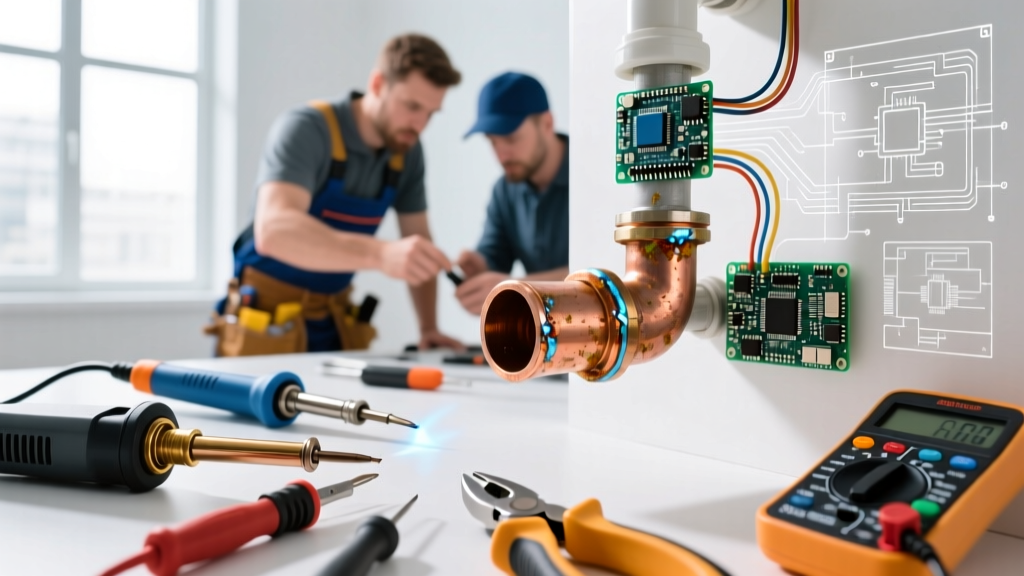

The Challenge of Desoldering Copper Plumbing
Knowing how to properly remove soldered copper pipe is a critical skill for any DIYer, HVAC technician, or master plumber tackling a retrofit. Unlike cutting and replacing a section with push-to-connect fittings, desoldering preserves expensive fittings, maintains system integrity, and avoids introducing flow-restricting adapters into the line. However, overcoming the capillary action of a cured solder joint without damaging the base copper requires precise thermal management.
In this expert roundup, we consulted three industry veterans—a master plumber, an HVAC retrofit specialist, and a metallurgist—to break down the most effective methods to remove soldered copper pipe in 2026. From traditional MAP-Pro torch techniques to modern flameless induction heating, we cover the exact tools, temperatures, and failure modes you need to know.
"The biggest mistake amateurs make when trying to remove soldered copper pipe is treating it like a demolition job. Soldering is metallurgy; desoldering is reverse metallurgy. If you overheat the joint, you burn the flux, oxidize the copper, and ruin the fitting for future use." — Marcus Vance, Master Plumber & IPC Certified Instructor
Expert Method 1: The Traditional Torch and Solder Wick
For the majority of residential plumbing repairs, the traditional torch method remains the gold standard due to its low equipment cost and high accessibility. Marcus Vance relies heavily on the Bernzomatic TS8000 high-intensity torch head paired with MAP-Pro gas (burning at approximately 3,730°F / 2,054°C).
The Technique: Gradient Heating
Vance emphasizes "gradient heating" rather than blasting the joint directly. "If you apply the flame directly to the solder ring, the outside melts while the inside remains solid, locking the pipe in place," he explains. Instead, heat the fitting about half an inch away from the solder ring, allowing thermal conductivity to pull the heat evenly through the copper and melt the 95/5 or 50/50 solder core simultaneously.
- Tool Cost: ~$55 for TS8000 head + $15 for MAP-Pro cylinder.
- Best For: Open joist bays, exposed basement plumbing, and standard 1/2" to 1" Type L/M copper.
- Cleanup: Requires immediate use of a Chemtronics 80-6 Solder Wick or a damp rag to pull residual solder out of the fitting cup before it cools.
Expert Method 2: Induction Heating (The Flameless Revolution)
Sarah Jenkins, an HVAC retrofit specialist who frequently works in tight plumbing chases and near combustible framing, advocates for induction heating. "When you need to remove soldered copper pipe near PEX transitions, drywall, or wooden joists, an open flame is a massive liability," Jenkins notes.
Jenkins uses the Mini-Ductor Venom Pro, a high-frequency induction heater. By wrapping the copper coil around the soldered fitting, the tool generates eddy currents that heat the copper fitting from the inside out in seconds, without an open flame.
- Tool Cost: ~$1,399 (Professional grade).
- Best For: Confined spaces, historic home restorations, and environments where hot-work permits are restrictive.
- Safety Profile: Eliminates the need for fire-retardant cloths and reduces the risk of concealed structure fires.
Expert Method 3: Mechanical Extraction & Internal Cutters
Dr. Aris Thorne, a materials scientist specializing in non-ferrous alloys, warns about the metallurgical limits of copper. "Every time you heat Type L copper to 500°F to melt solder, you anneal it, softening the grain structure. If a joint has been soldered and desoldered more than twice, the copper becomes brittle and prone to micro-fractures under water hammer shock."
When thermal removal is too risky, Thorne recommends mechanical extraction using an internal pipe cutter (like the Ridgid 15110). This tool shaves the copper pipe away from the inside of the fitting, allowing you to pull the fitting off without heat, preserving the fitting's structural integrity for a new sweat joint.
Expert Comparison Matrix
| Method | Equipment Cost | Heat Time (3/4" Joint) | Fire Risk | Best Use Case |
|---|---|---|---|---|
| MAP-Pro Torch & Wick | $70 - $85 | 15 - 25 Seconds | High | Open framing, standard repairs |
| Induction Heating | $1,200 - $1,500 | 8 - 12 Seconds | Very Low | Tight chases, near combustibles |
| Internal Mechanical Cutter | $45 - $120 | N/A (No Heat) | None | Preserving expensive/brass fittings |
| Propane Torch (Standard) | $30 - $45 | 45 - 60+ Seconds | Moderate | Only for 1/2" thin-wall (Type M) |
Step-by-Step Desoldering Protocol
Follow this exact sequence to ensure a clean extraction and a reusable fitting.
- Depressurize and Drain: This is non-negotiable. Even a few drops of trapped water will flash into steam at 212°F. Because steam expands 1,600 times its liquid volume, it will blow molten solder out of the joint, causing severe burns. Open the lowest valve in the system and use a shop-vac on the open line to pull residual water.
- Score and Clean: Use Oatey #95 Emery Cloth to remove external oxidation and old flux residue from the joint area. This allows you to clearly see the solder ring melt.
- Apply Heat (Gradient Method): Using a MAP-Pro torch, keep the flame moving in a circular motion around the fitting, staying 1/2" away from the solder line. Watch for the flux to bubble and the solder to turn liquid and shiny.
- The Twist and Pull: Once the solder flashes liquid, grip the pipe with channel-lock pliers (using a rag to prevent marring). Give the pipe a slight 10-degree twist to break the capillary bond, then pull straight out.
- Immediate Fitting Prep: While the fitting is still hot (approx. 300°F), use a brass wire brush to clean the inside of the cup. If solder pools at the bottom, use a dry cotton rag wrapped around a dowel to wipe the cup clean.
Critical Failure Modes & Edge Cases
- The "Ghost Joint" (Pipe Won't Pull): The solder is visibly liquid, but the pipe won't budge. Cause: The pipe was crimped or dented prior to the original soldering, creating a mechanical lock. Solution: You must cut the pipe flush and use an internal cutter to shave it out from the inside.
- Carbonized Flux Barrier: If you overheat the joint (exceeding 600°F), the rosin-based flux burns into a hard black carbon scale. This scale prevents new solder from wetting the copper. Solution: The fitting must be soaked in a specialized flux-cleaning acid or mechanically reamed; otherwise, it must be discarded.
- Galvanic Corrosion Locks: When removing copper from brass valves, dissimilar metal corrosion can fuse the joint. Apply penetrating oil (like PB Blaster) to the exterior seam and let it sit for 12 hours before applying heat to break the corrosion bond.
Frequently Asked Questions
Can I reuse a copper fitting after removing the soldered pipe?
Yes, provided the internal cup is completely free of old solder, carbonized flux, and deep wire-brush grooves. If the cup is scored deeply, capillary action will fail during the re-sweat, leading to pinhole leaks. Always inspect the fitting with a bright LED light before reusing.
Is it safe to use a heat gun instead of a torch?
No. Standard heat guns max out around 1,000°F and lack the concentrated BTU output required to heat a copper fitting evenly. By the time the center of the joint reaches the 450°F melting point of 95/5 lead-free solder, the exterior copper will be severely oxidized and annealed.
Authoritative References & Safety Standards
When performing hot work or modifying plumbing systems, always adhere to local codes and safety guidelines. For comprehensive guidelines on copper tube joining and system integrity, refer to the Copper Development Association's Plumbing Applications Guide. Additionally, when using open flames in residential or commercial structures, strict adherence to fire prevention protocols is mandatory; consult the OSHA Hot Work Safety Standards to ensure proper ventilation, fire watch, and combustible clearance.