
The Expert Consensus: Why Most Soldering Practice Fails
Search for 'how to practice soldering' and you will find hundreds of tutorials telling you to buy a cheap iron and a generic DIY kit. According to IPC-certified instructors and aerospace avionics technicians, this approach is fundamentally flawed. Muscle memory built on poor thermal recovery tools and oxidized, non-eutectic solder creates bad habits that are incredibly difficult to unlearn.
In this expert roundup, we synthesize insights from master technicians to provide a structured, professional-grade practice regimen. We will cover the exact gear you need (with current 2026 pricing), where to source practice materials, and four progressive drills designed to build the micro-motor skills required for flawless through-hole and surface-mount device (SMD) joints.
The Expert's Practice Workbench: Gear That Builds Good Habits
You do not need a $2,000 JBC station to learn, but you do need equipment that behaves predictably. Here is the exact buyer's guide for a practice setup endorsed by repair professionals.
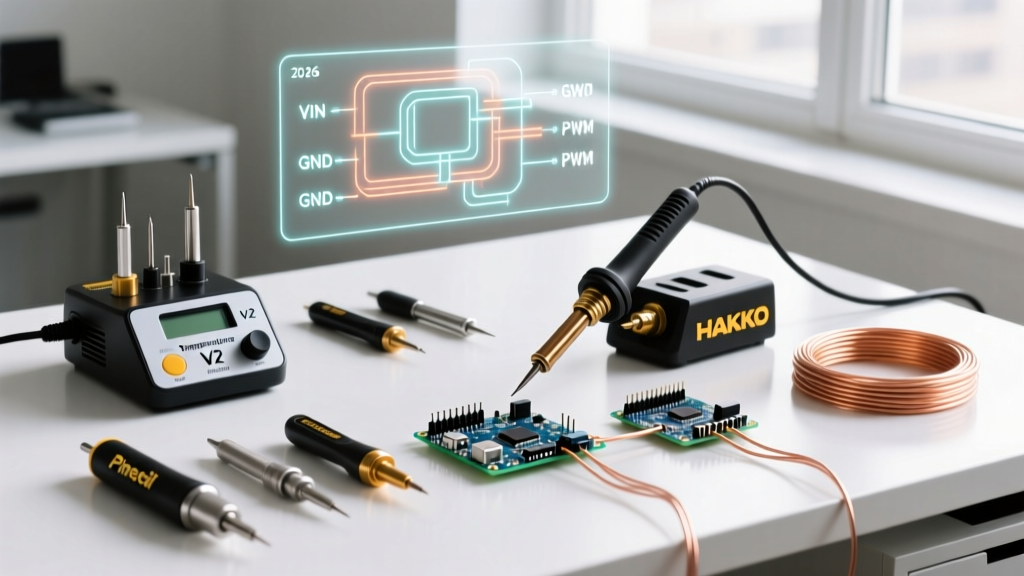
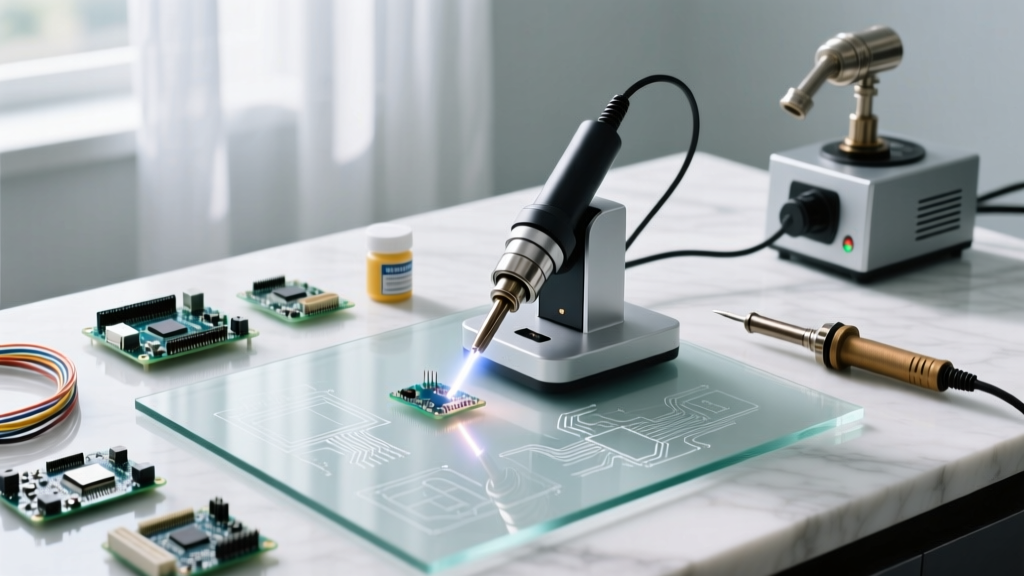
- The Iron: Skip the $15 generic wands. The Pinecil V2 ($26) offers exceptional thermal recovery for the price, driven by a RISC-V chip. If you prefer a traditional bench station, the Hakko FX-888D ($110) remains the industry standard for entry-level reliability.
- The Solder: Only use Kester 245 (63/37 Sn/Pb) for practice. At roughly $48 per pound, it is an investment, but its eutectic nature means it transitions instantly from liquid to solid. This eliminates the 'plastic state' that causes cold joints when beginners move their hands too early.
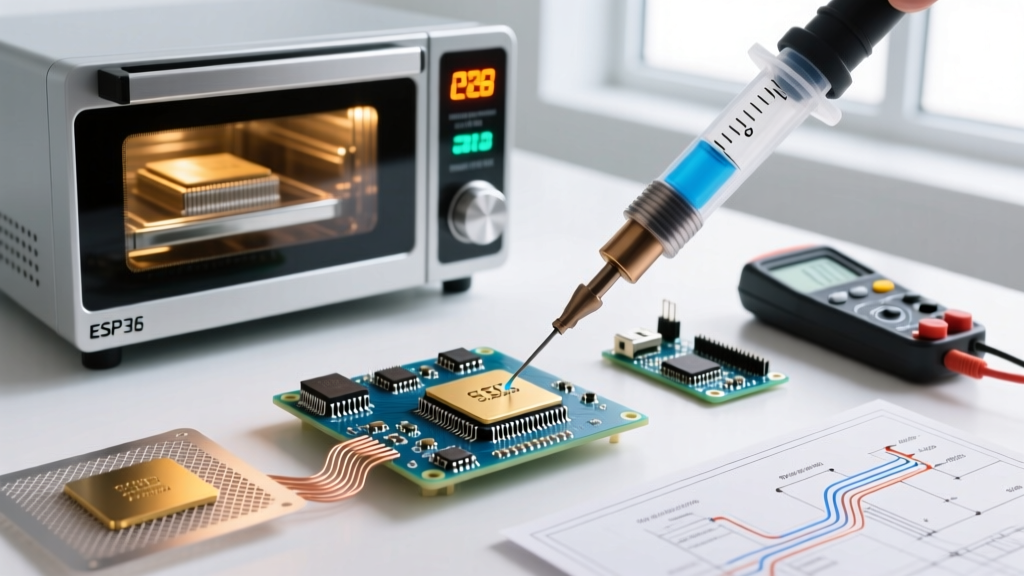
- The Flux: Solder wire flux is rarely enough for practice boards. Use Amtech NC-559-V2-TF ($25 for a 10g syringe). It is a no-clean, tacky flux that prevents tombstoning and bridging.
- The Tweezers: For SMD practice, you need precision. The Vetus ESD-15 ($8) features ultra-fine, anti-magnetic tips that will not accidentally magnetize and hold onto tiny 0805 components.
Sourcing the Right Practice Substrates
Do not practice on expensive, purpose-built 'soldering practice kits' from Amazon. They often use low-quality FR-2 (phenolic) boards that delaminate and lift pads at temperatures as low as 240°C.
'The best way to practice soldering is on the exact materials you will eventually repair. Scavenge dead routers, DVD players, and graphics cards. The heavy ground planes on a scrap motherboard will teach you how to manage heat sinking far better than a thin, single-layer kit board.' — Senior Avionics Technician, IPC J-STD-001 Trainer
Pro Tip: You can buy bulk 'scrap PCBA lot' boxes on eBay for $15 to $25. Look for listings that specify 'untested' or 'for parts' routers and modems, as these offer a high density of both through-hole connectors and SMD passives.
The 4-Step Expert Practice Progression
Follow this sequence strictly. Do not move to SMD until you have mastered the thermal dynamics of through-hole and wire splicing.
Drill 1: The NASA-Standard Wire Splice
Before touching a PCB, master wire-to-wire connections. Reference the NASA-STD-8739.3 Workmanship Standard for soldered electrical connections.
- Strip exactly 1 inch of insulation from two 22 AWG stranded wires.
- Cross the wires and twist them tightly (the 'X' splice).
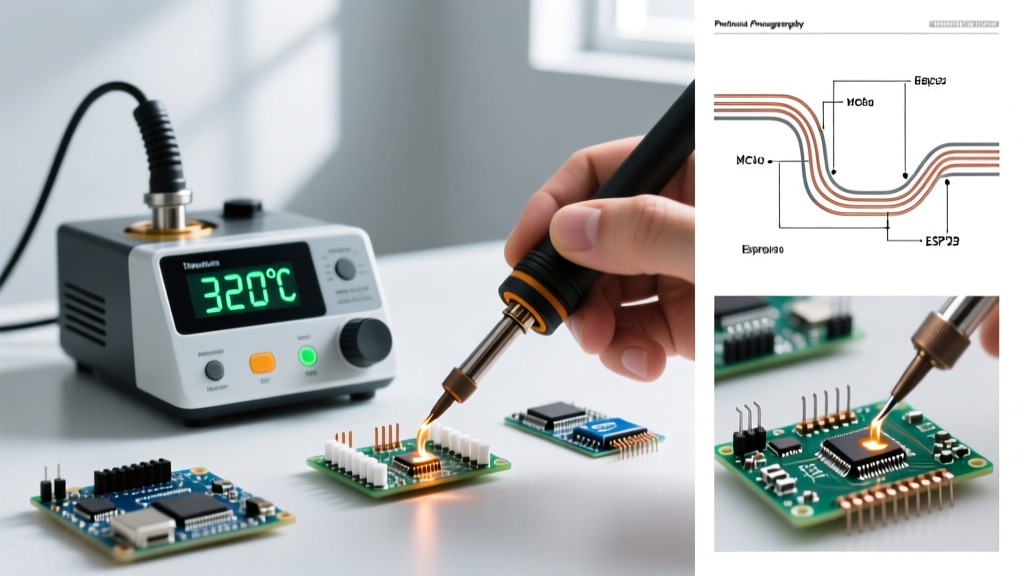
- Apply a drop of liquid flux. Heat the wire, not the solder, to 320°C.
- Feed Kester 245 into the joint until it wicks entirely through the twist.
- Pass Criteria: The solder must be visible on 360 degrees of the splice, with a smooth, concave fillet. No sharp spikes or dull, grainy textures.
Drill 2: Through-Hole Desoldering (The Pad Saver)
Anyone can add solder; removing it without destroying the board is the true test of skill. Find a scrap board with a multi-pin through-hole connector (like a VGA or ATX power header).
- The Tool: Use a manual solder sucker like the Edsyn LPA128 ($15) or a desoldering braid (Chemtronics 4-250L).
- The Technique: Apply fresh solder to the old joint first. This old, oxidized solder has poor thermal conductivity; adding fresh eutectic solder acts as a thermal bridge.
- Timing: You have exactly 3 to 4 seconds per pin before the FR-4 glass transition temperature (Tg) is compromised and the copper annular ring begins to separate from the fiberglass.
Drill 3: 0805 SMD Tack-and-Sweep
Surface mount components require a shift from 'feeding' solder to 'managing' solder.
- Tin one pad on your scrap board with a microscopic amount of solder.
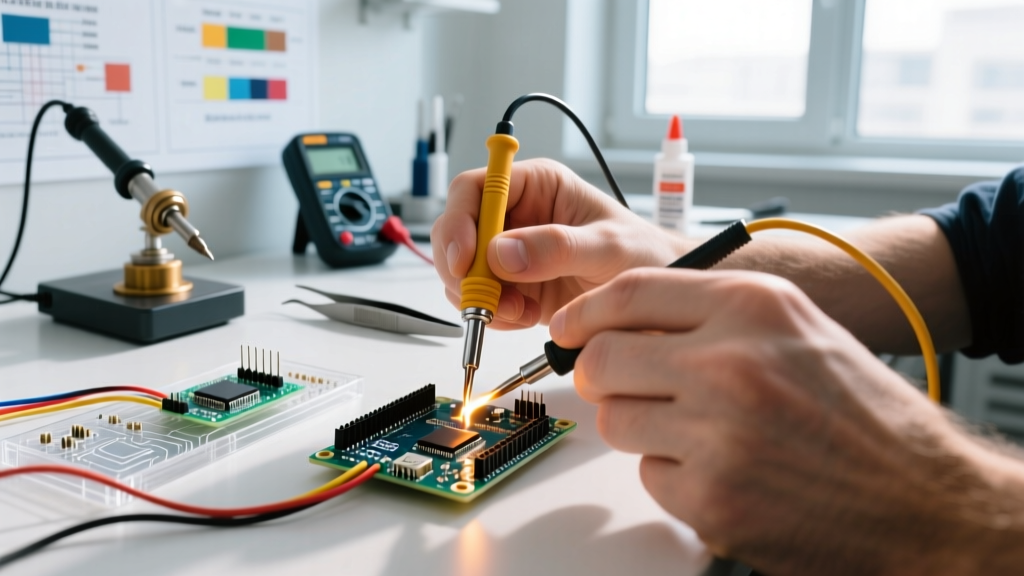
- Hold the 0805 resistor with your Vetus ESD-15 tweezers. Heat the tinned pad and slide the component into the molten pool.
- Remove the iron, hold the component still for 2 seconds, then release the tweezers.
- Apply a dab of Amtech NC-559 flux to the opposite pad, touch the iron to the pad, and let capillary action pull a tiny amount of solder from your tip to the component lead.
Drill 4: QFP IC Drag Soldering
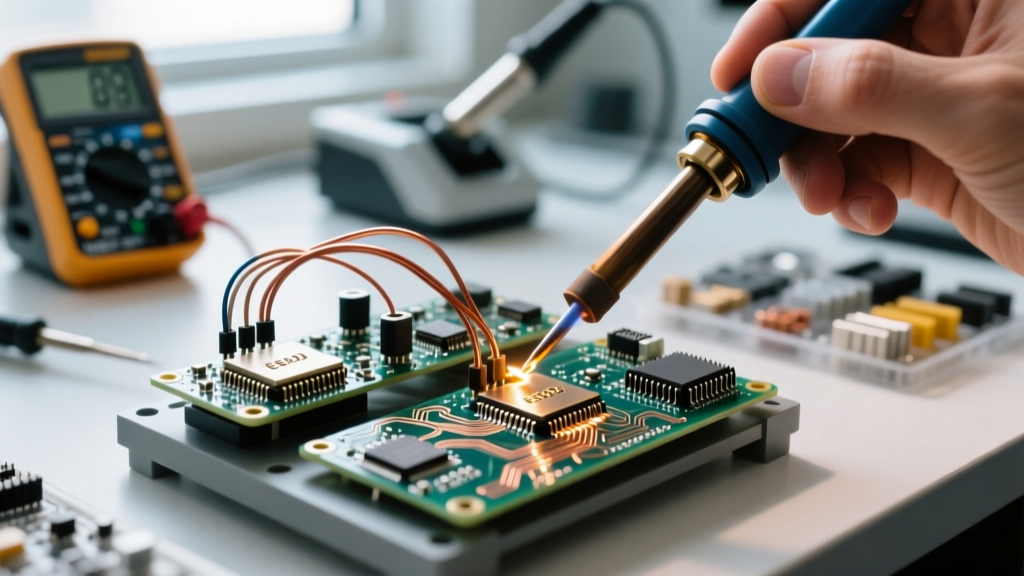
Once you can place 0805s, move to a 64-pin or 100-pin QFP (Quad Flat Package) chip salvaged from a dead graphics card. This drill teaches you how to rely on IPC J-STD-001 principles of flux chemistry rather than brute-force heat.
- Flood the pads with Amtech tacky flux.
- Align the chip using the corner pin markers.
- Tack two opposite corners.
- Load your iron tip with a generous bead of solder. Drag the tip slowly across the rows of pins at a 45-degree angle. The flux will break the surface tension, and the solder will naturally snap to the copper pads, leaving the gaps between pins clean.
Expert Troubleshooting Matrix: Diagnosing Practice Failures
When your practice joints fail, use this matrix to diagnose the root cause. Master technicians do not guess; they analyze the metallurgy and thermal profile.
| Defect | Visual Cue | Root Cause | Expert Fix |
|---|---|---|---|
| Cold Joint | Dull, grainy, or lumpy surface; poor wetting. | Iron applied to solder instead of the part; insufficient thermal mass transfer. | Clean tip with brass wool. Apply iron to the pad and lead simultaneously for 1 second before feeding solder. |
| Tombstoning | One end of an SMD capacitor stands straight up. | Uneven heating of the two pads causing one side to reflow and pull the component via surface tension. | Ensure both pads receive equal heat. Use a heavier iron tip (e.g., Hakko T18-D12) to maintain thermal stability. |
| Pad Lift | Copper pad peels away from the fiberglass substrate. | Exceeding 4-5 seconds of continuous heat; using excessive downward pressure with the iron. | Stop immediately. Let the board cool for 30 seconds. Use a desoldering braid to clean the area and repair with a jumper wire. |
| Solder Bridge | Solder connects two adjacent IC pins. | Excess solder; lack of sufficient flux to break surface tension. | Do not try to 'wipe' it away. Apply a massive amount of liquid flux and drag a clean, dry iron tip through the bridge to pull the excess solder away. |
Final Thoughts from the Masters
Learning how to practice soldering effectively is about deliberate repetition, not just melting metal. Industry data suggests it takes approximately 20 to 30 hours of focused, varied practice to develop the baseline micro-motor skills required for reliable consumer electronics repair.
Invest in eutectic solder, respect the thermal limits of your FR-4 substrates, and treat flux as your primary tool. For further reading on professional workmanship requirements, review the guidelines published by NASA's Electronic Parts and Packaging (NEPP) Program and the IPC standards body. Your joints will transition from 'good enough' to 'factory perfect' in a matter of weeks.