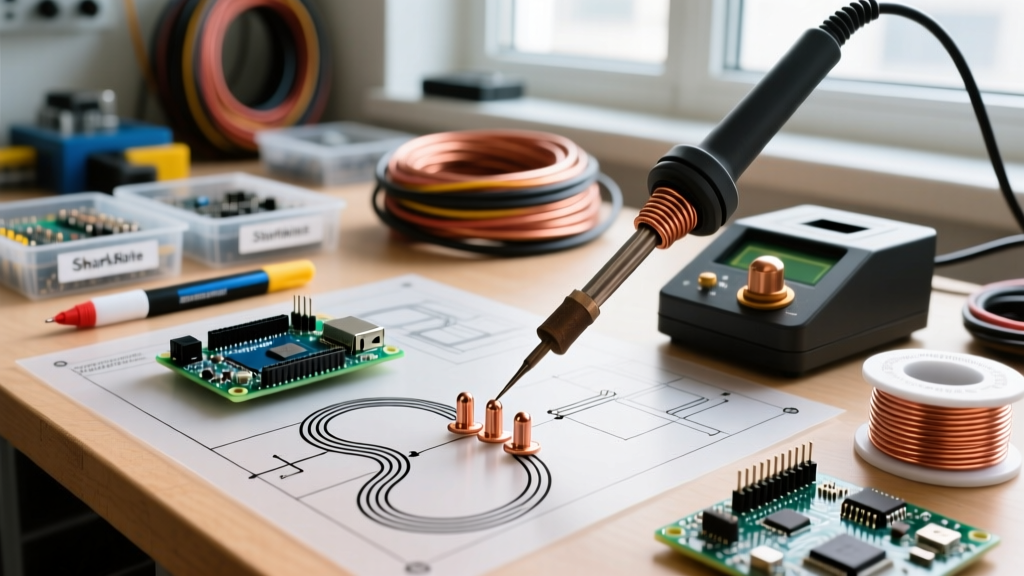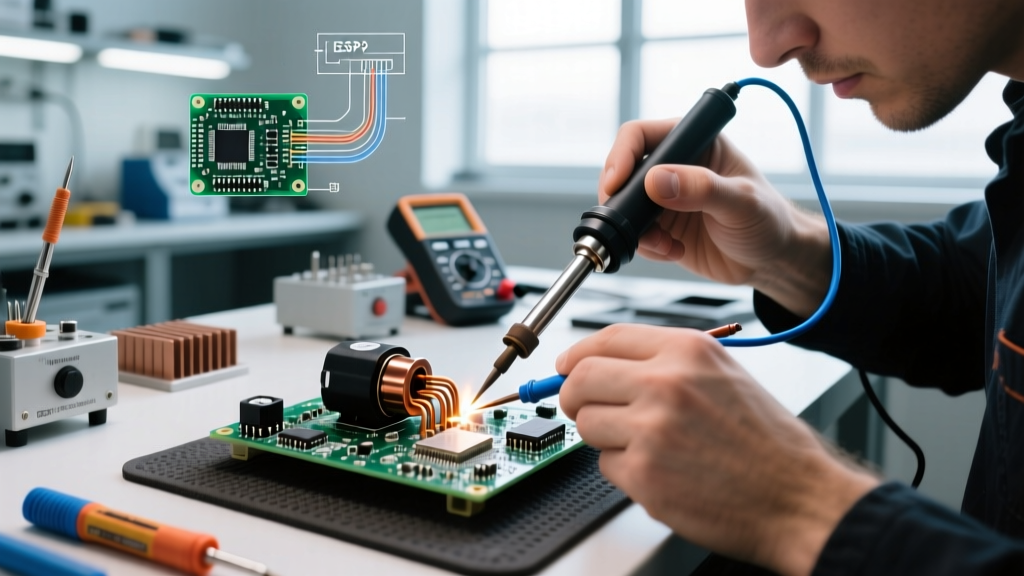

The Industrial Imperative: Soldering Potentiometer Terminals
When soldering potentiometer terminals in industrial environments—such as heavy machinery control panels, professional audio mixing consoles, or automotive diagnostic rigs—the stakes are significantly higher than typical printed circuit board (PCB) assembly. Panel-mount potentiometers, particularly wirewound precision models like the Bourns 3590 series or heavy-duty carbon track variants from TT Electronics, feature massive solder lugs designed to accept thick gauge wires (often 14 AWG to 18 AWG). These lugs act as enormous thermal heatsinks, making proper heat transfer the single most critical factor in achieving a reliable, vibration-resistant joint.
In industrial manufacturing and repair, a failed potentiometer joint doesn't just mean a scratchy audio signal; it can result in catastrophic control loss in motorized actuators or heavy hydraulic valves. This buyer's guide and technical breakdown will equip you with the exact tools, thermal profiles, and material specifications required for high-reliability potentiometer soldering in 2026.
Thermal Mass and the Heatsink Effect in Panel-Mount Pots
The primary challenge when soldering potentiometer lugs is thermal mass. Unlike PCB pads, which dissipate heat relatively quickly through thin copper traces, a panel-mount potentiometer's solder lug is often physically riveted or staked to the metal chassis of the component. If you apply a low-wattage iron, the heat travels down the lug and into the potentiometer's internal casing. This leads to two severe failure modes:
- Carbon Track Delamination: Excessive, prolonged heat transfers into the resistive element, melting the adhesive binding the carbon or cermet track to the phenolic board.
- Wirewound Enamel Breakdown: In precision wirewound pots, sustained high temperatures can degrade the microscopic enamel insulation on the resistance wire, causing shorted turns and non-linear output.
Buyer's Guide: Selecting the Right Soldering Station
To overcome the heatsink effect without lingering on the joint, you need a station with high active wattage and advanced tip-sensing technology. Here is how the top industrial contenders compare for potentiometer work.
1. JBC CD-2BQE (Premium Industrial Tier)
Price Range: $550 - $620
Best For: High-volume industrial manufacturing, heavy 12 AWG ground lugs.
JBC's active tip technology places the heating element directly inside the tip cartridge. When soldering a massive potentiometer chassis ground lug, the C245-945 heavy chisel tip detects the thermal drop instantly and pumps 130W of power directly into the joint. The joint reaches reflow in under 2 seconds, preventing internal thermal damage to the pot.
2. Hakko FX-951 (Mid-Tier Workhorse)
Price Range: $320 - $360
Best For: Maintenance, repair, and overhaul (MRO) facilities, audio engineering racks.
As noted in Hakko's industrial soldering guidelines, the FX-951 utilizes T18 series tips with a ceramic heater. While it has a slightly slower thermal recovery than JBC, using a T18-C3 (bevel) or T18-D24 (chisel) tip at 380°C provides ample thermal mass for standard 16 AWG potentiometer lugs. It remains the gold standard for mid-tier industrial reliability.
3. Weller WE1010NA (Entry-Level/Light Duty)
Price Range: $110 - $135
Best For: Light industrial control panels, prototyping, educational labs.
The WE1010NA delivers 70W of power. It is sufficient for PCB-mount potentiometers (like the Alps RK27 series) and small panel-mount lugs. However, according to Weller's official knowledge base, operators must use the largest possible chisel tip (ETA or RTW series) to maximize surface area contact when dealing with heavy chassis grounds, otherwise dwell times will exceed safe limits.
Material Selection: Alloys and Fluxes for 2026 Standards
As of 2026, strict adherence to RoHS 3 and REACH compliance is mandatory for industrial electronics exported globally. This heavily influences your solder alloy choice. Furthermore, potentiometer lugs require aggressive flux chemistry to penetrate the nickel-silver or tinned brass plating often used in heavy-duty components.
| Alloy Designation | Composition | Melting Point | Industrial Application & Notes | Approx. Cost/lb |
|---|---|---|---|---|
| SAC305 | 96.5% Sn, 3.0% Ag, 0.5% Cu | 217°C - 220°C | Standard RoHS compliant alloy. Requires higher iron temps (360°C+). Excellent shear strength for vibrating machinery. | $45 - $55 |
| Sn63/Pb37 | 63% Sn, 37% Pb | 183°C (Eutectic) | Legacy/Exempt industrial use (aerospace, military). Superior wetting, lower thermal stress on carbon tracks. | $35 - $45 |
| Sn96.5/Ag3.5 | 96.5% Sn, 3.5% Ag | 221°C | High-reliability RoHS. Better fatigue resistance than SAC305 in extreme thermal cycling environments. | $50 - $60 |
Flux Recommendation: For potentiometer lugs, water-soluble fluxes are generally avoided due to the risk of conductive residue migrating into the pot's open shaft. Use a high-activity No-Clean Rosin (RMA) flux, such as Kester 951, applied via a precision pen. The IPC-A-610 standard for electronic assemblies permits No-Clean residues on non-sealed components provided they do not impede moving parts.
Step-by-Step Soldering Workflow for Heavy-Duty Lugs
Follow this precise workflow to ensure a metallurgically sound joint without compromising the potentiometer's internal tolerances.
- Mechanical Prep: Strip the wire to exactly the length of the lug barrel or eyelet. Crimp the wire into the lug mechanically before applying heat. The joint must hold together physically even if the solder melts.
- Flux Application: Apply RMA flux to both the wire and the potentiometer lug. Do not rely solely on the flux core inside the solder wire.
- Tip Selection & Temp: Select a chisel or bevel tip that matches the width of the lug. Set the station to 360°C for SAC305 or 330°C for Sn63/Pb37.
- Heat Transfer: Apply the tip simultaneously to the lug and the wire. Feed 0.8mm to 1.0mm diameter solder wire into the opposite side of the joint. Target a dwell time of 2.5 to 4 seconds.
- Wetting & Removal: Once the solder flows completely through the eyelet or barrel and forms a smooth concave fillet, remove the solder wire first, then the iron.
- Thermal Protection: Immediately slide a piece of 3:1 shrink ratio, adhesive-lined heat shrink tubing over the joint and cure it. This provides strain relief and environmental sealing.
Critical Failure Modes and Edge Cases
Even with the right tools, operators frequently encounter specific edge cases when soldering potentiometer terminals:
- Solder Wicking into the Shaft: If the potentiometer is mounted vertically and excessive solder is applied to the center wiper lug, capillary action can draw molten solder into the rotary shaft bearing. This permanently locks the potentiometer. Solution: Use minimal solder and apply a high-temp Kapton tape barrier at the base of the lug.
- Phenolic Board Charring: If the lug turns brown or black, the internal phenolic substrate is burning. This outgassing creates a high-resistance carbon barrier between the lug and the resistive track. Solution: Your dwell time is too long. Increase tip mass, not temperature.
- Cold Joints from Premature Withdrawal: Heavy lugs retain heat. If you pull the iron away before the solder has fully wetted the inner strands of the wire, you create a disturbed joint that will crack under industrial vibration.
Expert FAQ on Potentiometer Soldering
Can I use a standard 40W craft iron for industrial potentiometers?
No. A 40W iron lacks the thermal recovery to bridge the heatsink effect of a panel-mount pot. You will end up holding the iron on the lug for 15+ seconds, guaranteeing thermal destruction of the internal carbon track. You need a minimum of 65W with active thermal feedback.
How do I protect the plastic casing of audio potentiometers during soldering?
For consumer or pro-audio pots with nylon or polycarbonate casings (like the Alps Blue Velvet series), clamp a pair of copper alligator clips or specialized thermal tweezers onto the lug between the solder joint and the plastic body. Copper acts as a thermal shunt, drawing heat away from the plastic.
Is it acceptable to bend the potentiometer lugs for strain relief?
Bending the lugs after they are staked to the phenolic board is highly discouraged. The mechanical stress can micro-fracture the connection between the lug and the internal resistive track, leading to intermittent open circuits. Perform all wire routing and bending prior to soldering.