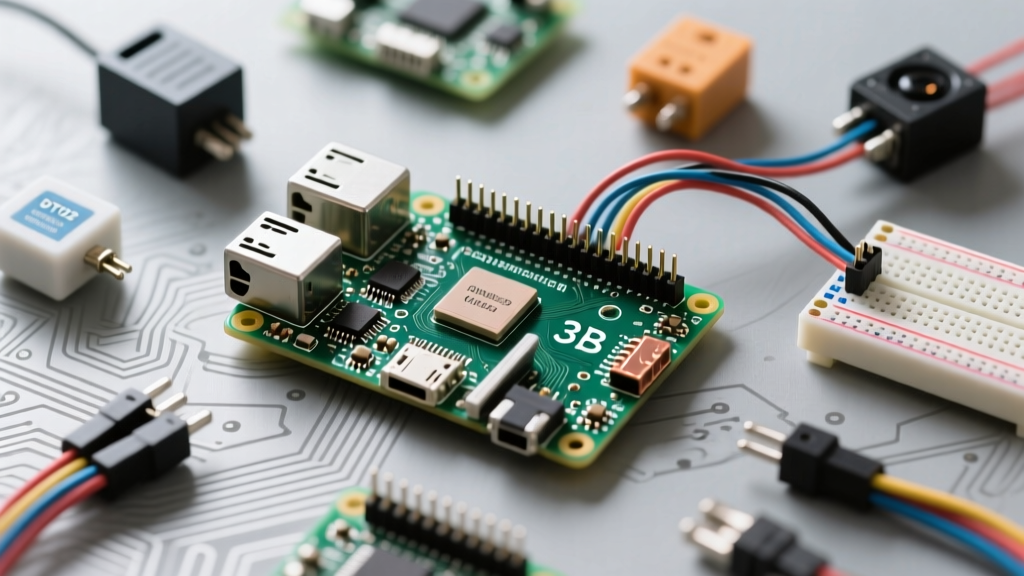
To build a reliable weather station on Raspberry Pi, use the Bosch BME280 sensor over I2C paired with a Raspberry Pi 4 Model B (4GB) or Pi 5. The BME280 provides temperature, humidity, and barometric pressure in a single package, avoiding the self-heating errors and high failure rates common in cheaper DHT11/DHT22 modules. Furthermore, the Pi 4 and 5 offer native hardware I2C controllers that handle the BME280's strict timing requirements far better than bit-banged GPIO implementations on older boards.
Decision Path: Choosing Your Sensor and Board
Before buying parts, map your environmental requirements to the correct silicon. Many builders mistakenly buy a BMP280 thinking it includes humidity, or attempt to run long I2C cable runs without bus extenders. Use this decision matrix to finalize your hardware pick.
| If your requirement is... | Then choose this sensor... | Why / Trade-offs |
|---|---|---|
| Budget under $5, basic indoor temp/humidity | DHT22 (AM2302) | High failure rate, slow 2s polling, requires precise GPIO timing. |
| Temp, humidity, pressure, high accuracy | Bosch BME280 | Industry standard. Low self-heating. I2C/SPI native. Best overall value. |
| Above + Air Quality (VOC/eCO2) | Bosch BME688 | Requires complex BSEC library compilation on Pi. Overkill for basic weather. |
| Sensor must be >2 meters from the Pi | BME280 + LTC4311 Extender | I2C capacitance limits standard runs to ~1 meter. Extenders solve this. |
Parts List and Spec Sheet
The following bill of materials assumes you are building a headless, always-on node running Raspberry Pi OS (Bookworm or later, 64-bit). Prices reflect 2026 market averages for genuine components.
| Component | Exact Variant / Model | Est. Price | Technical Notes |
|---|---|---|---|
| Microcontroller | Raspberry Pi 4 Model B (4GB RAM) | $55.00 | Pi 5 is also compatible, but Pi 4 runs cooler, reducing ambient thermal bleed to the sensor. |
| Sensor | Adafruit BME280 (PID 2652) | $19.50 | Verify chip laser etching says 'BME', not 'BMP'. Default I2C address: 0x77. |
| Power Supply | Official Pi 27W USB-C PSU (5.1V / 5A) | $12.00 | Prevents brownout warnings when WiFi and I2C bus spike simultaneously. |
| Wiring | 22 AWG Solid Core Hookup Wire | $8.00 | Keep I2C runs under 1 meter to stay under the 400pF bus capacitance limit. |
| Enclosure | Stevenson Screen (Solar Shield) | $25.00 | Mandatory for outdoor use to block solar radiation and rain while allowing airflow. |
Pin Mapping and Physical Wiring
The Raspberry Pi uses Broadcom (BCM) pin numbering for its GPIO header. The BME280 communicates via I2C, requiring only four physical connections. Ensure the Pi is completely powered down and unplugged before making these connections.
| Raspberry Pi Pin (BCM / Physical) | BME280 Breakout Pin | Function |
|---|---|---|
| 3.3V Power (Pin 1) | VIN (or 3Vo) | Power input. Do NOT use 5V; the BME280 is strictly a 3.3V device. 5V will destroy the silicon. |
| Ground (Pin 6) | GND | Common ground reference. |
| GPIO 2 / SDA (Pin 3) | SDI (or SDA) | I2C Data line. |
| GPIO 3 / SCL (Pin 5) | SCK (or SCL) | I2C Clock line. |
Wiring Steps:
- Connect the 3.3V pin on the Pi to the VIN pin on the BME280.
- Connect Pi GND to BME280 GND.
- Connect Pi SDA (BCM 2) to BME280 SDI.
- Connect Pi SCL (BCM 3) to BME280 SCK.
- Boot the Pi, open a terminal, and run
sudo raspi-config. - Navigate to Interface Options > I2C and select Yes to enable the ARM I2C interface.
- Reboot the Pi and verify the sensor is visible by running
sudo i2cdetect -y 1. You should see77in the grid output.
Python Code with I2C Error Handling
This script targets the Raspberry Pi 4 Model B and Pi 5 running a 64-bit OS. We use the adafruit-circuitpython-bme280 library, which handles the complex Bosch compensation algorithms internally. Install the dependencies via pip in your virtual environment: pip3 install adafruit-circuitpython-bme280.
The code below includes explicit oversampling configurations to reduce noise, and robust try/except blocks to catch the specific I2C errors that plague weather station builds.
import time
import board
import busio
import adafruit_bme280
import sys

# Target: Raspberry Pi 4 Model B / Pi 5 (BCM Pin Mapping)
# SDA = BCM 2 (Physical Pin 3)
# SCL = BCM 3 (Physical Pin 5)

def main():
    try:
        # Initialize I2C bus explicitly defining the hardware pins
        i2c = busio.I2C(board.SCL, board.SDA)

        # Attempt to connect to the BME280 at default I2C address 0x77
        # Note: Generic clone boards often default to 0x76.
        # If you get a ValueError, change address=0x76 below.
        bme280 = adafruit_bme280.I2C(i2c, address=0x77)

        # Configure oversampling for outdoor weather station accuracy
        # 16x oversampling reduces RMS noise at the cost of slightly higher power draw
        bme280.temperature_oversampling = 16
        bme280.humidity_oversampling = 16
        bme280.pressure_oversampling = 16

        # Enable the IIR filter to smooth out sudden pressure spikes (e.g., wind gusts slamming a door)
        bme280.filter = 16

        print('BME280 initialized successfully. Reading sensors...')

        while True:
            temp_c = bme280.temperature
            humidity = bme280.humidity
            pressure = bme280.pressure

            print(f'Temp: {temp_c:.1f} C | Humidity: {humidity:.1f} % | Pressure: {pressure:.2f} hPa')

            # Sleep for 10 seconds. BME280 draws ~3.6uA in standby, so frequent polling is fine,
            # but 10s is standard for weather logging to avoid self-heating from continuous measurement.
            time.sleep(10)

    except ValueError as e:
        # Catches wrong I2C address (e.g., sensor is at 0x76 instead of 0x77)
        print(f'DEVICE ADDRESS ERROR: {e}')
        print('Fix: Run i2cdetect -y 1. If you see 76, change address=0x76 in this script.')
        sys.exit(1)

    except OSError as e:
        # Catches I2C bus failures, disconnected wires, or missing pull-ups
        print(f'I2C BUS ERROR: {e}')
        print('Fix: Check wiring, ensure I2C is enabled in raspi-config, and verify pull-up resistors.')
        sys.exit(1)

    except KeyboardInterrupt:
        print('\nExiting weather station script gracefully.')
        sys.exit(0)

if __name__ == '__main__':
    main()
Debugging: "OSError: [Errno 121] Remote I/O error"
When working with I2C sensors on the Raspberry Pi, you will inevitably encounter the dreaded OSError: [Errno 121] Remote I/O error (or sometimes [Errno 110] Connection timed out). This error means the Pi's I2C controller sent a clock signal, but the sensor failed to acknowledge (NACK) or pulled the SDA line low and held it there.
The First 3 Things to Check When It Fails:
- Run
i2cdetect -y 1: If the grid is entirely empty, your wiring is wrong or I2C is disabled. If it showsUU, another driver has claimed the device. If it shows76instead of77, your code's address parameter is wrong. - Verify Pull-Up Resistors: I2C is an open-drain protocol. It requires resistors to pull the SDA and SCL lines up to 3.3V. The Adafruit BME280 has these built-in. If you bought a $2 generic clone, it likely lacks them. Measure the resistance between SDA and 3.3V with a multimeter; it should read ~4.7kΩ to 10kΩ. If it reads infinite (OL), solder 4.7kΩ resistors to the lines.
- Check Cable Length and Capacitance: The I2C specification limits bus capacitance to 400pF. Standard 22 AWG wire adds roughly 2-3pF per inch. If your sensor is mounted outside in a Stevenson screen and the cable run exceeds 1 meter, the signal edges will degrade, causing Errno 121. Use a dedicated I2C bus extender IC (like the LTC4311) for long runs.
| Ranked Cause | Symptom | Exact Fix |
|---|---|---|
| 1. Missing Pull-up Resistors | Intermittent Errno 121, works for 5 mins then crashes. | Add 4.7kΩ resistors from SDA to 3.3V and SCL to 3.3V. |
| 2. Address Mismatch (0x76 vs 0x77) | Immediate ValueError or Errno 121 on first read. | Change address=0x76 in the Python initialization. |
| 3. Wire Seating / Breadboard Contact | Works when touched, fails when left alone. | Solder header pins. Breadboard contacts oxidize and fail outdoors. |
| 4. Bus Capacitance Overload | Consistent Errno 121 on long cable runs (>1m). | Shorten wires or add an LTC4311 I2C bus extender module. |
For deeper hardware-level debugging of I2C bus states, refer to the official Raspberry Pi Hardware Configuration Documentation, which details how to adjust the I2C baud rate via config.txt if you are driving long capacitive lines.
Extending or Simplifying the Build
Once your baseline BME280 node is logging data reliably, you will likely want to adapt the footprint or integrate it into a broader smart home ecosystem.
How to Simplify (Lower Power / Smaller Footprint):
If this weather station is running on a battery or solar setup in a remote part of your yard, the Raspberry Pi 4 is overkill. Swap the compute module for a Raspberry Pi Zero 2 W ($15). Flash Raspberry Pi OS Lite (64-bit, headless) to eliminate the desktop environment's RAM and CPU overhead. Add a crontab entry to wake the Pi, run the Python script, append the data to a CSV, and execute sudo halt to shut down completely between readings. This drops average power consumption from ~2.5W to under 0.8W during active cycles.
How to Extend (Smart Home Integration):
To push data to Home Assistant or a cloud dashboard, integrate the Paho MQTT library. Instead of printing to the console, format the readings as a JSON payload and publish to an MQTT broker. For advanced wind and rain tracking, you cannot use I2C sensors alone. Extend the build by wiring an MCP3008 Analog-to-Digital Converter to the Pi's SPI bus. This allows you to read analog voltages from a traditional tipping-bucket rain gauge and a reed-switch anemometer, bridging the gap between digital silicon and mechanical meteorology.
For comprehensive wiring diagrams and integration examples for the MCP3008 ADC, the Adafruit Analog-to-Digital Converters Guide provides excellent reference schematics that pair perfectly with the BME280 setup outlined above.