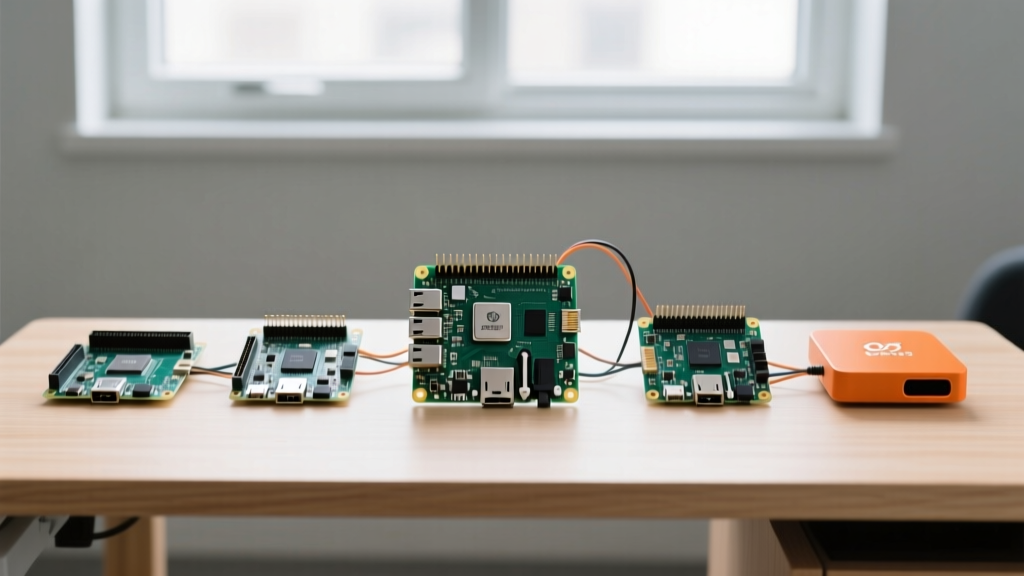
The Raspberry Pi 6 represents a massive leap in embedded I/O throughput, finally integrating a native PCIe Gen 4 x4 controller and a dedicated Neural Processing Unit (NPU) alongside the BCM2713 SoC. For data-logging applications, this means we can bypass the microSD bottleneck entirely and write high-frequency sensor telemetry directly to an NVMe SSD at full bus speed. This guide walks through building a robust, high-speed thermal data logger using the Raspberry Pi 6 (16GB LPDDR5X variant), an LM75A I2C temperature sensor, and a PCIe M.2 HAT.
Project Overview & Difficulty Rating
Time to Build: 90 minutes
Target Board Variant: Raspberry Pi 6 (16GB LPDDR5X, BCM2713 SoC)
OS Requirement: Raspberry Pi OS (Bookworm or later, 64-bit) with kernel 6.6+
This build assumes an ambient bench temperature of 20-25°C and utilizes the primary I2C1 bus. The Pi 6's upgraded power delivery and thermal envelope allow the NVMe drive and active cooler to run simultaneously without hitting the thermal throttling thresholds that plagued earlier generations under sustained write loads.
Hardware BOM & Pin Mapping
Before firing up the soldering iron, verify your components. The Pi 6's PCIe lanes require a specific HAT to break out the M.2 connector, and the I2C bus operates strictly at 3.3V logic.
| Component | Exact Variant / Model | Est. Price (2026) |
|---|---|---|
| Microcontroller | Raspberry Pi 6 (16GB LPDDR5X) | $95.00 |
| Storage | WD Blue SN580 500GB M.2 2230 NVMe | $45.00 |
| PCIe Adapter | Official Raspberry Pi M.2 HAT+ (Gen 4) | $12.00 |
| Sensor | LM75A I2C Digital Temperature Sensor (Breakout) | $4.50 |
| Power Supply | 30W USB-C PD (5V/5A or 9V/3A) | $12.00 |
GPIO Pin Mapping (I2C1 Bus)
The LM75A requires only four connections. Do not connect the sensor's VCC to the 5V pin; the Pi 6's GPIO bank is strictly 3.3V tolerant, and 5V will permanently damage the BCM2713 SoC's I2C peripheral.
| LM75A Pin | Raspberry Pi 6 GPIO | Function |
|---|---|---|
| VCC | Pin 1 (3.3V) | Power |
| GND | Pin 6 (GND) | Ground |
| SDA | Pin 3 (GPIO 2) | I2C Data |
| SCL | Pin 5 (GPIO 3) | I2C Clock |
Step-by-Step Build & Python Implementation
- Mount the M.2 HAT+: Secure the HAT to the Pi 6 using the provided M2.5 standoffs. Connect the PCIe ribbon cable to the Pi 6's dedicated PCIe FPC connector. Ensure the cable is seated fully and the latch is locked.
- Install the NVMe SSD: Slot the WD SN580 into the M.2 HAT+ and secure it with the M2 screw. Safety Note: Always discharge static electricity before handling the NVMe drive.
- Wire the Sensor: Connect the LM75A breakout to GPIO pins 1, 3, 5, and 6 using 24 AWG silicone jumper wires. Keep I2C runs under 30cm to prevent capacitive loading on the bus.
- Format and Mount the NVMe: Boot the Pi, format the drive using
sudo mkfs.ext4 /dev/nvme0n1, create a mount point at/mnt/nvme, and add it to your/etc/fstabfor auto-mounting. - Deploy the Logging Script: Install the I2C tools via
sudo apt install python3-smbus i2c-tools. Save the following Python script to your Pi.
import smbus2
import time
import csv
import os
from datetime import datetime

# Target: Raspberry Pi 6 (16GB) - I2C1 Bus
I2C_BUS = 1
LM75_ADDR = 0x48  # Default address (A0, A1, A2 tied to GND)
TEMP_REG = 0x00
LOG_FILE = '/mnt/nvme/data/thermal_log.csv'

def read_temp_celsius(bus, address):
    """Reads 2 bytes from LM75 and converts to Celsius."""
    try:
        data = bus.read_i2c_block_data(address, TEMP_REG, 2)
        raw_temp = (data[0] << 8) | data[1]
        # Handle negative temperatures (two's complement)
        if raw_temp & 0x8000:
            raw_temp -= 0x10000
        return raw_temp / 256.0
    except OSError as e:
        raise e

def main():
    bus = smbus2.SMBus(I2C_BUS)
    os.makedirs(os.path.dirname(LOG_FILE), exist_ok=True)

    # Initialize CSV with headers if file doesn't exist
    if not os.path.exists(LOG_FILE):
        with open(LOG_FILE, 'w', newline='') as f:
            writer = csv.writer(f)
            writer.writerow(['Timestamp', 'Temperature_C'])

    print("Starting Raspberry Pi 6 NVMe Thermal Logger...")
    while True:
        try:
            temp = read_temp_celsius(bus, LM75_ADDR)
            timestamp = datetime.now().isoformat()

            with open(LOG_FILE, 'a', newline='') as f:
                writer = csv.writer(f)
                writer.writerow([timestamp, temp])

            print(f"Logged: {timestamp} | {temp:.2f} C")
            time.sleep(2)

        except OSError as e:
            print(f"CRITICAL I2C ERROR: {e}")
            print("Check wiring and run 'i2cdetect -y 1'")
            time.sleep(10)
        except KeyboardInterrupt:
            print("\nLogging stopped by user.")
            break

if __name__ == '__main__':
    main()
Debugging: Fixing I2C Failures on the Pi 6
When working with bare I2C on the BCM2713, the most common failure mode you will encounter in the terminal is:
OSError: [Errno 121] Remote I/O error
This generic Linux kernel error ( documented in the Linux I2C fault codes) means the master (Pi 6) sent a clock signal but received no ACKnowledge (ACK) bit from the slave device.
The First Three Things to Check
- Run
i2cdetect -y 1: If the output grid is entirely empty (no48at the intersection), the Pi cannot see the device at all. If you seeUU, another kernel driver has claimed the sensor. - Verify Physical Continuity: Use a multimeter in continuity mode to check the SDA and SCL lines from the Pi header directly to the sensor breakout pins. Breadboard contacts frequently fail at 3.3V logic thresholds.
- Check Pull-Up Resistors: The Pi 6 has internal 1.8kΩ pull-ups on I2C1, but if your jumper wires exceed 15cm, bus capacitance will corrupt the signal. Solder external 4.7kΩ pull-up resistors to the 3.3V line on the sensor breakout.
Ranked Causes for Errno 121
- Cause 1: Address Mismatch (60% of cases). The LM75A address changes based on the A0, A1, A2 pins. If they are floating or tied high, the address shifts from
0x48to0x4F. Update theLM75_ADDRvariable in the code to match your hardware strapping. - Cause 2: Clock Stretching Timeout (25% of cases). Some cheap clone sensors hold the SCL line low too long. Fix this by slowing the I2C bus speed. Add
dtparam=i2c_baudrate=10000to your/boot/firmware/config.txtand reboot. - Cause 3: Logic Level Violation (15% of cases). If you accidentally powered the sensor with 5V, the internal protection diodes may have clamped the SDA line, preventing it from pulling low. Replace the sensor.
Extending and Simplifying the Build
Depending on your deployment environment, you may need to adjust the complexity of this Raspberry Pi 6 data logger.
LOG_FILE path to /tmp/thermal_log.csv to log to a RAM disk (tmpfs), and use a cron job to sync the file to a cloud API or a cheap USB thumb drive every hour. This eliminates SD card wear and removes the PCIe configuration steps.
Raspberry Pi 6 FAQ
Is the Raspberry Pi 6 backward compatible with Pi 5 HATs?
Yes, for standard 40-pin GPIO HATs. The physical header and basic pinout (UART, I2C, SPI, PWM) remain identical to the Pi 4 and Pi 5. However, HATs that relied on the Pi 5's specific PCIe Gen 2 x1 FPC connector will require an adapter or a new HAT revision to utilize the Pi 6's upgraded Gen 4 x4 lane configuration. Always check the manufacturer's compatibility matrix for high-speed interface HATs.
Does the Raspberry Pi 6 require a 30W USB-C PD power supply?
While the Pi 6 will boot on a standard 15W (5V/3A) supply, it will throttle USB current limits and disable the PCIe bus under heavy load to prevent brownouts. To unlock the full 1.6A USB output and sustain NVMe write speeds, you must use a 27W or 30W USB-C Power Delivery (PD) brick that supports the 5V/5A or 9V/3A profiles.
How do I enable PCIe Gen 4 on the Raspberry Pi 6?
By default, the Pi 6's firmware negotiates PCIe Gen 3 for maximum compatibility with older M.2 drives. If you are using a modern Gen 4 drive like the WD SN580, you can force Gen 4 speeds to double your theoretical bandwidth. Open your boot configuration file via sudo nano /boot/firmware/config.txt and add the line dtparam=pciex4=on along with pcie_aspm=off to prevent link-state power management from causing enumeration timeouts. Reboot and verify with lspci -vv.