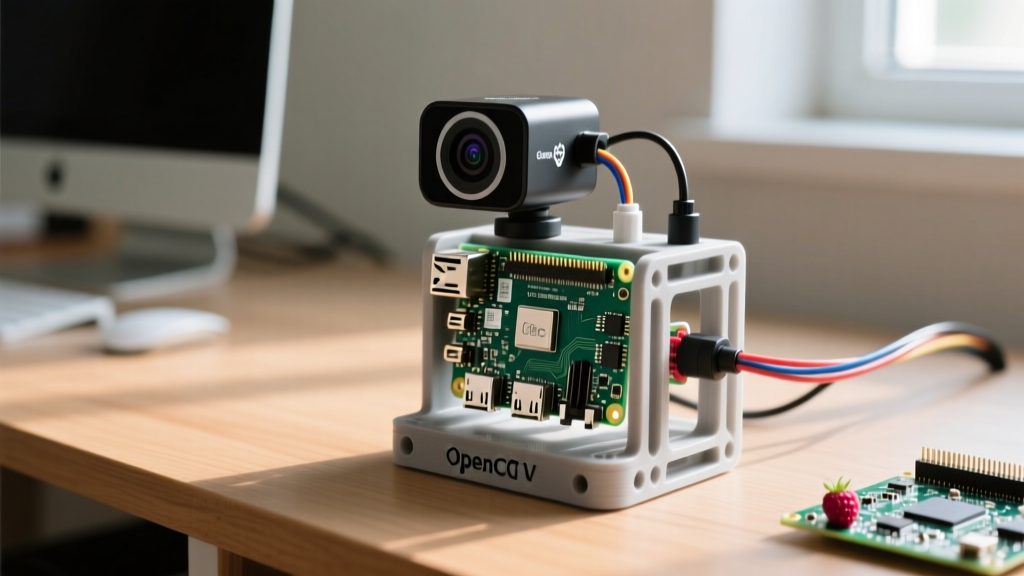

Integrating computer vision into a smart home ecosystem transforms passive security cameras into proactive, intelligent sensors. While cloud-based solutions like Ring or Nest offer convenience, they introduce latency, recurring subscription costs, and privacy concerns. By deploying an OpenCV Raspberry Pi setup, you can process video feeds locally, detect specific events (like package deliveries or pet movements), and trigger Home Assistant automations via MQTT without a single frame leaving your local network.
This guide bypasses generic tutorials and dives straight into the architectural realities of running OpenCV on Raspberry Pi OS Bookworm, addressing the specific hardware bottlenecks, camera driver traps, and integration protocols required for a production-grade smart home vision node.
The Shift to Local Edge Vision
Edge computing in smart homes relies on processing data at the source. When you use OpenCV on a Raspberry Pi, you are leveraging a highly optimized C++ backend wrapped in Python to perform matrix operations on live video streams. Whether you are running background subtraction for motion detection or passing frames through a MobileNet-SSD model for object classification, the Pi acts as an intelligent edge node. The primary advantage here is latency reduction; an MQTT payload signaling 'person_detected' can reach your Home Assistant server in under 50 milliseconds, compared to the 2-5 second delay typical of cloud webhooks.
Hardware Matrix: Pi Models and Camera Optics
Selecting the right single-board computer and camera module is the most critical decision in your vision pipeline. Do not underestimate the bandwidth requirements of raw video streams.
Compute Power: Pi 4 vs. Pi 5
The Raspberry Pi 4 Model B (4GB) remains a viable budget option for basic Haar Cascade detection or low-framerate MQTT snapshots. However, for continuous neural network inference (like YOLOv8 via ONNX), the Raspberry Pi 5 (8GB) is mandatory. The Pi 5's Broadcom BCM2712 Cortex-A76 processor offers roughly a 2.5x single-thread performance uplift over the Pi 4, which directly translates to higher frames-per-second (FPS) throughput in OpenCV's cv2.imshow or inference loops. Furthermore, the Pi 5 features dual 4-lane MIPI CSI-2 ports, doubling the available bandwidth for high-resolution camera sensors.
Optics: CSI Ribbon vs. USB Webcams
- Arducam IMX477 (HQ Camera): Priced around $50 (lens sold separately), this 12.3MP CSI sensor offers superior low-light performance and global shutter options. It connects via the dedicated MIPI lanes, bypassing USB bottlenecks.
- Logitech C920 / C930e: USB webcams ($60-$90) are plug-and-play with OpenCV's
VideoCapture, but they compress video into MJPEG or H.264 streams. The Pi's CPU must then decompress these frames before OpenCV can process them, introducing a 15-30% CPU overhead penalty.
Navigating Bookworm: Headless OpenCV Installation
With the release of Raspberry Pi OS Bookworm, the underlying Linux architecture shifted to Wayland and Python 3.11, enforcing PEP 668 (externally managed environments). You can no longer simply run pip install opencv-python globally without breaking system dependencies.
For smart home nodes, you should always use the headless version of OpenCV to strip out GUI dependencies (like Qt and GTK), saving roughly 400MB of RAM and preventing boot errors on headless Pi deployments.
Always deploy vision scripts inside an isolated Python virtual environment. This prevents library conflicts with Home Assistant companion scripts or system-level daemons.
Execute the following commands via SSH to prepare your environment:
sudo apt update
sudo apt install python3-venv python3-pip libhdf5-dev libjasper-dev libqtcore4
mkdir ~/smart-vision && cd ~/smart-vision
python3 -m venv venv
source venv/bin/activate
pip install opencv-python-headless numpy paho-mqtt picamera2
For deeper library compilation details, the OpenCV Headless PyPI Documentation provides excellent troubleshooting for missing shared objects on ARM64 architectures.
The CSI Camera Trap: Picamera2 vs. VideoCapture
The most common failure mode for beginners building an OpenCV Raspberry Pi camera is attempting to use cv2.VideoCapture(0) with a CSI ribbon camera on Bookworm. Unlike USB webcams, CSI cameras do not natively map to /dev/video0 in a way that OpenCV's V4L2 backend can reliably decode without severe latency or color-space corruption.
The modern, robust approach is to use the official picamera2 library to capture the frame as a NumPy array, and then hand that array directly to OpenCV for processing. This bypasses the encoding/decoding loop entirely.
from picamera2 import Picamera2
import cv2

picam2 = Picamera2()
picam2.start()

while True:
    # Grab frame as a NumPy array (RGB format)
    frame = picam2.capture_array()

    # Convert RGB to BGR for OpenCV processing
    bgr_frame = cv2.cvtColor(frame, cv2.COLOR_RGB2BGR)

    # Insert OpenCV logic here (e.g., cv2.CascadeClassifier)
    gray = cv2.cvtColor(bgr_frame, cv2.COLOR_BGR2GRAY)
This method ensures zero-copy memory handling where possible, keeping your Pi 5's CPU usage under 15% during 1080p capture. For comprehensive sensor tuning, refer to the Raspberry Pi Camera Software Documentation.
Home Assistant Integration via MQTT
Vision data is useless if it cannot trigger your smart home logic. While you could host a local API, the MQTT protocol is the undisputed standard for Home Assistant integrations. By using the paho-mqtt Python library, your OpenCV script can publish JSON payloads to a Mosquitto broker.
Configure a generic MQTT binary sensor in your Home Assistant configuration.yaml:
mqtt:
  binary_sensor:
    - name: 'Driveway Person Detected'
      state_topic: 'homeassistant/vision/driveway/occupancy'
      payload_on: 'ON'
      payload_off: 'OFF'
      device_class: occupancy
When your OpenCV logic (such as a YOLOv8 inference or contour area threshold) confirms a human presence, push the state:
import paho.mqtt.client as mqtt
client = mqtt.Client('PiVisionNode')
client.connect('192.168.1.100', 1883, 60)
client.publish('homeassistant/vision/driveway/occupancy', 'ON')
This allows you to trigger Home Assistant automations, such as turning on porch lights or sending a Telegram snapshot, entirely based on local OpenCV logic. For advanced MQTT configurations, consult the Home Assistant MQTT Integration Docs.
Thermal Throttling and Storage Wear
Continuous video processing generates significant heat and I/O operations. Ignoring these physical realities will lead to node failure within weeks.
- Thermal Throttling: The Pi 5 will aggressively throttle its CPU clock speed from 2.4GHz down to 600MHz once the SoC hits 80°C. At this speed, your OpenCV pipeline will drop from 15 FPS to 2 FPS, causing missed detections. The official Pi 5 Active Cooler ($5) is a mandatory investment for vision nodes, keeping load temperatures around 55°C.
- SD Card Corruption: Writing debug frames or logs to a microSD card continuously will destroy the NAND flash sectors within months. Configure your Python script to write temporary frames to a
tmpfsRAM disk, or boot your Pi 5 directly from an NVMe SSD via the PCIe HAT to eliminate SD card wear entirely. - USB Bandwidth Limits: If using multiple USB webcams, ensure they are distributed across the Pi's USB 3.0 and USB 2.0 controllers. Two 1080p MJPEG streams on the same USB bus will cause kernel buffer overflows and
cv2.errorread timeouts.
Vision Pipeline Performance Table
The following table benchmarks real-world performance metrics for an OpenCV Raspberry Pi setup running a basic MobileNet-SSD person detection model at 640x480 resolution.
| Hardware Configuration | Inference Engine | Avg FPS | CPU Load | Estimated Node Cost |
|---|---|---|---|---|
| Pi 4 (4GB) + USB C920 | OpenCV DNN (CPU) | 4.2 FPS | 98% | $115 |
| Pi 5 (8GB) + IMX477 CSI | OpenCV DNN (CPU) | 11.5 FPS | 85% | $135 |
| Pi 5 (8GB) + IMX477 + Coral USB | TFLite (Edge TPU) | 28.0+ FPS | 22% | $170 |
By pairing the computational efficiency of OpenCV with the GPIO and networking flexibility of the Raspberry Pi, you create a highly customizable, privacy-first vision sensor. Whether you are tracking your dog's movement through the living room or monitoring your driveway for package deliveries, mastering the picamera2 to OpenCV to MQTT pipeline is the cornerstone of advanced smart home integration.