An ATmega microcontroller is an 8-bit RISC (Reduced Instruction Set Computer) microcontroller based on the AVR architecture, designed to execute embedded instructions using on-chip flash memory, SRAM, and EEPROM. In a real circuit, dropping an ATmega onto your board replaces dozens of hardwired logic gates, 555 timers, and discrete analog comparators with a single programmable silicon brain, allowing you to handle PWM motor control, I2C sensor polling, and UART debugging simultaneously through firmware rather than copper traces.
The Core Architecture: What Makes the ATmega Tick
Unlike von Neumann architectures that share a single bus for both data and instructions, the ATmega uses a modified Harvard architecture. This means it has separate physical buses and memory spaces for program instructions (Flash) and data (SRAM). Because the AVR core is a single-cycle RISC design, it can fetch the next instruction from Flash while simultaneously executing the current instruction from the register file. Think of the internal bus matrix like a multi-lane highway intersection where instruction traffic and data traffic never cross paths, preventing bottlenecks at higher clock speeds.
According to Microchip's official AVR architecture documentation, this pipelining allows most instructions to execute in a single clock cycle, making an ATmega running at 16MHz perform similarly to older 8-bit competitors running at much higher frequencies.
| Model | Flash Memory | SRAM | GPIO Pins | Typical Use Case |
|---|---|---|---|---|
| ATmega328P | 32 KB | 2 KB | 23 | Arduino Uno, basic IoT sensors, custom HID devices |
| ATmega2560 | 256 KB | 8 KB | 86 | Arduino Mega, 3D printer control boards (RAMPS) |
| ATmega1284P | 128 KB | 16 KB | 32 | High-memory data logging, audio processing buffers |
Worked Numeric Example: Sizing a GPIO Current-Limiting Resistor
A common mistake among beginners is treating an ATmega GPIO pin like an ideal voltage source. It is not. The pins have internal resistance and strict current limits. Let us calculate the exact resistor needed to safely drive a standard red LED from an ATmega328P pin.
The Parameters:
- Vcc: 5.0V
- LED Forward Voltage (Vf): 2.1V
- Target Current (I): 15mA (0.015A). The absolute maximum per pin is 40mA, but the ATmega328P datasheet recommends staying under 20mA to prevent long-term silicon degradation and excessive voltage droop.
The Calculation:
- Calculate the voltage drop required across the resistor: V_R = Vcc - Vf = 5.0V - 2.1V = 2.9V.
- Apply Ohm's Law to find resistance: R = V_R / I = 2.9V / 0.015A = 193.3 ohms.
- Select the nearest standard E12 series resistor value: 220 ohms.
Verification and Edge Cases:
With a 220-ohm resistor, the actual current is I = 2.9V / 220Ω = 13.1mA. The power dissipated by the resistor is P = I² × R = (0.0131)² × 220 = 0.037W, which is well within the 0.25W rating of a standard through-hole resistor. Furthermore, the ATmega328P limits total current per I/O port (e.g., Port B) to 100mA. If you are driving eight LEDs on Port B simultaneously at 13.1mA each, your total port current is 104.8mA, which exceeds the 100mA absolute maximum. In that scenario, you must either increase the resistor values to drop the per-LED current to 10mA, or distribute the LEDs across Port C and Port D.
Where You Meet This in Practice
You will rarely see a bare ATmega chip in consumer electronics today, as surface-mount ARM chips have taken over high-volume manufacturing. However, the ATmega remains the undisputed king of the workbench, prototyping, and open-hardware ecosystems.
- The Arduino Ecosystem: The Arduino Uno Rev3 is built entirely around the ATmega328P. When you write
digitalWrite(13, HIGH)in the Arduino IDE, the underlying AVR-GCC compiler translates that into direct memory writes to the PORTB register. - 3D Printer Control Boards: Legacy and budget 3D printers heavily utilize the ATmega2560 on RAMPS (RepRap Arduino Mega Pololu Shield) boards. The 2560's 86 GPIO pins and multiple hardware UARTs allow it to manage five stepper motor drivers, a heated bed MOSFET, an LCD screen, and a serial connection to OctoPrint simultaneously.
- Industrial Relay Modules: Many off-the-shelf 4-channel and 8-channel opto-isolated relay modules feature a small ATmega or ATtiny chip onboard to handle I2C or serial commands, isolating the low-voltage logic from the 120V/240V AC switching coils.
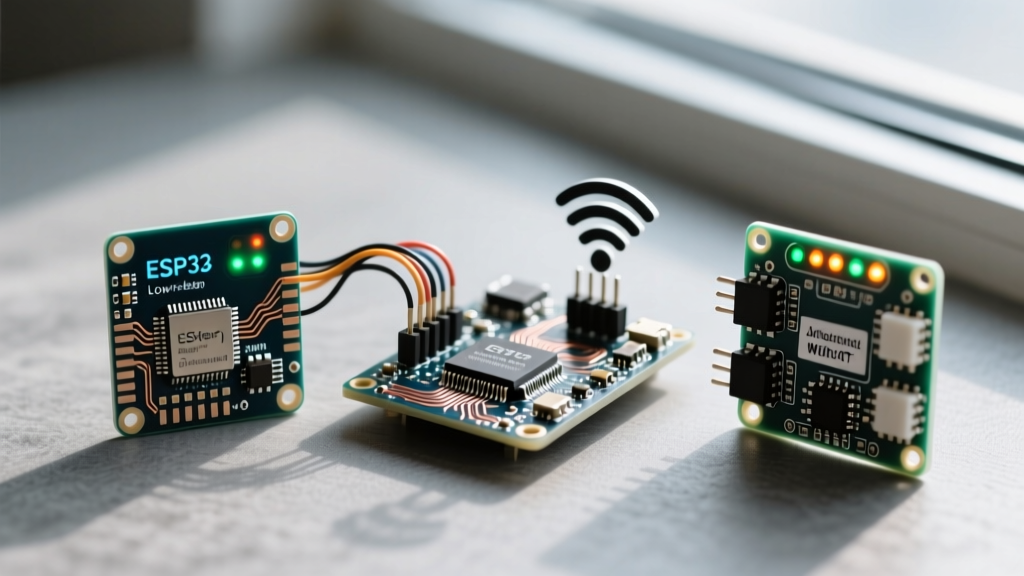
Common Confusions: ATmega vs. ARM Cortex-M vs. ESP32
People frequently confuse the ATmega family with modern 32-bit alternatives. Understanding the difference dictates your component selection.
Frequently Asked Questions
What is the difference between ATmega and ATtiny microcontrollers?
Both belong to Microchip's 8-bit AVR family and share the same instruction set and compiler toolchain (AVR-GCC). The difference is purely in resource scaling. An ATtiny (like the ATtiny85) typically features 8 pins, 8KB of flash, and 512 bytes of SRAM, making it ideal for tiny, low-cost, single-task circuits like a custom LED fader or a simple capacitive touch switch. The ATmega scales up to 100 pins, 256KB of flash, and multiple hardware serial ports, handling complex multi-tasking firmware.
Can I program an ATmega microcontroller without an Arduino bootloader?
Yes. The Arduino bootloader (like Optiboot) simply occupies the last 512 bytes of the flash memory and allows programming via a standard USB-to-Serial UART connection. To program a bare ATmega without a bootloader, you use an ISP (In-System Programmer) like the USBasp or an Arduino configured as an ISP. This connects to the chip's MOSI, MISO, SCK, and RESET pins via SPI, allowing you to flash the entire 32KB of memory and even modify the chip's hardware fuses to change the clock source or disable the reset pin.
Why do ATmega microcontrollers use 5V logic when modern sensors use 3.3V?
The original AVR architecture was designed in the late 1990s when 5V was the standard logic level for TTL and CMOS compatibility. While modern 'P' variant ATmegas can operate at 3.3V, their maximum clock speed drops significantly at lower voltages (e.g., an ATmega328P can only run at 8MHz safely at 3.3V, compared to 20MHz at 5V). When interfacing a 5V ATmega with a 3.3V sensor like the BME280, you must use a bidirectional logic level shifter (like the BSS138 MOSFET circuit) or a dedicated IC like the TXS0108E to prevent frying the sensor's SDA/SCL lines.