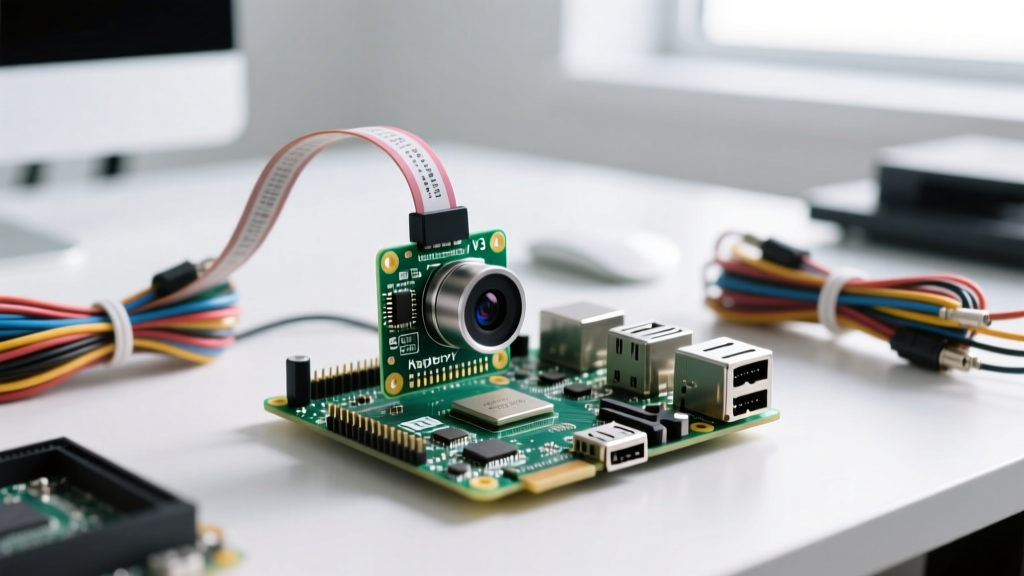
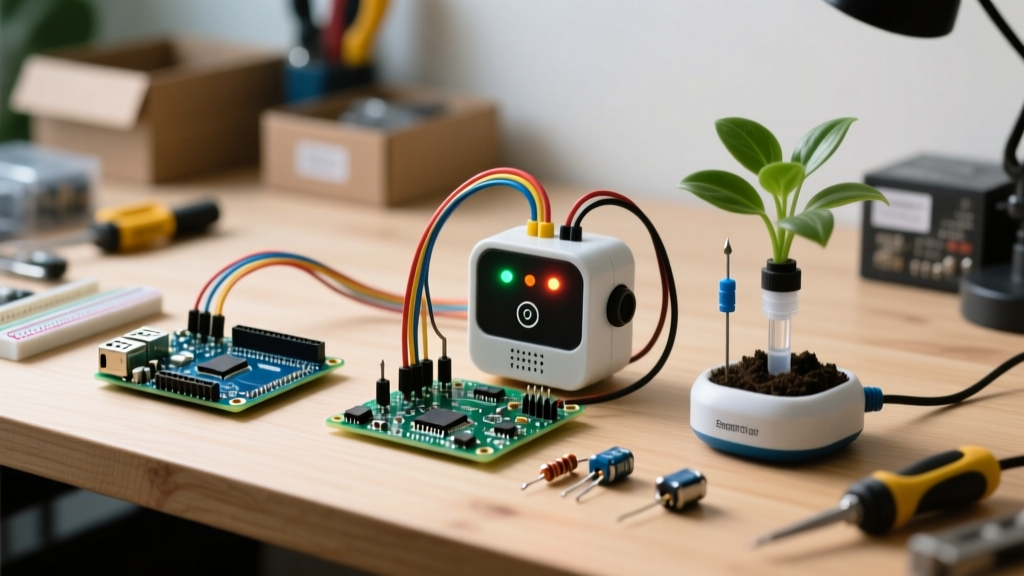
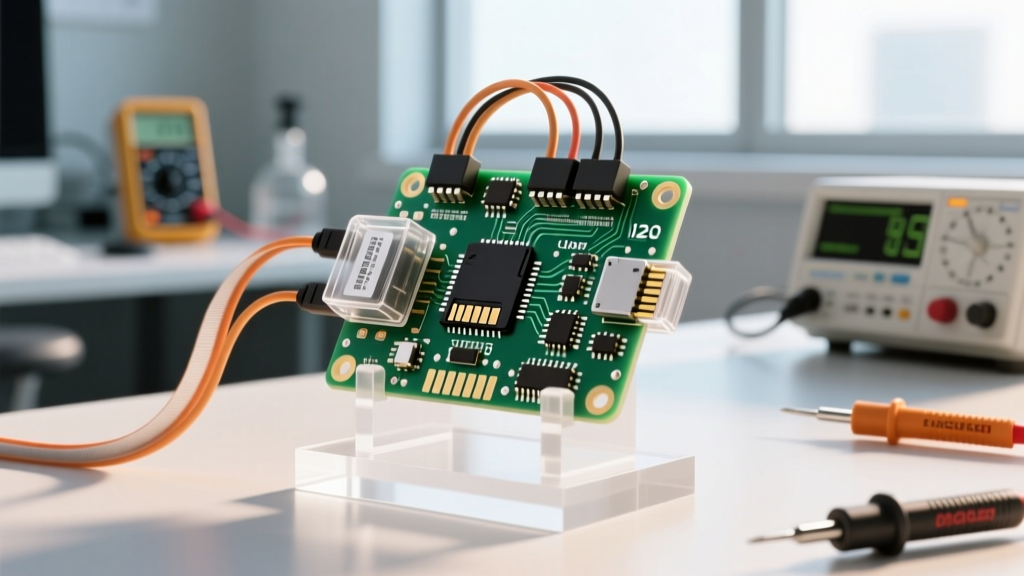
When a hobbyist or embedded engineer asks, "what is the temperature sensor," they are usually looking for a part number like the DS18B20 or the internal silicon bandgap diode inside an ESP32-WROOM-32. But in the context of thermal management, a temperature sensor is just a transducer converting thermal energy into an electrical readout. The critical engineering question isn't what the sensor is; it is which node in the thermal path the sensor is actually measuring.
Knowing your ESP32's internal sensor reads 85°C is useless if you don't know how that translates to the PCB copper temperature, or whether your enclosure's ambient air is choking the system. This guide bridges the gap between raw sensor data and physical thermal management, providing the math, the failure signatures, and the concrete hardware picks you need to keep your embedded boards out of thermal throttling.
Junction, Case, or Ambient? Decoding the Sensor Readout
To manage heat, you must first understand the three distinct thermal nodes in any embedded system:
- Junction Temperature ($T_J$): The actual temperature of the silicon die. This is what the internal sensors on a Raspberry Pi BCM2711 or an ESP32 measure. It is the most critical metric for silicon survival.
- Case Temperature ($T_C$): The temperature of the IC's plastic or metal packaging. You measure this by taping a thermocouple or an external sensor (like a TMP36) directly to the top of the chip.
- Ambient Temperature ($T_A$): The temperature of the air surrounding the board. A DS18B20 suspended in the middle of your enclosure measures this.
The Thermal Path Math: From Silicon to Air ($R_{\theta}$ Values)
Thermal resistance ($R_{\theta}$) is the electronics equivalent of electrical resistance, measured in °C/W. It dictates how much the temperature rises for every watt of power dissipated. The fundamental equation governing your sensor readouts is:
$T_J = T_A + (P_D \times R_{\theta JA})$
Where $P_D$ is power dissipation in watts, and $R_{\theta JA}$ is the total thermal resistance from Junction to Ambient. This total resistance is a chain:
| Thermal Node | Symbol | Typical Value (QFN/TO-220) | What Controls It |
|---|---|---|---|
| Junction to Case | $R_{\theta JC}$ | 2.0 - 5.0 °C/W | IC manufacturer's die attach and package material. |
| Case to Sink | $R_{\theta CS}$ | 0.2 - 1.5 °C/W | Thermal Interface Material (TIM) like Arctic Silver 5 or thermal pads. |
| Sink to Ambient | $R_{\theta SA}$ | 2.0 - 30.0 °C/W | Heatsink surface area, fin geometry, and airflow (CFM). |
Let's look at a real-world embedded power scenario. You are building a custom Raspberry Pi HAT powered by 12V PoE, using an LM1084-3.3 linear regulator in a TO-220 package to drop 12V down to 3.3V for a sensor array drawing 0.8A.
Power Dissipation ($P_D$): $(12V - 3.3V) \times 0.8A = 6.96W$.
Bare TO-220 $R_{\theta JA}$: ~65 °C/W (no heatsink).
Temperature Rise ($\Delta T$): $6.96W \times 65°C/W = 452°C$.
Your temperature sensor will read a massive spike right before the silicon melts and the magic smoke escapes. You need a heatsink.
Derating Curves and Failure Signatures of Thermal Stress
How hot is too hot for this part? Commercial silicon is typically rated to survive a $T_J$ of 125°C. However, looking at a manufacturer's thermal derating curve reveals the real story. Above 85°C, you must aggressively derate the maximum allowable current, and leakage currents begin to spike exponentially.
- I2C Bus Lockups: As MOSFETs heat up, their $R_{DS(on)}$ increases. This slows the rise times on SDA/SCL lines, causing I2C sensors to fail ACK bits and hang the bus.
- RF Oscillator Drift: The ESP32's 40MHz crystal and internal PLLs drift at high temperatures, causing WiFi disconnects and BLE pairing failures even if the CPU core hasn't thermally throttled.
- Brownout Resets: Increased leakage current causes sudden microsecond voltage droops on the 3.3V rail, triggering the brownout detector (BOD) and resetting the microcontroller.
Heatsink Selection and Airflow: What Buys You Degrees?
Returning to our 6.96W LM1084-3.3 TO-220 example, we need to keep $T_J$ under 85°C in a 30°C ambient environment. Our maximum allowed $\Delta T$ is 55°C. Therefore, our target total $R_{\theta JA}$ must be $55°C / 6.96W = 7.9°C/W$.
We select the Wakefield-Vette 641K, a standard extruded aluminum heatsink for TO-220 packages. According to heatsink selection guidelines, we must account for the TIM and the junction-to-case resistance:
- $R_{\theta JC}$ (LM1084 TO-220): 3.0 °C/W
- $R_{\theta CS}$ (Using a 0.5mm Bergquist Sil-Pad): 1.5 °C/W
- $R_{\theta SA}$ (Wakefield-Vette 641K in natural convection): 10.5 °C/W
- Total $R_{\theta JA}$: $3.0 + 1.5 + 10.5 = 15.0 °C/W$
Recalculating $\Delta T$: $6.96W \times 15.0°C/W = 104.4°C$.
$T_J$: $30°C + 104.4°C = 134.4°C$. Still too hot.
What Airflow Buys You: The derating curve for the Wakefield-Vette 641K shows that introducing just 100 Linear Feet per Minute (LFM) of airflow—easily achieved by mounting a cheap 40mm 5V brushless fan (like a Noctua NF-A4x10) near the board—drops the $R_{\theta SA}$ from 10.5 °C/W down to roughly 4.0 °C/W.
- New Total $R_{\theta JA}$: $3.0 + 1.5 + 4.0 = 8.5 °C/W$
- New $\Delta T$: $6.96W \times 8.5°C/W = 59.1°C$
- Final $T_J$: $30°C + 59.1°C = 89.1°C$
This pushes us safely into the reliable operating zone, proving that a small, low-CFM fan is vastly more effective than simply buying a physically larger, heavier passive heatsink.
The Thermal Decision Tree: Pick Your Cooling Strategy
Stop guessing when to add copper pours, heatsinks, or fans. Use this decision matrix based on your calculated power dissipation ($P_D$) and your enclosure constraints.
| Power Dissipation ($P_D$) | Enclosure Type | Required Strategy | Concrete Hardware Pick |
|---|---|---|---|
| < 0.5W | Open or Sealed | PCB Copper Pours & Thermal Vias | 0.5oz copper pour with 0.3mm vias under the exposed pad. |
| 0.5W - 2.0W | Open Air | Passive Extruded Heatsink | Aavid Thermalloy 577202B00000G (stamped TO-220 sink). |
| 0.5W - 2.0W | Sealed / IP-Rated | Thermal Pad to Chassis | Fujipoly Sarcon XR-m thermal pad bridging IC to aluminum enclosure wall. |
| 2.0W - 10W | Any | Active Forced Convection | Wakefield-Vette 641K + 40mm 5V PWM fan (e.g., Noctua NF-A4x10). |
| > 10W (e.g., Pi 5 SoC) | Any | Vapor Chamber / Active Cooler | Raspberry Pi Active Cooler (official) or custom vapor chamber module. |
The Default Recommendation: Abandon Linear Dissipation
If you are designing a custom embedded board and your thermal math shows a linear regulator or pass-transistor dissipating more than 1.5W, do not try to heatsink your way out of it. The default recommendation is to abandon the linear topology entirely.
Replace the LM1084 linear regulator with a synchronous buck converter like the Texas Instruments TPS5430 or the MPS MP2359. A buck converter operating at 85% efficiency dropping 12V to 3.3V at 0.8A will only dissipate roughly 0.4W as heat. This eliminates the need for the heatsink, the thermal pad, and the 40mm fan, saving you board space, BOM cost, and assembly time. Manage your thermals by preventing the heat from being generated in the first place, and let your temperature sensors serve as verification tools rather than panic alarms.