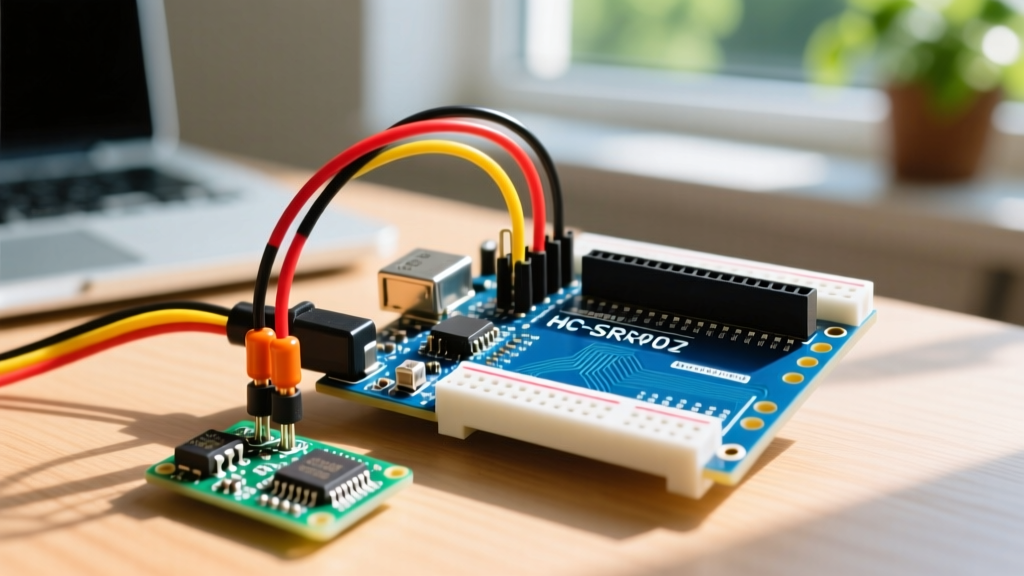
When a serial console spits out ÿÿÿ instead of your sensor data, you are experiencing the most common rite of passage in embedded systems: a baud rate mismatch. UART (Universal Asynchronous Receiver-Transmitter) is the oldest and most ubiquitous debug and communication protocol in microcontrollers, but its asynchronous nature means it has no clock line to keep devices in sync. Instead, it relies entirely on pre-agreed timing—specifically, standard UART baud rates.
This guide cuts through the abstract theory and gives you the exact timing tables, physical layer rules, and logic analyzer debugging steps you need to get your ESP32, Arduino, or Raspberry Pi talking reliably.
The Embedded Bus Landscape: UART vs. I2C vs. SPI
Before wiring up a UART bus, you need to know if it is the right tool for the job. Unlike synchronous protocols, UART is strictly point-to-point and asynchronous. Here is how it stacks up against the other heavyweights when deciding which protocol fits your distance, speed, and device count requirements.
| Protocol | Wires (Excl. GND) | Topology & Addressing | Max Practical Speed | Max Distance (Standard) |
|---|---|---|---|---|
| UART (TTL) | 2 (TX, RX) | Point-to-Point (No addressing) | 1 to 5 Mbps | ~15m (50ft) at low baud |
| I2C | 2 (SDA, SCL) | Multi-drop (7/10-bit addressing) | 3.4 MHz (Fast Mode+) | < 1m (capacitance limited) |
| SPI | 3 shared + 1 CS per device | Master-Slave (Chip Select routing) | 10 to 50+ MHz | < 0.5m (signal integrity) |
| RS-485 (UART PHY) | 2 (Differential A/B) | Multi-drop (requires software addressing) | 10 Mbps (short run) | 1200m (4000ft) at 100kbps |
Standard UART Baud Rates and Timing Tolerances
Baud rate defines the number of signal transitions (bits) per second. Because UART lacks a clock line, the receiver calculates the exact middle of each bit period to sample the voltage. If the transmitter and receiver clocks drift apart by more than ±2% to ±3%, the sampling point slides into the transition edge, causing framing errors and garbage data.
Below is the definitive reference for standard UART baud rates, including the exact bit timing you will see on an oscilloscope.
| Baud Rate (bps) | Bit Duration (µs) | 10-bit Frame Time (ms) | Max TTL Cable Length | Common Application |
|---|---|---|---|---|
| 9600 | 104.16 µs | 1.041 ms | ~15 meters | GPS modules, legacy sensors, low-power wake |
| 19200 | 52.08 µs | 0.520 ms | ~10 meters | Basic telemetry, DMX512 (uses 250k, but similar PHY) |
| 38400 | 26.04 µs | 0.260 ms | ~5 meters | Bluetooth HC-05 modules (AT command mode) |
| 57600 | 17.36 µs | 0.173 ms | ~3 meters | Older bootloaders, some 3D printer boards |
| 115200 | 8.68 µs | 0.086 ms | ~1.5 meters | Standard ESP32/Arduino debug console, PC serial |
| 230400 | 4.34 µs | 0.043 ms | < 1 meter | High-speed sensor data, short-run inter-MCU |
| 921600 | 1.08 µs | 0.010 ms | < 0.5 meter | Camera modules, high-speed raw ADC streaming |
Physical Wiring, Pull-Ups, and the Classic Failures
The physical layer is where most hobbyists make critical mistakes. Let us clarify the wiring rules and address the classic failures that kill serial communication.
The Pull-Up Resistor Confusion
A frequent question on forums is: "What value pull-up resistor do I need for UART TX and RX?" The answer is none.
Unlike I2C, which uses open-drain drivers that require 4.7kΩ pull-up resistors to pull the line HIGH, standard TTL/CMOS UART uses push-pull drivers. The GPIO pin actively drives the line to VCC (HIGH) and GND (LOW). Adding a pull-up resistor to a UART TX line is not just unnecessary; when the MCU drives the line LOW, the resistor creates a direct current path from VCC to GND, wasting power and potentially overheating the GPIO if the resistance is too low.
The Classic Failures
- Baud Mismatch: If the TX sends at 115200 and RX listens at 9600, the receiver samples multiple bits as one, resulting in framing errors and garbage characters (e.g.,
ÿ). Always verify both sides match exactly. - Missing Common Ground: The silent killer. If you connect TX and RX between two boards powered by different USB supplies but forget the GND wire, the voltage reference floats. The receiver sees erratic voltage levels and drops packets. Always connect GND to GND.
- TX/RX Swap: UART is crossed. The TX (Transmit) pin of Device A must connect to the RX (Receive) pin of Device B. If you see nothing on the console, swap the wires.
- Address Clash / Missing Pull-ups: These are I2C failures, not UART. If you are debugging a bus and worried about address clashes or missing pull-ups, you are working on I2C, not UART. UART has no hardware addressing; it is strictly a 1-to-1 wire connection.
Sniffing the Bus: Debugging and Minimal Working Code
When the serial monitor shows nothing, do not guess. Sniff the physical wire. According to Saleae's UART analysis guide, you need a logic analyzer to decode the asynchronous frames visually.
How to Debug with a Logic Analyzer
- Hardware: Use a Saleae Logic Pro, or a budget $15 24MHz 8-channel USB analyzer running PulseView/Sigrok.
- Sample Rate Rule: Set your logic analyzer sample rate to at least 4x to 10x your baud rate. For 115200 baud, a 1 MSPS (1 MHz) sample rate is the absolute minimum; 4 MSPS is ideal to clearly see the start bit and mid-bit sampling points.
- Trigger: Set a falling-edge trigger on the TX line. The start bit is always LOW. This forces the analyzer to capture the exact beginning of the frame.
- Decode: Apply the UART analyzer plugin, set the baud rate, and configure for 8 data bits, no parity, 1 stop bit (8N1). If the decoded text shows red error blocks, your physical wire has noise, or your clock tolerance is drifting.
Minimal Working Exchange: ESP32 to Arduino Nano
Below is a complete, tested wiring and code setup for an ESP32 sending telemetry to an Arduino Nano. We use HardwareSerial on the ESP32 and SoftwareSerial on the Nano to avoid conflicting with the Nano's USB-to-Serial chip on pins 0 and 1.
| ESP32 DevKit V1 Pin | Arduino Nano Pin | Function |
|---|---|---|
| GND | GND | Common Ground (Mandatory) |
| GPIO 17 (TX2) | D10 (Software RX) | Data: ESP32 Transmit → Nano Receive |
| GPIO 16 (RX2) | D11 (Software TX) | Data: Nano Transmit → ESP32 Receive |
ESP32 Transmitter Code (HardwareSerial):
#include <HardwareSerial.h>

// Use UART2 (GPIO 16 = RX, GPIO 17 = TX)
HardwareSerial MySerial(2);

void setup() {
  // Initialize native USB serial for debug
  Serial.begin(115200);
  // Initialize UART2 at standard 9600 baud for reliable tolerance
  MySerial.begin(9600, SERIAL_8N1, 16, 17);
}

void loop() {
  String payload = "FLUX:3.14V,2.2A\n";
  MySerial.print(payload);
  Serial.print("Sent: ");
  Serial.print(payload);
  delay(1000);
}
Arduino Nano Receiver Code (SoftwareSerial):
#include <SoftwareSerial.h>

// RX on D10, TX on D11
SoftwareSerial MySerial(10, 11);

void setup() {
  // Native USB serial to view on PC
  Serial.begin(9600);
  // Match the ESP32 baud rate exactly
  MySerial.begin(9600);
}

void loop() {
  if (MySerial.available()) {
    char c = MySerial.read();
    Serial.print(c);
  }
}stty -F /dev/ttyUSB0 9600 cs8 -cstopb -parenb to force the exact hardware baud and framing before opening the port with screen /dev/ttyUSB0 9600. This prevents the OS from applying default flow-control settings that can stall your embedded device.
Mastering UART is not about memorizing theory; it is about respecting the physical layer. Wire your grounds, match your baud rates, verify your clock tolerances, and when in doubt, clip a logic analyzer to the TX line to see exactly what the silicon is doing.