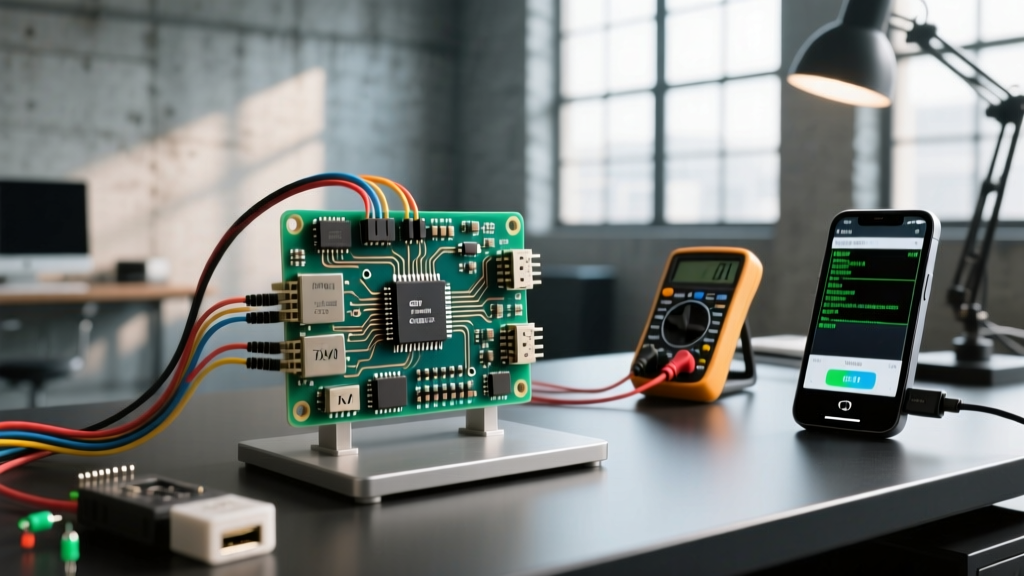
To connect LabVIEW and Arduino for data acquisition (DAQ), the most robust method bypasses legacy graphical toolkits and uses a custom C++ serial stream parsed by LabVIEW's VISA (Virtual Instrument Software Architecture) functions. This approach targets the Arduino Uno R3 (ATmega328P) and provides deterministic timing, avoiding the polling lag inherent in the older LINX/LIFA firmware wizards.
By streaming comma-separated values (CSV) over USB serial, LabVIEW can read sensor data at the exact cadence your loop requires. Below is the complete bench-tested procedure, from breadboard wiring to resolving the most common VISA timeout errors.
Parts List and Pin Mapping
This build uses standard through-hole components. Ensure your Arduino is a 5V logic board; 3.3V boards (like the Due or Nano 33 IoT) will require a voltage divider on the analog inputs if measuring higher voltages.
| Component | Exact Variant / Spec | Estimated Cost (2026) |
|---|---|---|
| Microcontroller | Arduino Uno R3 (Rev3, ATmega328P, 16MHz) | $27.00 |
| Temp Sensor | LM35DZ (TO-92 package, 10mV/°C analog out) | $2.50 |
| Resistors | 2x 10kΩ 1/4W Metal Film (for voltage divider test) | $0.10 |
| Cable | USB Type-B to Type-A (Shielded, max 2m for signal integrity) | $5.00 |
Pin Mapping Table
| Arduino Pin | Component | Function |
|---|---|---|
| 5V | LM35 VCC, Resistor 1 (Top) | Analog reference and sensor power |
| GND | LM35 GND, Resistor 2 (Bottom) | Common ground reference |
| A0 | LM35 VOUT | Temperature analog read (10-bit ADC) |
| A1 | Resistor 1 & 2 Junction | Voltage divider test point (~2.5V) |
Arduino Firmware: Custom Serial Streaming
The following C++ sketch reads the analog pins, converts the 10-bit ADC values to engineering units (Celsius and Volts), and streams them as a CSV string. It includes bounds-checking to prevent NaN (Not a Number) errors from corrupting the LabVIEW string parser.
#include <Arduino.h>

// --- Pin Definitions ---
const uint8_t PIN_TEMP_SENSOR = A0;
const uint8_t PIN_VOLTAGE_SENSE = A1;
const uint8_t PIN_STATUS_LED = LED_BUILTIN;

// --- Calibration Constants ---
const float V_REF = 5.0;          // Measured 5V rail with multimeter
const float ADC_RES = 1024.0;     // 10-bit ADC resolution
const float LM35_SCALE = 10.0;    // 10mV per degree Celsius

void setup() {
  pinMode(PIN_STATUS_LED, OUTPUT);
  analogReference(DEFAULT); // 5V reference on Uno R3

  // Initialize serial at 115200 baud for faster DAQ throughput
  Serial.begin(115200);
  while (!Serial) {
    ; // Wait for serial port to connect (required for native USB boards, safe for Uno)
  }

  // Flush buffer to prevent garbage data on LabVIEW handshake
  Serial.flush();
  digitalWrite(PIN_STATUS_LED, HIGH);
}

void loop() {
  // Read raw ADC values
  int rawTemp = analogRead(PIN_TEMP_SENSOR);
  int rawVolt = analogRead(PIN_VOLTAGE_SENSE);

  // Error Handling: Bounds checking for disconnected sensors or shorts
  if (rawTemp < 0 || rawTemp > 1023) rawTemp = 0;
  if (rawVolt < 0 || rawVolt > 1023) rawVolt = 0;

  // Convert to engineering units
  float tempC = (rawTemp * (V_REF / ADC_RES) * 1000.0) / LM35_SCALE;
  float voltage = rawVolt * (V_REF / ADC_RES);

  // Stream as CSV: 'temperature,voltage\n'
  Serial.print(tempC, 2); // 2 decimal places
  Serial.print(',');
  Serial.println(voltage, 3); // 3 decimal places, prints with \n terminator

  // Delay sets the DAQ sample rate (100ms = 10 Hz)
  delay(100);
}
LabVIEW VISA Configuration and Block Diagram
With the Arduino flashing a continuous CSV stream, you must configure LabVIEW to read the virtual COM port. Do not use the standard 'Serial Read' blocks; use the VISA library, which interfaces directly with NI MAX (Measurement & Automation Explorer).
- Open NI MAX: Identify your Arduino's VISA Resource Name (e.g.,
ASRL3::INSTRfor COM3). - VISA Configure Serial Port: Set the baud rate to
115200, data bits to8, parity toNone, and stop bits to1. - Termination Character: This is critical. Enable the termination character and set it to
0x0A(Line Feed /\n). This tells LabVIEW to stop reading the buffer exactly when the Arduino finishes a line. - VISA Read: Set the 'Read Buffer' size to 64 bytes (more than enough for two floats and a comma).
- Scan From String: Use the format string
%f,%fto parse the incoming CSV directly into two numeric indicators.
Debugging: VISA Timeout Errors
The most frequent failure mode when integrating LabVIEW and Arduino over serial is the VISA timeout. If your front panel freezes and throws this exact error:
Error -1073807339 occurred at VISA Read.vi. Possible reason(s): VISA: Timeout expired before operation completed.
This means LabVIEW waited for the termination character (\n) but the buffer timed out before it arrived. Here are the first three things to check, ranked by likelihood:
- Baud Rate Mismatch: Verify that
Serial.begin(115200)in the C++ code exactly matches the baud rate in the LabVIEW VISA Configure block. A mismatch results in readable but garbled data, or total silence. - Missing Termination Character: If your Arduino code uses
Serial.print()instead ofSerial.println(), the\ncharacter is never sent. LabVIEW will keep waiting for it until the 10-second default timeout expires. Ensure you are usingprintln()for the final variable in the string. - USB Cable Charge-Only: A surprising number of bench failures are caused by using a charge-only USB cable that lacks the D+ and D- data lines. Swap to a known-good data cable and check if the COM port appears in Windows Device Manager.
For deeper VISA architecture details, refer to the official NI VISA Read documentation and the Arduino Serial reference.
Extending and Simplifying the Build
How to Extend: If 10 Hz DAQ over USB is insufficient, or you need remote sensing, swap the Uno R3 for an ESP32-WROOM-32. Modify the C++ code to connect to local WiFi and stream the CSV string via UDP multicast. In LabVIEW, replace the VISA Serial blocks with 'UDP Open', 'UDP Read', and 'UDP Close' blocks. This eliminates USB cable length limits and COM port locking issues.
How to Simplify: If writing custom C++ and parsing strings in LabVIEW feels like overkill for a simple classroom lab, use the Digilent LINX Toolkit. LINX provides a Firmware Wizard that flashes a pre-compiled generic firmware to the Uno, allowing you to drag-and-drop 'Analog Read' blocks directly in LabVIEW. The trade-off is a slower polling rate and less control over ADC timing.
FAQ: LabVIEW and Arduino Integration
Can LabVIEW and Arduino communicate over WiFi instead of USB?
Yes. While the standard Uno R3 requires a USB connection, you can add an ESP-01 (ESP8266) WiFi module to the Uno's RX/TX pins using AT commands, or simply upgrade to an ESP32 board. LabVIEW supports TCP/IP and UDP sockets natively. For high-speed DAQ, UDP is preferred as it avoids the handshake overhead of TCP, though you must handle packet loss in your LabVIEW logic.
Why does LabVIEW crash or throw a VISA error when I unplug the Arduino?
When you physically disconnect the USB cable, the OS immediately reclaims the COM port. If your LabVIEW VI is currently blocked on a 'VISA Read' operation, the sudden disappearance of the hardware resource causes a fatal VISA exception. Always wire a 'VISA Close' block to the error-out cluster of your read loop, and use an Event Structure with a 'Stop' button to gracefully close the session before exiting the application.
Is the old LIFA toolkit still supported for LabVIEW and Arduino?
No. The LabVIEW Interface for Arduino (LIFA) Base toolkit has been deprecated for several years and is incompatible with modern versions of LabVIEW (2020 and newer) and current Arduino IDE board packages. The direct successor was the LINX toolkit, but for professional or reliable academic DAQ in 2026, custom serial streaming via VISA remains the most stable and transparent method.
How do I send commands from LabVIEW back to the Arduino?
To achieve bidirectional communication, add a 'VISA Write' block in LabVIEW to send a string (e.g., 'LED_ON\n'). On the Arduino side, use Serial.readStringUntil('\n') inside your loop() to catch the command. Be careful not to use blocking serial reads on the Arduino if you are simultaneously trying to maintain a strict 10 Hz DAQ output rate; use a non-blocking serial parsing library like SerialCmd or implement a custom state machine.