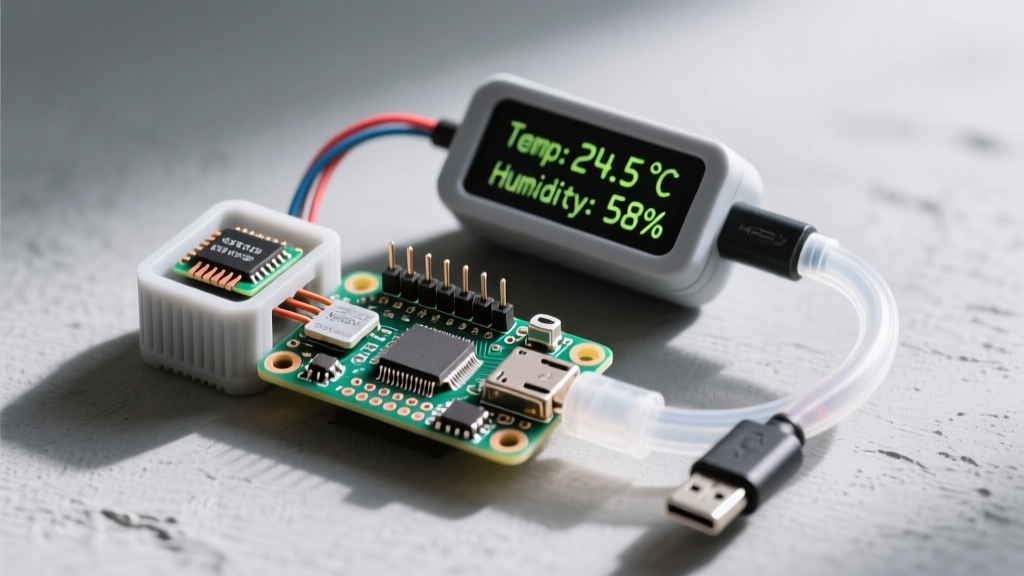
The ESP32-WROOM-32 (and its newer D/U variants) exposes 38 physical pads, but only 25 are safely usable as general-purpose GPIOs. The direct answer for your wiring: use GPIO 16-33 for standard digital I/O, avoid GPIO 6-11 (hardwired to internal SPI flash), and remember that GPIO 34-39 are strictly input-only. Before wiring any sensor or relay, consult the master table below to avoid bricking your board via strapping pin conflicts or exceeding the 3.3V logic threshold.
Complete ESP32-WROOM GPIO Pinout Reference
Unlike mains wiring which relies on NEC or IEC regional color codes, embedded hardware relies on manufacturing standard variants. The 'standard' pinout differs depending on whether you are referencing the raw Espressif WROOM-32D module datasheet, an Ai-Thinker NodeMCU-32S, or an official DevKitC V4. The table below maps the raw 38-pin WROOM-32D module pads, which serves as the universal baseline for all derivative boards.
| Module Pad | GPIO Number | Primary Function | Restrictions & Bench Notes |
|---|---|---|---|
| 1 | GND | Ground | Common ground reference. Tie to all peripheral GNDs. |
| 2 | 3V3 | Power Input | 3.3V nominal. Max draw ~500mA depending on onboard regulator. |
| 3 | EN | Enable / Reset | Active high. Pulled low to reset. Requires 10kΩ pull-up and 100nF cap to GND for stable boot. |
| 4 | GPIO 36 (SVP) | ADC1_CH0 / Input | Input only. No internal pull-up/pull-down. Safe for analog reads. |
| 6 | GPIO 34 (SVN) | ADC1_CH6 / Input | Input only. Excellent for reading 0-3.3V analog sensors. |
| 8 | GPIO 32 | ADC1_CH4 / XTAL | General I/O. Safe for PWM and digital reads. Can act as ADC1. |
| 9 | GPIO 33 | ADC1_CH5 / XTAL | General I/O. Safe for PWM and digital reads. Can act as ADC1. |
| 10 | GPIO 25 | ADC2_CH8 / DAC1 | General I/O. Features a true Digital-to-Analog output. Conflicts with WiFi if used as ADC. |
| 12 | GPIO 27 | ADC2_CH7 / Touch7 | General I/O. Capacitive touch capable. ADC2 conflicts with WiFi. |
| 14 | GPIO 12 (MTDI) | ADC2_CH5 / Touch5 | STRAPPING PIN. If pulled high at boot, flash voltage switches to 1.8V, bricking the boot sequence on 3.3V modules. |
| 15 | GND | Ground | Secondary ground pad for RF return paths. |
| 16 | GPIO 13 | ADC2_CH4 / Touch4 | General I/O. ADC2 conflicts with WiFi. |
| 23 | GPIO 15 (MTDO) | ADC2_CH3 / Touch3 | STRAPPING PIN. Controls boot log output. Default is high (logs enabled). |
| 24 | GPIO 2 | ADC2_CH2 / Touch2 | STRAPPING PIN. Must be floating or low at boot. Often tied to the onboard blue LED. |
| 25 | GPIO 0 | ADC2_CH1 / Touch1 | STRAPPING PIN. Must be high for normal boot, low for flash mode. Do not attach heavy capacitive loads. |
For a comprehensive visual map of the entire 38-pin layout and DevKitC header translations, the Random Nerd Tutorials ESP32 Pinout Guide remains the definitive maker reference.
The 'Rows People Get Wrong': Strapping Pins and ADC Conflicts
The most common bench failures I see with the ESP32-WROOM aren't caused by dead chips; they are caused by ignoring the boot-state requirements of strapping pins and the hardware multiplexing of the ADCs. Here is what the table rows actually mean in practice when you wire up a project.
If you wire a relay or a sensor that pulls GPIO 12 HIGH during power-on, the ESP32's internal voltage regulator will switch the SPI flash VDD from 3.3V to 1.8V. Because the WROOM-32D uses a 3.3V flash chip, the chip will fail to read the firmware, and the board will boot-loop endlessly. Fix: Never use GPIO 12 for outputs that default HIGH, or add a 10kΩ pull-down resistor to GND if you must use it.
ADC1 vs. ADC2: The WiFi Multiplexing Trap
The ESP32 has two Analog-to-Digital converters. ADC1 (GPIO 32, 33, 34, 35, 36, 39) is dedicated to analog reads. ADC2 (GPIO 0, 2, 4, 12, 13, 14, 15, 25, 26, 27) shares its internal hardware with the WiFi radio. If your code initializes WiFi (e.g., WiFi.begin()), ADC2 is instantly disabled. Calling analogRead() on an ADC2 pin while WiFi is active will return garbage data or zero. Always route analog sensors to ADC1 pins if your project requires wireless telemetry.
Input-Only Pins and 5V Logic Destruction
GPIO 34, 35, 36, and 39 are physically disconnected from the output drivers on the silicon die. They are input-only. Furthermore, they lack internal pull-up and pull-down resistors. If you need to read a 5V analog sensor on GPIO 36, do not wire it directly. The ESP32-WROOM is strictly a 3.3V logic device. Feeding 5V into any GPIO will permanently degrade the silicon pad, leading to phantom reads and eventual thermal failure. Build a voltage divider using a 10kΩ and 22kΩ resistor to scale 5V down to a safe ~3.2V before it hits the pin.
Board Variants, Faded Silkscreen, and Safe Probing
While the raw WROOM-32D module uses the 38-pad castellated standard, the development boards you buy on Amazon or AliExpress use different 'regional' manufacturing standards to map those pads to 0.1-inch headers.
- Espressif DevKitC V4 (Standard): Maps all 38 pins to dual 19-pin headers. The silkscreen usually prints the raw GPIO numbers (e.g., 'D13' means GPIO 13).
- Ai-Thinker NodeMCU-32S (Variant): Maps to 30-pin headers. Omits several GND and 3V3 pads to save space. The silkscreen often uses 'VP' (GPIO 36) and 'VN' (GPIO 39) instead of raw numbers.
- Raw WROOM-32D Module (Bare): Surface-mount castellated pads. Requires a custom PCB or careful soldering. No silkscreen on the module itself, only a laser-etched QR code and part number on the RF shield.
Safe Interpretation When Markings Are Faded or Missing
If you are salvaging an ESP32 from a dead commercial IoT device, or if the silkscreen on a cheap clone board has burned off, you must probe the board safely before applying power. According to the Espressif Hardware Design Guidelines, misidentifying the VCC and EN pins will instantly destroy the module.
- Find Ground First: Set your digital multimeter (DMM) to continuity mode. Probe the metal USB-C/Micro-USB shield or the large ground pour on the PCB. Map out every pin that beeps. These are your GND pins.
- Locate the 3.3V Regulator: Identify the SOT-223 or SOT-23-5 voltage regulator near the USB port. Pin 1 (or the tab) is usually input (5V), and Pin 3 (or the designated output pad) is 3.3V. Trace the 3.3V output to the WROOM module's Pad 2.
- Identify the EN (Enable) Pin: The EN pin (Pad 3) is the only pin on the module that will have both a 10kΩ resistor pulling it to 3.3V and a 100nF capacitor pulling it to GND. Use your DMM in resistance mode (power disconnected) to find the pin that shows ~10kΩ to your known 3.3V line.
- Verify Before Powering: Never use the 'diode test' mode on a DMM to probe a live or sensitive microcontroller board, as the test voltage can exceed 3.3V and trigger unintended latch-ups. Stick to continuity and resistance checks on de-energized boards.
By treating the ESP32-WROOM pinout not just as a list of numbers, but as a map of hardware constraints and manufacturing variants, you eliminate the vast majority of boot-loop and magic-smoke failures on the bench.