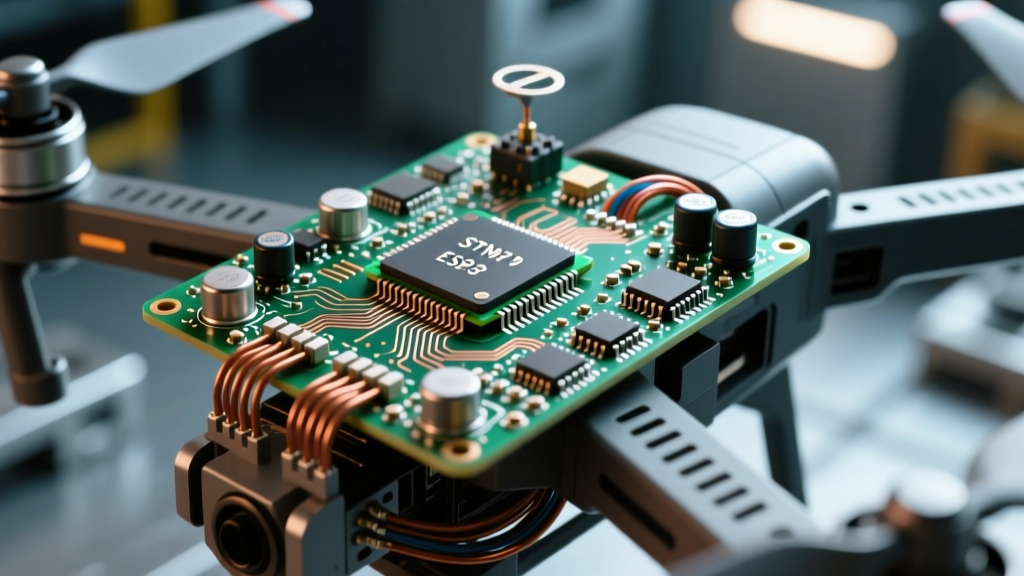
Project Overview & Difficulty Rating
To integrate an unsupported custom sensor into an ESP32 Meshtastic mesh network without forking the massive core C++ firmware, the most reliable method in 2026 is building a companion MQTT Telemetry Bridge. This approach uses a secondary ESP32 to read sensor data and inject it into the mesh via the official Meshtastic MQTT gateway, preserving the main LoRa node's ability to receive standard OTA updates.
Target Board Variant: The companion code below specifically targets the ESP32 DevKit V1 (30-pin) with a standard Bosch BME280 I2C breakout.
Hardware BOM & Pin Mapping
A robust mesh node requires matching the right LoRa transceiver to your regional frequency. For the US/ISM 915MHz band, the Ebyte E22-900M22S (based on the Semtech SX1262) is the current standard for range and power efficiency. Below is the exact bill of materials and pin mapping for the main LoRa node and the companion sensor bridge.
| Component | Module Variant | ESP32 DevKit V1 Pin | Function / Protocol |
|---|---|---|---|
| Main LoRa Radio | Ebyte E22-900M22S (SX1262) | GPIO 5 (NSS), 18 (SCK), 19 (MISO), 23 (MOSI), 27 (RST), 32 (BUSY), 33 (DIO1) | SPI / Radio Control |
| Companion Sensor | Bosch BME280 (I2C Breakout) | GPIO 21 (SDA), 22 (SCL) | I2C (Address 0x76 or 0x77) |
| Companion Power | TP4056 LiPo Charger + 18650 | VIN (5V), GND | Power Management |
Step-by-Step Wiring Procedure
- Flash the Main Node: Use the official Meshtastic Web Flasher to install the latest 2.4+ firmware onto your primary ESP32 DevKit V1. Select the
diy-v1or custom variant matching the SPI pins in Table 1. - Wire the LoRa SPI Bus: Connect the Ebyte E22 module's SPI pins to the ESP32. Keep SPI traces (MOSI, MISO, SCK) under 10cm to prevent high-frequency clock dropout.
- Wire the Companion Sensor: On a secondary ESP32 (or the same board if you are writing a custom firmware fork), connect the BME280 VCC to 3.3V, GND to GND, SDA to GPIO 21, and SCL to GPIO 22.
- Power Verification: Before connecting the LoRa module's antenna, power the board via USB. Use a multimeter to verify the 3.3V rail reads between 3.25V and 3.35V. The SX1262 can pull 120mA during TX; a weak AMS1117 LDO on cheap clone DevKits will cause brownouts.
Companion Firmware: MQTT Telemetry Injection
Because the core Meshtastic firmware is a complex PlatformIO project, injecting custom unsupported sensors directly requires deep C++ protobuf knowledge. The practical alternative is using an ESP32 to read the sensor and publish to the Meshtastic MQTT gateway. The main LoRa node (configured as an MQTT gateway) will bridge this data to the mesh.
The following complete, compilable Arduino sketch targets the ESP32 DevKit V1. It includes WiFi timeout handling, MQTT reconnection logic, and proper JSON formatting for Meshtastic telemetry.
#include <WiFi.h>
#include <PubSubClient.h>
#include <Wire.h>
#include <Adafruit_Sensor.h>
#include <Adafruit_BME280.h>
#include <ArduinoJson.h>

// --- PIN DEFINITIONS (Target: ESP32 DevKit V1 30-pin) ---
#define I2C_SDA 21
#define I2C_SCL 22
#define STATUS_LED 2 // Built-in LED on most DevKit V1 boards

// --- NETWORK & MQTT CONFIG ---
const char* ssid = "YourWiFiSSID";
const char* password = "YourWiFiPassword";
const char* mqtt_server = "mqtt.meshtastic.org"; // Or local IP
const int mqtt_port = 1883;
const char* mqtt_topic = "msh/US/2/json/LongFast/!YourNodeID"; // Replace with your node ID

WiFiClient espClient;
PubSubClient client(espClient);
Adafruit_BME280 bme;

unsigned long lastMsg = 0;
const long TELEMETRY_INTERVAL = 60000; // 60 seconds

void setup_wifi() {
  delay(10);
  Serial.print("Connecting to WiFi: ");
  Serial.println(ssid);

  WiFi.mode(WIFI_STA);
  WiFi.begin(ssid, password);

  int timeout = 0;
  while (WiFi.status() != WL_CONNECTED && timeout < 20) {
    delay(500);
    Serial.print(".");
    timeout++;
  }

  if (WiFi.status() != WL_CONNECTED) {
    Serial.println("\n[ERROR] WiFi connection timed out. Rebooting.");
    ESP.restart();
  }
  Serial.println("\nWiFi connected. IP: " + WiFi.localIP().toString());
}

void reconnect_mqtt() {
  int retries = 0;
  while (!client.connected() && retries < 5) {
    Serial.print("Attempting MQTT connection...");
    String clientId = "ESP32-Bridge-" + String(random(0xffff), HEX);

    if (client.connect(clientId.c_str())) {
      Serial.println("connected");
    } else {
      Serial.print("failed, rc=");
      Serial.print(client.state());
      Serial.println(" retrying in 5 seconds");
      delay(5000);
      retries++;
    }
  }
  if (!client.connected()) {
    Serial.println("[ERROR] MQTT connection failed after 5 retries.");
  }
}

void setup() {
  Serial.begin(115200);
  pinMode(STATUS_LED, OUTPUT);

  // Initialize I2C with explicit pins to avoid default bus conflicts
  Wire.begin(I2C_SDA, I2C_SCL);

  if (!bme.begin(0x76, &Wire)) {
    Serial.println("[FATAL] Could not find a valid BME280 sensor on I2C bus!");
    Serial.println("Check wiring: SDA->GPIO21, SCL->GPIO22, VCC->3.3V");
    while (1) {
      digitalWrite(STATUS_LED, HIGH); delay(100);
      digitalWrite(STATUS_LED, LOW); delay(100);
    }
  }

  setup_wifi();
  client.setServer(mqtt_server, mqtt_port);
}

void loop() {
  if (!client.connected()) {
    reconnect_mqtt();
  }
  client.loop();

  unsigned long now = millis();
  if (now - lastMsg > TELEMETRY_INTERVAL) {
    lastMsg = now;

    float temp = bme.readTemperature();
    float humidity = bme.readHumidity();
    float pressure = bme.readPressure() / 100.0F;

    // Check for NaN errors from sensor read
    if (isnan(temp) || isnan(humidity) || isnan(pressure)) {
      Serial.println("[ERROR] Failed to read from BME280 sensor. I2C bus fault.");
      return;
    }

    // Format Meshtastic JSON Payload
    StaticJsonDocument<256> doc;
    doc["from"] = 12345678; // Decimal of your node ID
    doc["type"] = "telemetry";
    JsonObject payload = doc.createNestedObject("payload");
    payload["temperature"] = temp;
    payload["relative_humidity"] = humidity;
    payload["barometric_pressure"] = pressure;

    char buffer[256];
    serializeJson(doc, buffer);

    digitalWrite(STATUS_LED, HIGH);
    if (client.publish(mqtt_topic, buffer)) {
      Serial.println("Telemetry published successfully.");
    } else {
      Serial.println("[ERROR] MQTT publish failed.");
    }
    digitalWrite(STATUS_LED, LOW);
  }
}
Debugging: "ERROR: SX1262 initialization failed, code -2"
If you are flashing the main LoRa node directly and monitoring the serial boot logs, the most common blocker when using raw ESP32 and Ebyte hardware is the RadioLib SPI initialization failure. You will see this exact string in your serial monitor:
ERROR: SX1262 initialization failed, code -2
In the RadioLib library (which Meshtastic uses under the hood), code -2 translates to ERR_CHIP_NOT_FOUND. The ESP32 cannot communicate with the Semtech SX1262 silicon over the SPI bus. Here are the ranked causes and how to fix them.
Ranked Causes
- Incorrect Pin Mapping in
variant.h: You selected a generic firmware build that expects a LilyGO T-Beam pinout, but you wired a bare DevKit V1. The CS/NSS pin is toggling the wrong GPIO. - SX1262 BUSY Pin Floating: Unlike the older SX1276, the SX1262 requires a dedicated
BUSYpin to signal when the internal TCXO is stable. If this pin is unconnected or mapped incorrectly, the SPI transaction is rejected. - 3.3V LDO Brownout: Cheap ESP32 clone boards use substandard voltage regulators. When the radio initializes and powers up the TCXO, it pulls a current spike that drops the 3.3V rail below 3.0V, causing the radio to reset mid-handshake.
The First Three Things to Check
- Multimeter the 3.3V Rail: Probe the 3.3V pin and GND while the board is booting. If you see it dip below 3.1V, you need an external buck converter or a higher-quality ESP32 board (like an official Espressif devkit or a RAK WisBlock base).
- Verify the
variant.hFile: Open the Meshtastic firmware source on GitHub and check the exact SPI definitions for your chosen board variant. Ensure your physical wires match theSX126X_CS,SX126X_DIO1, andSX126X_BUSYmacros exactly. - Check SPI Logic Levels: Ensure no 5V peripherals are sharing the same SPI bus without a logic level shifter. The SX1262 will permanently latch up or ignore SPI clock signals if exposed to 5V logic.
Extending and Simplifying the Build
How to Extend: To make this node truly off-grid, integrate a solar charging circuit. Use a high-efficiency MPPT charge controller like the CN3791 (configured for 4.2V LiPo) paired with a 6V 3W epoxy solar panel. Add a INA219 I2C current shunt monitor to the companion ESP32 sketch to publish battery voltage and charge current to the mesh, allowing you to monitor remote node health.
How to Simplify: If wiring raw SPI and debugging RadioLib errors sounds tedious, abandon the bare ESP32 DevKit approach. Purchase a pre-assembled LilyGO T-Echo or a RAKwireless WisBlock RAK4631 (which uses an nRF52840, offering vastly superior deep-sleep current of ~10µA compared to the ESP32's ~150µA). You sacrifice the raw clock speed of the ESP32, but gain weeks of battery life and zero SPI wiring headaches.
ESP32 Meshtastic FAQ
Which ESP32 board variant is best for a custom Meshtastic build in 2026?
For raw DIY builds, the ESP32-WROOM-32 DevKit V1 remains the most accessible due to its 30-pin layout and breadboard compatibility. However, for production or permanent outdoor deployments, the ESP32-S3-WROOM-1 is superior. The S3 variant features native USB (eliminating the CP2102/CH340 serial bridge quiescent current draw) and deeper sleep states, which are critical for solar-powered mesh nodes.
Why does my ESP32 Meshtastic node keep rebooting with a brownout detector error?
If your serial log shows brownout detector was triggered, your ESP32 is starving for current during LoRa transmission peaks. The SX1262 can draw up to 120mA during a high-power TX burst. The AMS1117-3.3 LDO found on 90% of generic DevKit V1 boards cannot handle this transient load if the USB cable has high resistance. Fix this by soldering a 470µF low-ESR capacitor directly across the 3.3V and GND pins on the ESP32, or power the board via a dedicated 3A buck converter.
Can I use an ESP32-C3 or ESP32-C6 for Meshtastic instead of the classic ESP32?
Yes, but with caveats. The ESP32-C6 is highly recommended for 2026 builds because it includes native 802.15.4 (Thread/Zigbee) support alongside WiFi 6 and Bluetooth 5, making it a powerhouse for smart home mesh bridging. However, official Meshtastic firmware support for the C-series chips is still maturing compared to the classic dual-core ESP32. You will likely need to compile the firmware from source using PlatformIO and select the specific C6 target branch.
How do I update the firmware on a headless ESP32 Meshtastic node?
If your node is mounted on a roof or inside a sealed waterproof enclosure without a USB port, you must use OTA (Over-The-Air) updates. Ensure your node is connected to local WiFi and enabled as a Router Client. You can then push firmware updates via the Meshtastic Python CLI (meshtastic --host [IP_ADDRESS] --update) or by hosting a local HTTP firmware server and triggering the ESP32's native HTTP OTA update module via a custom MQTT command.