
Beyond Static Sensors: The Aerial IoT Revolution
When most makers think of home automation, they envision static nodes: Zigbee door sensors, Wi-Fi smart plugs, and fixed IP cameras. But what happens when a perimeter breach occurs in a blind spot, or you need to inspect a second-story gutter without climbing a ladder? The solution lies in mobilizing your sensor network. By integrating aerial robotics with platforms like Home Assistant, we can transform a standard smart home into a dynamic, responsive environment. To achieve this, we must look beyond terrestrial robots and explore the physics, firmware, and integration of multirotor aircraft.
Fundamentals: What Are Quadcopters in a Smart Home Context?
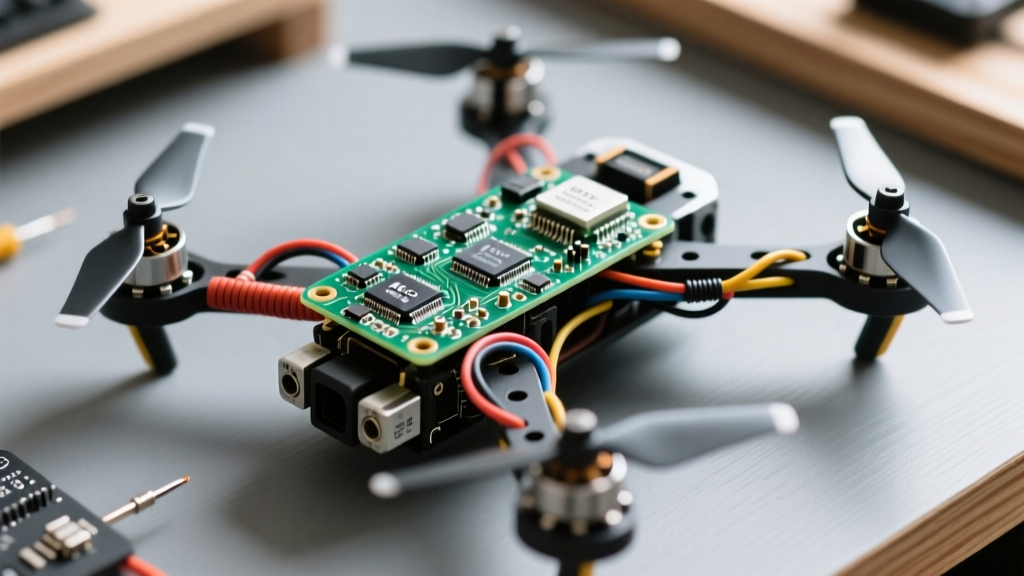
If you are asking what are quadcopters in the realm of IoT and automation, the definition extends far beyond consumer camera drones. At a mechanical level, a quadcopter is an unmanned aerial vehicle (UAV) lifted and propelled by four brushless DC motors. Unlike traditional helicopters, they lack complex mechanical swashplates; instead, they rely on differential thrust managed by a Flight Controller (FC) and Electronic Speed Controllers (ESCs) to manipulate pitch, roll, and yaw.
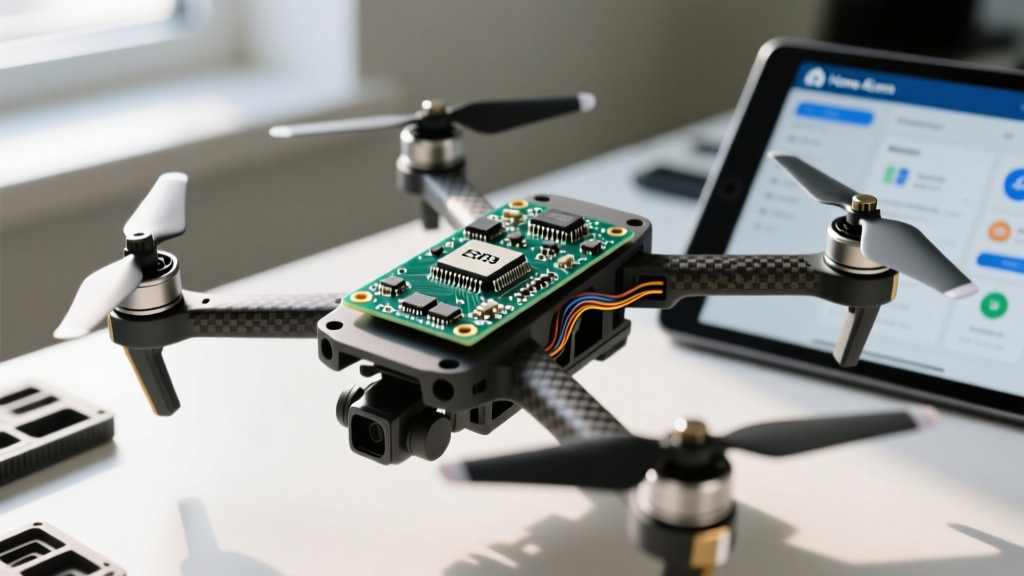
In a home automation context, a quadcopter serves as a mobile, deployable sensor node. Instead of installing ten IP cameras around a large property, a single autonomous quadcopter housed in a weatherproof docking station can deploy on-demand. Triggered by a PIR motion sensor or a broken magnetic window contact, the drone launches, streams telemetry and video back to your Home Assistant dashboard via MQTT, and returns to its charging pad. This requires bridging the gap between high-speed flight dynamics and low-latency smart home protocols.
Architecting the Drone-to-Home-Assistant Pipeline
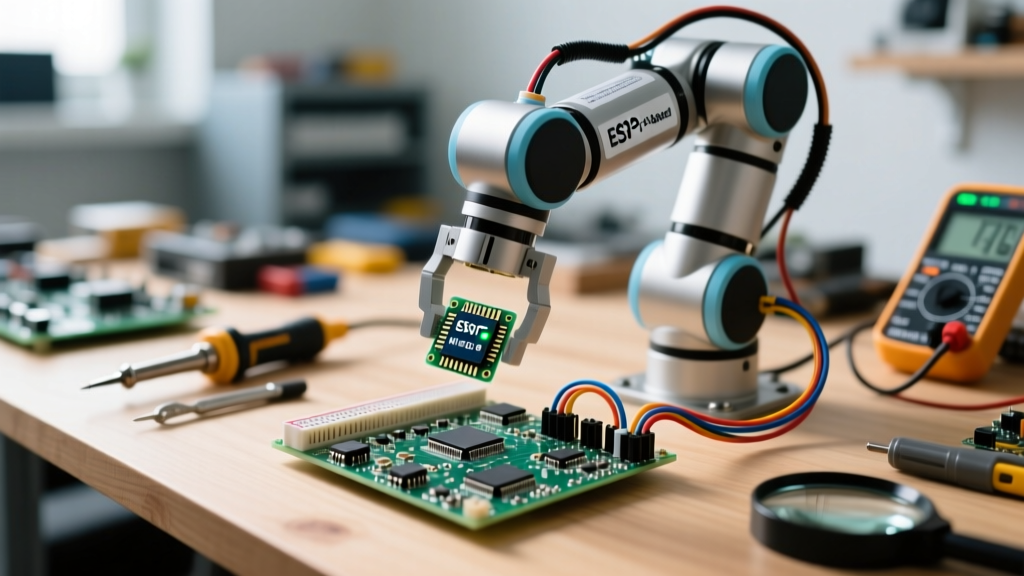
To make a drone a true home automation device, it cannot rely on manual RC inputs. It must communicate with your local server. The most robust method is using an ESP32 microcontroller as a telemetry bridge. The ESP32 connects to the drone's Flight Controller via UART, parses the MAVLink protocol, translates critical telemetry (battery voltage, GPS coordinates, armed status) into MQTT topics, and publishes them to your Home Assistant Mosquitto broker.
Hardware Bill of Materials (BOM)
Building a reliable indoor/outdoor inspection drone requires specific component selection to balance payload capacity (for the ESP32 and cameras) with flight time. Here is a proven BOM for a 5-inch Home Assistant integration build:
- Frame: TBS Source One V5 (5-inch carbon fiber, ~$35) - Provides ample spacing for auxiliary compute modules.
- Flight Controller: Matek F722-SE (~$55) - Features multiple hardware UARTs and native 3.3V logic outputs, crucial for ESP32 safety.
- Propulsion: 4x Emax Eco II 2207 2400KV Motors (~$70) paired with 4x 45A ESCs.
- Compute Bridge: ESP32-WROOM-32 Dev Board (~$6) - Handles Wi-Fi MQTT and MAVLink parsing.
- Power Supply: Pololu 5V, 600mA Step-Down Voltage Regulator (~$5) - Powers the ESP32 directly from the drone's LiPo battery without inducing voltage sags that reboot the flight controller.
Firmware Selection for Autonomous Waypoints
Not all drone firmware is created equal when it comes to automation. While Betaflight dominates the FPV racing scene, it lacks the robust autonomous waypoint and failsafe logic required for home security patrols. Below is a comparison of the top firmware choices for IoT integration.
| Firmware | Autonomous Waypoints | MAVLink Telemetry | Home Assistant Suitability |
|---|---|---|---|
| ArduPilot (Copter) | Excellent (Full 3D routing) | Native, Highly Detailed | Best for complex perimeter patrols and RTL (Return to Launch) failsafes. |
| INAV | Good (2D Waypoints) | Native, Moderate Detail | Great for lighter builds and simpler GPS-based property boundary checks. |
| Betaflight | Poor (GPS Rescue only) | Limited (MSP Protocol) | Not recommended. Lacks the safety logic for autonomous deployment. |
For this project, ArduPilot Copter is the undisputed champion. Its robust failsafe mechanisms ensure that if the ESP32 drops the Wi-Fi connection or the battery sags, the drone will automatically execute a Return-To-Launch (RTL) sequence, preventing it from crashing into your roof or neighborhood.
Wiring the ESP32 Telemetry Bridge
Connecting the ESP32 to the Matek F722 requires careful attention to voltage logic. While the ESP32 operates at 3.3V, some FC UART pads output 5V. Always verify your FC schematic. On the Matek F722-SE, we will use UART4, which is natively 3.3V.
- Connect FC UART4 TX to ESP32 GPIO 16 (RX2).
- Connect FC UART4 RX to ESP32 GPIO 17 (TX2).
- Connect FC 3.3V pad to ESP32 3.3V pin (for logic reference, not power).
- Connect the Pololu Step-Down Regulator to the FC's BAT+ and GND, then wire its 5V output to the ESP32's 5V/VIN pin.
Once wired, configure ArduPilot's SERIAL4_PROTOCOL to MAVLink2 and set the baud rate to 57600. The ESP32 will now receive a continuous stream of hexadecimal MAVLink packets containing battery status, GPS fix type, and arm state.
MQTT Telemetry and Home Assistant YAML Configuration
To visualize this data in Home Assistant, the ESP32 uses the PubSubClient library to publish JSON payloads to your MQTT broker. Below is an example of how to configure an MQTT sensor in Home Assistant to monitor the drone's battery voltage, triggering an automation to recall the drone if it drops below 3.5V per cell.
mqtt:
  sensor:
    - name: "Security Drone Battery Voltage"
      state_topic: "homeassistant/drone/security_01/telemetry"
      unit_of_measurement: "V"
      value_template: "{{ value_json.battery_voltage }}"
      device_class: voltage
      icon: mdi:battery-alert
    - name: "Security Drone GPS Fix"
      state_topic: "homeassistant/drone/security_01/telemetry"
      value_template: "{{ value_json.gps_fix_type }}"
      icon: mdi:crosshairs-gps
By mapping these MQTT topics, your Home Assistant dashboard transforms into a mission control center. You can create an automation where a Zigbee perimeter fence sensor triggers an ESPHome relay, which physically unlatches the drone's weatherproof docking station door, followed by an MQTT command to the FC to arm and takeoff to a predefined waypoint altitude of 15 meters.
Expert Safety Warning: Never leave high-discharge LiPo batteries unattended on a charging pad indoors without a specialized Battery Management System (BMS) and fireproof enclosure. For automated docking stations, use physical pogo-pin contacts connected to a smart plug that Home Assistant cuts off precisely when the ESP32 reports a 4.2V per cell maximum via MAVLink.
Overcoming RF Interference in Modern Homes
One of the most common failure modes in DIY home automation drones is RF (Radio Frequency) saturation. Modern homes are flooded with 2.4GHz Wi-Fi, Bluetooth, and Zigbee signals. If your drone relies on a standard 2.4GHz RC receiver or Wi-Fi for flight control, it will likely experience signal dropout when flying near your router or smart TV.
The Solution: Separate your frequency bands. Use a 915MHz ExpressLRS (ELRS) module for the critical RC failsafe link, ensuring penetration through walls and trees. Reserve the 5GHz band for your FPV video feed (using a system like DJI O3 or Walksnail), and keep the 2.4GHz band strictly for the ESP32's MQTT Wi-Fi telemetry. This tri-band isolation guarantees that your Home Assistant commands reach the drone even in highly congested suburban RF environments.
Final Thoughts on Aerial Automation
Integrating a quadcopter into your home automation stack bridges the gap between digital monitoring and physical intervention. While it requires a deep understanding of MAVLink parsing, UART logic levels, and RF isolation, the result is a truly autonomous security and inspection platform. As battery densities improve and indoor optical-flow positioning becomes more accessible, expect to see aerial nodes become as common in the smart home ecosystem as motorized blinds and smart thermostats.