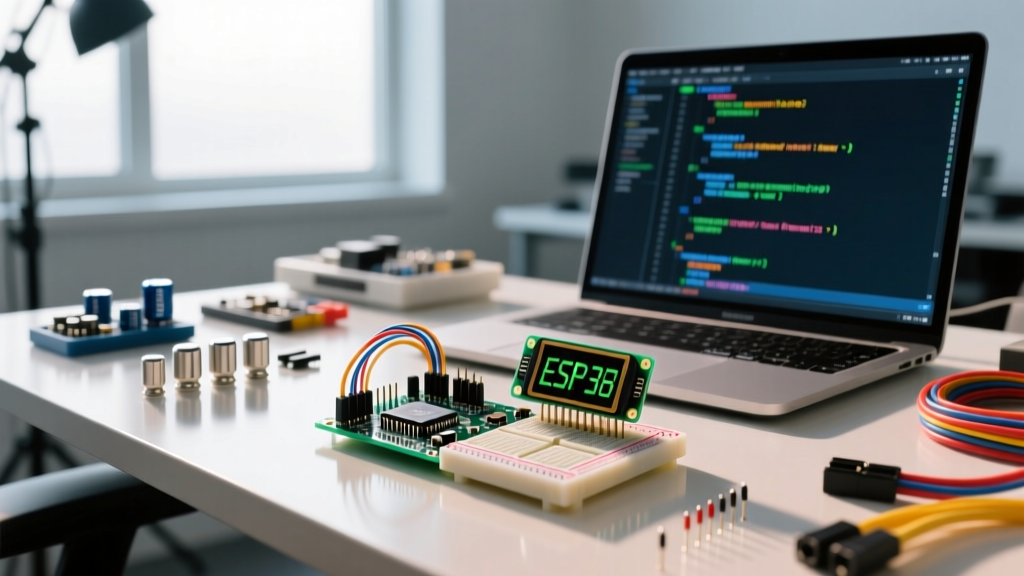
The direct answer to managing heat around a DHT22 temperature sensor is counterintuitive: you rarely need to cool the sensor itself. The DHT22 (also known as the AM2302) draws roughly 1.5mA during measurement and dissipates negligible power. The actual thermal enemy is heat bleed from your host microcontroller (like an ESP32 or Raspberry Pi) and poor enclosure airflow, which creates a false microclimate. If your DHT22 is reading 4°C higher than the actual room temperature, your MCU is baking the sensor. To fix this, you must thermally isolate the sensor and manage the host's junction temperature using precise thermal resistance (Rθ) calculations.
How Hot is Too Hot for the DHT22? (Failure Signatures)
According to the Adafruit DHT22 documentation and the original Aosong datasheet, the absolute maximum operating temperature for the DHT22 is 80°C. However, treating 80°C as your operational ceiling is a critical mistake.
The DHT22 measures humidity using a polymer capacitive sensing element. When exposed to temperatures above 60°C for extended periods, this polymer undergoes hysteresis. If you bake the sensor at 75°C inside a hot attic enclosure, it will suffer permanent calibration drift, typically manifesting as a 'saturated' reading where relative humidity (RH) gets stuck near 99% even in dry air.
Failure signatures of thermal stress include:
- Stuck High RH: The polymer dielectric absorbs ambient moisture but cannot desorb it quickly when baked, leading to false 90%+ RH readings.
- Sluggish Thermal Response: If you pot the DHT22 in epoxy or conformal coat the PTFE cap to 'protect' it, you add thermal mass. The sensor will lag behind actual ambient temperature changes by 10 to 15 minutes.
- Checksum Errors: While not strictly a sensor failure, high ambient heat inside an unventilated enclosure causes the host MCU's voltage regulator to brown out during the DHT22's strict 1-wire timing windows, resulting in corrupted data packets and checksum failures.
Thermal Path Math: Stopping ESP32 Heat Bleed
To understand why your DHT22 reads high, we must calculate the thermal path from the host MCU's silicon junction to the ambient air inside your enclosure (RθJA). Let's use the ubiquitous ESP32-WROOM-32 as our heat source.
During active WiFi transmission, an ESP32 can dissipate approximately 350mW (0.35W) of power. The Espressif ESP32 Hardware Design Guidelines note that the RθJA (Junction-to-Ambient thermal resistance) for the WROOM module without a heatsink on a standard 4-layer PCB is roughly 45°C/W.
The Math:
T_junction = T_ambient + (Power_dissipated × Rθ_JA)
Imagine your project is in an outdoor weatherproof enclosure in the summer. The true ambient temperature inside the box is 45°C.
T_junction = 45°C + (0.35W × 45°C/W)T_junction = 45°C + 15.75°C = 60.75°C
The ESP32 silicon is running at nearly 61°C. Because the PCB copper planes act as a heat spreader, the surface temperature of the PCB roughly 30mm away (where your DHT22 is soldered) will stabilize around 52°C to 55°C. Your DHT22 will faithfully report 54°C, even though the air entering the enclosure vent is only 45°C. You have a 9°C heat bleed error.
Heatsink Selection & Enclosure Airflow Dynamics
You do not put a heatsink on the DHT22; doing so blocks the humidity sensing pores and ruins airflow. Instead, you heatsink the ESP32 to lower the PCB's overall thermal mass and keep the enclosure's internal ambient air cool.
Heatsink Pick Based on Wattage
We need to reduce the ESP32's thermal resistance to drop the PCB surface temperature. We will select the Fischer Elektronik SK 100 15 SA, a 15mm x 15mm x 5mm stamped aluminum heatsink designed for SMD modules. According to Fischer Elektronik's thermal specs, this part provides an RθSA (Sink-to-Ambient) of approximately 22°C/W when mounted with a thermal interface pad.
Recalculating with the Heatsink:
T_junction = 45°C + (0.35W × 22°C/W)T_junction = 45°C + 7.7°C = 52.7°C
By dropping the junction temperature by 8°C, the lateral heat spread across the PCB is drastically reduced. The DHT22, sitting 30mm away, will now see a local PCB temperature closer to 47°C, cutting your heat bleed error in half.
What Airflow and Enclosure Changes Buy You
Heatsinks rely on convection. In a sealed IP65 enclosure, convection stalls once the internal air reaches thermal equilibrium with the PCB. To buy real thermal headroom:
- The Stack Effect: Drill two 10mm vent holes in your enclosure—one at the absolute bottom, one at the absolute top. Cover them with breathable IP67 Gore-Tex vent plugs. Hot air from the ESP32 rises and exits the top, drawing cooler ambient air in from the bottom. Mount the DHT22 near the bottom vent.
- Forced Convection: If your enclosure is sealed and you cannot vent, adding a 30mm 5V DC fan (like the Sunon MF30101VX) drops the internal RθJA from 45°C/W to under 15°C/W. This effectively eliminates lateral PCB heat bleed, but costs roughly $12 and introduces a mechanical failure point.
Derating Curve Interpretation for Sensor Accuracy
The DHT22 datasheet includes an accuracy derating curve that most hobbyists ignore. The sensor is calibrated for ±0.5°C accuracy and ±2% RH accuracy, but only at 25°C.
As temperatures drop toward 0°C or rise toward 60°C, the internal thermistor's tolerance widens. At 0°C, your temperature accuracy degrades to ±1.0°C. More importantly, the humidity accuracy degrades to ±5% RH at temperature extremes. If you are using a DHT22 in a greenhouse that regularly hits 45°C, you must apply a software offset or accept that your RH readings are only accurate within a 5% margin.
Furthermore, the pull-up resistor on the DHT22's data line generates its own micro-heat. The datasheet calls for a 4.7kΩ pull-up. If you mistakenly use a 1kΩ pull-up on a 5V logic line, you are pushing 5mA through the resistor, dissipating 25mW of heat directly millimeters from the sensor die. Always use 4.7kΩ to 10kΩ to keep pull-up dissipation under 3mW.
Decision Tree: Picking Your Thermal Isolation Strategy
Stop guessing how to mount your sensor. Use this decision matrix to select the exact hardware configuration for your next build.
| Enclosure Type | Host MCU | Max True Ambient | Required Action | Concrete Hardware Pick |
|---|---|---|---|---|
| Vented (IP54) | ESP8266 / Arduino Nano | < 40°C | Solder directly to PCB, keep 20mm clearance from MCU. | Standard 4.7kΩ 0805 pull-up resistor. |
| Vented (IP54) | ESP32-WROOM / Pi Pico W | 40°C - 55°C | Apply MCU heatsink; mount DHT22 near bottom vent. | Fischer Elektronik SK 100 15 SA heatsink + Gore vent plugs. |
| Sealed (IP65+) | Any WiFi/BLE MCU | > 40°C | Thermal isolation via cable; do not share PCB. | Default Pick: JST-PH 2.0 4-pin cable (150mm length) to physically move DHT22 off the main board. |
| Sealed (IP65+) | ESP32-CAM / High Power | > 60°C | Active cooling + physical isolation. | Sunon MF30101VX 30mm fan + JST cable. |
The Default Recommendation: If you are building a modern IoT weather station using an ESP32 in an outdoor enclosure, do not solder the DHT22 directly to the main PCB. The default, most reliable pick is to use a 150mm JST-PH 4-pin cable to physically separate the sensor from the MCU board, combined with a Fischer SK 100 heatsink on the ESP32. This mechanically breaks the thermal conduction path through the copper planes, guaranteeing your DHT22 reads true ambient air, not your WiFi chip's exhaust.