
The Evolution of Basic Arduino Projects into IoT
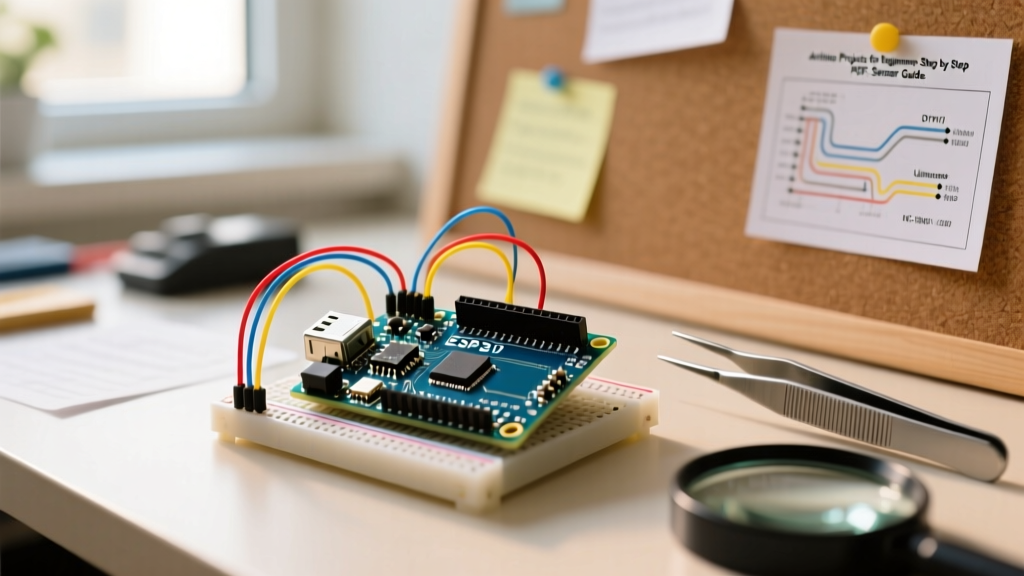
When most beginners search for basic Arduino projects, they are met with tutorials on blinking LEDs, reading potentiometers, or outputting text to a local serial monitor. While these are excellent exercises for understanding GPIO and basic circuitry, they fail to reflect the reality of modern embedded systems. In 2026, the true foundation of electronics prototyping requires network connectivity. Upgrading your offline sketches into Internet of Things (IoT) connected devices is no longer an advanced topic; it is the new baseline.
This guide bridges the gap between traditional microcontroller fundamentals and modern cloud telemetry. We will build an environmental monitoring node that reads temperature, humidity, and barometric pressure, and securely pushes that data to a cloud dashboard. By utilizing the Arduino IoT Cloud ecosystem, we eliminate the need for complex backend server management, allowing you to focus on the hardware and firmware integration.
Hardware Selection: Why the Arduino Uno R4 WiFi?
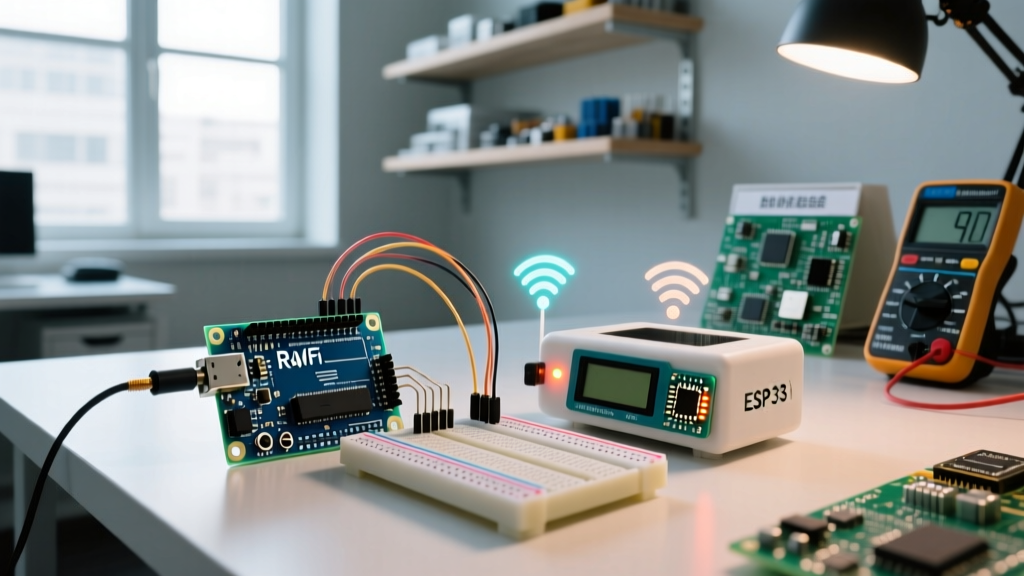
For years, the Arduino Uno R3 was the undisputed king of basic Arduino projects. However, its 8-bit ATmega328P architecture lacks native networking and struggles with the memory requirements of modern TLS/SSL encryption required for secure IoT communication. The Arduino Uno R4 WiFi solves this by utilizing a dual-chip architecture:
- Renesas RA4M1 (ARM Cortex-M4): The primary microcontroller running at 48 MHz, handling sensor polling and core logic.
- ESP32-S3 Module: A dedicated co-processor handling WiFi connectivity, cryptographic handshakes, and cloud communication via the AT command set over a hardware UART bridge.
This separation of concerns means your main sketch never blocks while waiting for a WiFi handshake or a TCP packet acknowledgment, a common failure point in older ESP8266-based basic Arduino projects.
Component Bill of Materials (BOM)
To ensure signal integrity and protect sensitive 3.3V sensors from the Uno R4's 5V logic, we are incorporating an I2C level shifter. Skipping this step is a frequent cause of long-term sensor degradation in beginner builds.
| Component | Model / Part Number | Purpose | Est. Price (2026) |
|---|---|---|---|
| Arduino Uno R4 WiFi | ABX00087 | Main MCU & WiFi Gateway | $27.50 |
| BME280 Sensor Breakout | Adafruit 2652 | Temp/Humidity/Pressure (I2C) | $19.95 |
| BSS138 I2C Level Shifter | Adafruit 757 | 5V to 3.3V Logic Translation | $3.95 |
| USB-C Cable (Data+Power) | Generic | Flashing & Power Delivery | $5.00 |
Step-by-Step Build: IoT Environmental Telemetry Node
Phase 1: Wiring the I2C Bus with Level Shifting
The Bosch BME280 sensor operates strictly at 3.3V. While the Renesas RA4M1 is 5V tolerant on some pins, its I2C bus runs at 5V when powered via USB. Feeding 5V into the BME280's SDA/SCL lines will eventually destroy the sensor's internal pull-up resistors. We use the BSS138 MOSFET-based level shifter to safely bridge the voltage domains.
- Connect the Uno R4 5V pin to the Level Shifter HV (High Voltage) pad.
- Connect the Uno R4 3.3V pin to the Level Shifter LV (Low Voltage) pad.
- Connect common GND across the Uno, Level Shifter, and BME280.
- Route Uno R4 SDA and SCL to the HV1 and HV2 channels on the shifter.
- Route the BME280 SDA and SCL to the corresponding LV1 and LV2 channels.
- Power the BME280 VIN from the Level Shifter's LV (3.3V) rail.
Expert Troubleshooting Tip: Parasitic capacitance on I2C lines can corrupt the SCL clock signal, especially when routing through MOSFET level shifters. Keep your I2C jumper wires under 15cm in length. If you experience intermittent sensor dropouts, verify that the 3.3V (LV) side of your level shifter has 4.7kΩ pull-up resistors to VCC.
Phase 2: Configuring the Arduino IoT Cloud
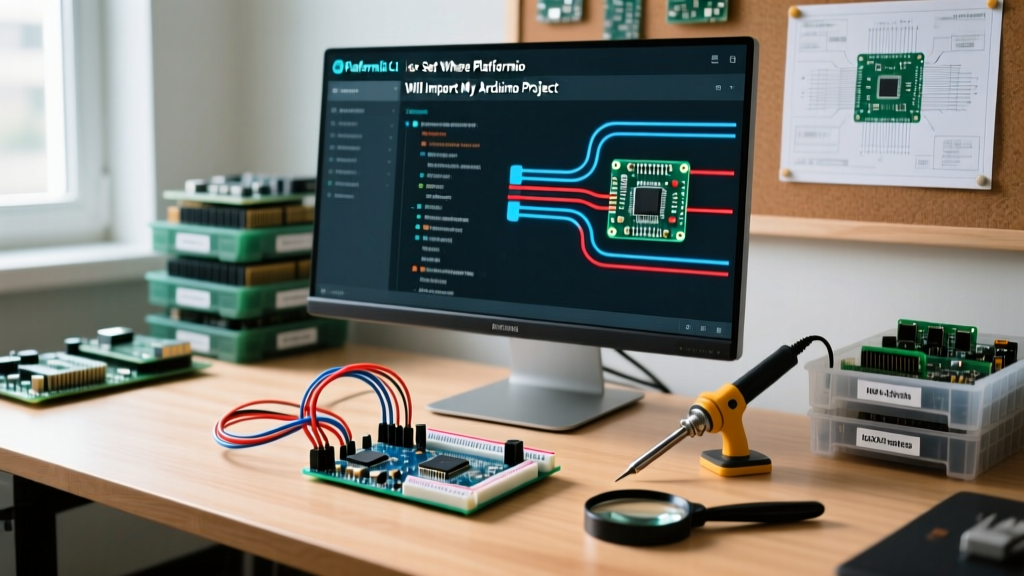
Modern basic Arduino projects should leverage managed cloud infrastructure rather than raw MQTT brokers, which require manual certificate management. Navigate to the Arduino IoT Cloud portal and create a new Thing.
- Variable 1:
temperature(Type: Float, Read-only, Periodic: 10 seconds) - Variable 2:
humidity(Type: Float, Read-only, Periodic: 10 seconds) - Variable 3:
pressure(Type: Float, Read-only, Periodic: 10 seconds)
Once the variables are defined, associate your Arduino Uno R4 WiFi as the Device. The portal will automatically generate a thingProperties.h file containing your unique device ID and secret key. Never hardcode these credentials directly into your main sketch; always rely on the auto-generated header file to maintain security best practices aligned with NIST SP 800-213 IoT Device Security Guidelines.
Code Architecture: Non-Blocking Telemetry
A critical mistake in basic Arduino projects is the use of the delay() function. When sending data to the cloud, network latency can cause delay() to block the main loop, resulting in missed sensor readings or watchdog timer resets. We must use a non-blocking millis() approach.
#include <Wire.h>
#include <Adafruit_Sensor.h>
#include <Adafruit_BME280.h>
#include 'thingProperties.h'

Adafruit_BME280 bme;
unsigned long lastRead = 0;
const unsigned long readInterval = 10000; // 10 seconds

void setup() {
  Serial.begin(9600);
  delay(1500); // Allow serial monitor to connect
  initProperties();
  ArduinoCloud.begin(ArduinoIoTPreferredConnection);
  setDebugMessageLevel(2);
  ArduinoCloud.printDebugInfo();

  if (!bme.begin(0x77)) {
    Serial.println('Could not find a valid BME280 sensor!');
    while (1) { delay(10); }
  }
}

void loop() {
  ArduinoCloud.update();
  unsigned long currentMillis = millis();
  if (currentMillis - lastRead >= readInterval) {
    lastRead = currentMillis;
    temperature = bme.readTemperature();
    humidity = bme.readHumidity();
    pressure = bme.readPressure() / 100.0F; // Convert Pa to hPa
  }
}
Common Failure Modes and Edge Cases
Even with perfect wiring, IoT environments introduce variables that offline basic Arduino projects never face. Here is how to diagnose the most common edge cases:
1. WiFi TX Brownouts
During RF transmission bursts, the ESP32-S3 co-processor on the Uno R4 WiFi can draw peak currents exceeding 350mA. If you are powering the board via a standard PC USB 2.0 port (limited to 500mA, but often supplying less due to cable resistance), the voltage will sag below the 3.3V LDO dropout threshold. This causes the ESP32 to continuously reset during the cloud handshake. Solution: Always power IoT nodes via a dedicated 5V/2A USB-C wall adapter.
2. I2C Address Conflicts
The BME280 can operate on I2C address 0x77 or 0x76 depending on the breakout board manufacturer. If your serial monitor outputs 'Could not find a valid BME280 sensor', run an I2C scanner sketch to verify the address. Adafruit boards typically default to 0x77, while generic Amazon/eBay clones often tie the SDO pin to GND, resulting in 0x76.
3. Cloud Connection Timeouts
If the Arduino IoT Cloud dashboard shows the device as 'Offline' despite a successful local WiFi connection, check your router's 2.4GHz band settings. The ESP32-S3 does not support WPA3-Enterprise or 802.11ax (WiFi 6) exclusive modes. Ensure your router is broadcasting a mixed WPA2/WPA3 2.4GHz network.
Securing Your IoT Deployment
As you transition from basic Arduino projects to deployed IoT hardware, security becomes paramount. According to the NIST Internet of Things (IoT) Cybersecurity Framework, devices must implement secure over-the-air (OTA) update mechanisms and avoid hardcoded default passwords. The Arduino IoT Cloud handles OTA firmware updates securely via encrypted channels, ensuring that your deployed telemetry nodes cannot be hijacked by malicious actors on the local network. Always ensure your WiFi credentials are stored in the secure element or encrypted memory space provided by the Arduino Cloud agent, rather than as plain text in your GitHub repositories.
Conclusion
Redefining what constitutes 'basic Arduino projects' is essential for modern makers and engineers. By leveraging the Arduino Uno R4 WiFi, implementing proper I2C level shifting, and utilizing managed cloud telemetry, you transform a simple sensor reading into a robust, production-ready IoT connected device. Mastering these foundational networking concepts will prepare you for more complex edge-computing and machine-learning deployments in the future.
Further Reading & Authoritative Resources
- Arduino Official Uno R4 WiFi Documentation - Complete pinout and ESP32-S3 bridge architecture details.
- Adafruit BME280 Sensor Guide - Deep dive into I2C wiring and calibration data registers.
- NIST SP 800-213: IoT Device Cybersecurity Guidance - Federal guidelines for securing embedded network devices.