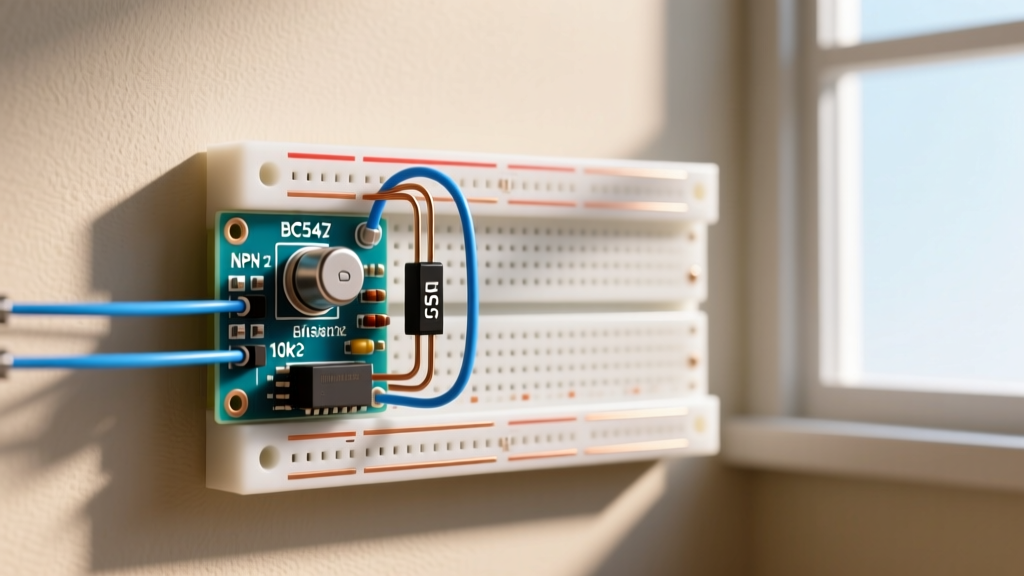
The Arduino DHT11 is a ubiquitous, low-cost digital temperature and humidity sensor that communicates over a proprietary single-bus protocol. If you are wiring one up to an Arduino Uno R3 (ATmega328P), connect the VCC to 5V, GND to GND, and the Data pin to Digital Pin 2 with a 10kΩ pull-up resistor. If your serial monitor is spitting out NaN (Not a Number), the issue is almost always a missing pull-up resistor, a 3.3V/5V logic mismatch, or a polling rate faster than the sensor's 1Hz hardware limit.
DHT11 vs DHT22 vs AM2320: Spec Sheet and Upgrade Path
Before you solder, verify that the DHT11 actually meets your environmental requirements. The DHT11 uses a cheap thermistor and a resistive humidity measurement component. It is strictly an indoor, room-temperature sensor. If you need to measure freezing temperatures or require precision better than ±2°C, you need to upgrade your BOM. Consult the Adafruit DHT sensor guide for deeper protocol analysis.
| Sensor Model | Temp Range | Temp Accuracy | Humidity Range | Interface | Typical Price |
|---|---|---|---|---|---|
| DHT11 | 0°C to 50°C | ±2.0°C | 20% to 80% RH | Single-Bus (Custom) | $1.50 - $2.50 |
| DHT22 (AM2302) | -40°C to 80°C | ±0.5°C | 0% to 100% RH | Single-Bus (Custom) | $4.00 - $6.00 |
| AM2320 | -40°C to 80°C | ±0.5°C | 0% to 99.9% RH | I2C / Single-Bus | $5.50 - $7.50 |
| SHT31-D | -40°C to 125°C | ±0.3°C | 0% to 100% RH | I2C | $8.00 - $12.00 |
Parts List and Pin Mapping
The DHT11 is sold in two physical form factors: a bare 4-pin blue plastic package, and a 3-pin PCB module. The 3-pin module includes the required surface-mount pull-up resistor and a filter capacitor. If you are using the bare 4-pin sensor, you must add a 10kΩ resistor between VCC and the Data pin.
Required Components
- Microcontroller: Arduino Uno R3 (ATmega328P, 5V logic)
- Sensor: DHT11 (3-pin module variant recommended for beginners)
- Resistor: 10kΩ (only required if using the bare 4-pin DHT11)
- Wiring: 3x Male-to-Male jumper wires (22 AWG solid core)
Pin Mapping Table (Arduino Uno R3)
| DHT11 3-Pin Module | DHT11 Bare 4-Pin | Arduino Uno R3 Pin | Notes |
|---|---|---|---|
| VCC (or +) | Pin 1 (VDD) | 5V | Do not use 3.3V; the DHT11 requires 3.3V-5.5V but 5V ensures clean logic highs. |
| DATA (or OUT) | Pin 2 (DATA) | Digital Pin 2 | Must be a digital I/O pin. Add 10kΩ pull-up to 5V if using bare 4-pin. |
| NC (Not Connected) | Pin 3 (NC) | None | Leave floating. Do not ground this pin. |
| GND (or -) | Pin 4 (GND) | GND | Connect to any Arduino GND pin. |
Complete Arduino DHT11 Code with Error Handling
This code targets the Arduino Uno R3 and utilizes the standard Adafruit DHT Sensor Library. You must install both the Adafruit Unified Sensor and DHT sensor library via the Arduino IDE Library Manager before compiling.
The script includes explicit error handling to catch the isnan() (is Not a Number) state, which prevents your downstream logic from acting on garbage data.
#include <DHT.h>
#include <Adafruit_Sensor.h>

// --- PIN DEFINITIONS ---
#define DHTPIN 2          // Digital pin connected to the DHT sensor
#define DHTTYPE DHT11     // Define sensor type (DHT11, DHT22, DHT21)

// Initialize DHT sensor for normal 16MHz Arduino
DHT dht(DHTPIN, DHTTYPE);

// Timing variables to enforce the 1Hz read limit
unsigned long previousMillis = 0;
const long interval = 2500; // Read every 2.5 seconds (DHT11 max is 1Hz / 1000ms)

void setup() {
  Serial.begin(115200);
  Serial.println(F("DHT11 Initialization..."));

  // The DHT library handles the internal pull-up configuration,
  // but an external 10k pull-up is still electrically required for the bare sensor.
  dht.begin();
}

void loop() {
  unsigned long currentMillis = millis();

  // Non-blocking delay to respect the sensor's 1Hz sampling rate
  if (currentMillis - previousMillis >= interval) {
    previousMillis = currentMillis;

    // Reading temperature or humidity takes about 250 milliseconds
    float h = dht.readHumidity();
    float t = dht.readTemperature(); // Celsius by default
    float f = dht.readTemperature(true); // Fahrenheit

    // ERROR HANDLING: Check if any reads failed and exit early
    if (isnan(h) || isnan(t) || isnan(f)) {
      Serial.println(F("Failed to read from DHT sensor! Check wiring and pull-up resistor."));
      return; // Abort this loop iteration, do not print NaN values
    }

    // Compute heat index (requires Adafruit Unified Sensor lib)
    float hif = dht.computeHeatIndex(f, h);
    float hic = dht.computeHeatIndex(t, h, false);

    Serial.print(F("Humidity: "));
    Serial.print(h);
    Serial.print(F("%  |  Temperature: "));
    Serial.print(t);
    Serial.print(F("°C / "));
    Serial.print(f);
    Serial.print(F("°F  |  Heat Index: "));
    Serial.print(hic);
    Serial.println(F("°C"));
  }
}
Debugging the "NaN" Error: First Three Things to Check
The most common failure mode when working with the Arduino DHT11 is opening the Serial Monitor and seeing this exact output:
Failed to read from DHT sensor! Check wiring and pull-up resistor.
(Or, if using a script without theisnan()check):
Temperature: nan °C | Humidity: nan %
The NaN (Not a Number) string means the microcontroller sent the start signal, but the sensor never pulled the data line low to acknowledge. According to the Arduino digital pins reference, floating pins can cause erratic reads, but DHT failures are usually protocol-level timeouts. Here are the first three things to check, ranked by probability.
1. Missing or Incorrect Pull-Up Resistor (80% of failures)
The DHT11 uses a single-bus protocol where both the MCU and the sensor pull the data line low (open-drain style). To return the line to a HIGH state, a pull-up resistor is mandatory. If you are using the bare 4-pin blue DHT11 and forgot the 10kΩ resistor between VCC and DATA, the line will float, and the checksum will fail every time.
The Fix: Insert a 10kΩ resistor. If you don't have one, enable the Arduino's internal pull-up by adding pinMode(DHTPIN, INPUT_PULLUP); in your setup(), though the internal ~30kΩ-50kΩ resistor is often too weak for long wire runs.
2. Polling Too Fast (Timing Violation)
The DHT11 hardware has a hard sampling rate limit of 1Hz (one read per second). If your loop() queries the sensor every 100ms, the sensor's internal microcontroller will lock up or return stale/corrupted data, triggering a checksum failure that the Adafruit library translates into a NaN return.
The Fix: Implement a non-blocking millis() timer (as shown in the code above) set to at least 2000ms (2 seconds). Never use delay(1000) in the main loop if you have other tasks to run.
3. Voltage Starvation and Logic Level Mismatch
The DHT11 requires a minimum of 3.3V to operate, but it reliably triggers 5V logic thresholds only when powered by 5V. If you are powering the Uno via a weak USB port, the 5V rail might droop to 4.2V under load. Furthermore, if you wired the DHT11 VCC to the Arduino's 3.3V pin, the sensor's output HIGH voltage might only reach 2.8V, which the ATmega328P might fail to register as a logic HIGH.
The Fix: Use your multimeter to measure DC voltage directly across the sensor's VCC and GND pins. It must read between 4.8V and 5.2V. Always wire the DHT11 VCC to the Arduino's 5V pin.
Extending and Simplifying the Build
Once you have stable serial output, you will likely want to move this data out of the IDE or streamline the hardware.
How to Simplify the Hardware
If you are tired of managing loose 10kΩ resistors on a breadboard, stop buying the bare 4-pin DHT11 components. Purchase the 3-pin DHT11 PCB module (often sold in packs of 5 for ~$8). These modules have a 10kΩ 0603 SMD pull-up resistor and a 104 (100nF) decoupling capacitor pre-soldered. They reduce your wiring to exactly three jumper cables and eliminate the most common point of hardware failure.
How to Extend the Project
- Add Local Display: Wire an I2C SSD1306 128x64 OLED display to the Uno's A4 (SDA) and A5 (SCL) pins. Use the
Adafruit_SSD1306library to render the temperature locally without needing a PC. - Add WiFi / IoT: The Uno lacks native networking. To push DHT11 data to an MQTT broker or a Home Assistant dashboard, migrate the code to an ESP32 DevKit V1. The ESP32 is 3.3V logic, so you must power the DHT11 from the ESP32's
VINor5Vpin (if USB powered), not the3V3pin, to ensure the sensor receives adequate voltage while maintaining compatible logic thresholds. - Improve Accuracy: Swap the DHT11 for an AHT20 or SHT31 I2C sensor. They use standard I2C protocols (eliminating the fragile single-bus timing issues entirely) and offer ±0.3°C accuracy, making them suitable for incubator or greenhouse automation.