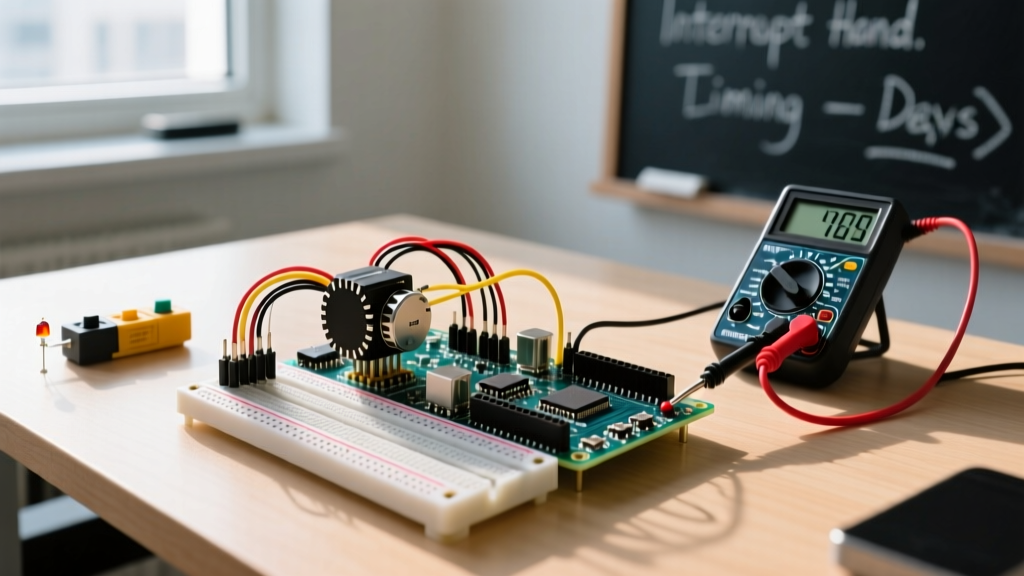
Time to Build: 45 minutes
Target Board Variant: Arduino Nano 33 BLE Rev2 (nRF52840)
The official ArduinoBLE library is the standard stack for Arduino boards equipped with the Nordic nRF52840 System-on-Chip, specifically the Nano 33 BLE and Nicla series. It abstracts the complex Bluetooth Low Energy (BLE) Generic Attribute Profile (GATT) into manageable C++ classes. However, hobbyists frequently hit roadblocks when mixing up 16-bit and 128-bit UUIDs, mismanaging I2C pull-ups, or confusing this library with the ESP32's entirely different BLEDevice stack.
This guide walks through building a reliable BLE environmental sensor, provides production-ready code with hardware fault handling, and details the exact debugging steps for the most common failure modes.
Hardware Spec Sheet & Pin Mapping
Before writing code, verify your hardware. The nRF52840 is strictly a 3.3V logic device. Feeding 5V into the I2C data lines will permanently damage the GPIO pads. We are using the external I2C bus (broken out to the headers), not the internal bus reserved for onboard sensors.
| Component | Exact Variant / Model | Approx. Cost (2026) | Critical Notes |
|---|---|---|---|
| Microcontroller | Arduino Nano 33 BLE Rev2 (ABX00059) | $24.00 | Ensure it is Rev2 (with headers). Rev1 lacks the onboard 3.3V regulator fix. |
| Sensor | Adafruit BME280 Breakout (PID 2652) | $11.50 | Includes onboard 3V3 regulator and I2C level shifters. Generic clones lack these. |
| Power Supply | USB-C 5V/1A minimum | $5.00 | nRF52840 radio TX spikes draw ~15mA; a weak USB hub will cause brownouts. |
Pin Mapping Table
The Nano 33 BLE routes its external I2C bus to analog pins A4 and A5. Do not use the SDA/SCL pins near the top of the board; those are routed to the internal LSM9DS1 and HTS221 sensors.
| Nano 33 BLE Pin | BME280 Breakout Pin | Function |
|---|---|---|
| 3V3 | VIN (or 3Vo if bypassing reg) | Power (3.3V nominal) |
| GND | GND | Common Ground |
| A4 | SDI / SDA | I2C Data |
| A5 | SCK / SCL | I2C Clock |
Complete ArduinoBLE Sensor Code
This sketch initializes the I2C bus, verifies the BME280 sensor, and spins up a custom BLE GATT service. It includes strict error handling to halt execution and report via Serial if the radio or sensor fails to initialize, preventing silent failures in the field.
Prerequisite: Install the ArduinoBLE and Adafruit BME280 libraries via the Arduino IDE Library Manager.
#include <ArduinoBLE.h>
#include <Wire.h>
#include <Adafruit_BME280.h>

// --- Pin Definitions ---
#define I2C_SDA_PIN A4
#define I2C_SCL_PIN A5
#define STATUS_LED_PIN LED_BUILTIN

// --- BLE 128-bit UUIDs ---
// Generated via standard UUID generators. Do not use Bluetooth SIG base UUIDs.
const char* BLE_SERVICE_UUID     = "19B10000-E8F2-537E-4F6C-D104768A1214";
const char* BLE_TEMP_CHAR_UUID   = "19B10001-E8F2-537E-4F6C-D104768A1214";
const char* BLE_HUMIDITY_CHAR_UUID = "19B10002-E8F2-537E-4F6C-D104768A1214";

// --- BLE Objects ---
BLEService envService(BLE_SERVICE_UUID);
BLEFloatCharacteristic tempChar(BLE_TEMP_CHAR_UUID, BLERead | BLENotify);
BLEFloatCharacteristic humidChar(BLE_HUMIDITY_CHAR_UUID, BLERead | BLENotify);

// --- Sensor Object ---
Adafruit_BME280 bme;

void setup() {
  Serial.begin(115200);
  while (!Serial && millis() < 3000); // Wait for serial monitor (timeout 3s)

  pinMode(STATUS_LED_PIN, OUTPUT);
  digitalWrite(STATUS_LED_PIN, LOW);

  // Initialize External I2C Bus
  Wire.begin(I2C_SDA_PIN, I2C_SCL_PIN);

  // Sensor Initialization with Error Handling
  if (!bme.begin(0x77, &Wire)) {
    Serial.println("FATAL: Could not find a valid BME280 sensor. Check I2C address (0x77 vs 0x76) and wiring.");
    blinkErrorPattern();
    while (1); // Halt
  }
  Serial.println("BME280 initialized successfully.");

  // BLE Radio Initialization with Error Handling
  if (!BLE.begin()) {
    Serial.println("FATAL: BLE.begin() failed! Radio hardware fault or 3V3 brownout detected.");
    blinkErrorPattern();
    while (1); // Halt
  }

  // Configure BLE Stack
  BLE.setLocalName("FluxEnvSensor");
  BLE.setAdvertisedService(envService);

  envService.addCharacteristic(tempChar);
  envService.addCharacteristic(humidChar);
  BLE.addService(envService);

  // Start Advertising
  BLE.advertise();
  Serial.println("BLE Active. Advertising as FluxEnvSensor...");
}

void loop() {
  BLEDevice central = BLE.central();

  if (central) {
    Serial.print("Connected to central: ");
    Serial.println(central.address());
    digitalWrite(STATUS_LED_PIN, HIGH);

    while (central.connected()) {
      float tempC = bme.readTemperature();
      float humidity = bme.readHumidity();

      tempChar.writeValue(tempC);
      humidChar.writeValue(humidity);

      // 1-second update interval to save power and avoid flooding the BLE stack
      delay(1000);
    }

    Serial.print("Disconnected from central: ");
    Serial.println(central.address());
    digitalWrite(STATUS_LED_PIN, LOW);
  }
}

void blinkErrorPattern() {
  for (int i = 0; i < 5; i++) {
    digitalWrite(STATUS_LED_PIN, HIGH);
    delay(150);
    digitalWrite(STATUS_LED_PIN, LOW);
    delay(150);
  }
}
Debugging: First 3 Things to Check When BLE Fails
When your serial monitor throws an error or your phone refuses to connect, follow this ranked decision path. These are the three most common failure modes for the Nano 33 BLE.
1. Error String: "FATAL: BLE.begin() failed!"
The Cause: The nRF52840 radio module failed to boot. This is almost always a power delivery issue, not a code bug. When the BLE radio transmits an advertising packet, it creates a sudden current spike. If your USB cable has high resistance or your breadboard power rail is loose, the 3.3V rail dips below 2.7V, causing the radio to brownout and crash.
The Fix:
- Measure the 3V3 pin with a digital multimeter while the board is attempting to initialize. It must read >3.2V.
- Solder a 100µF ceramic or low-ESR electrolytic capacitor directly across the 3V3 and GND header pins to absorb TX spikes.
- Swap the USB cable for a high-quality, short data cable.
2. Error String: "FATAL: Could not find a valid BME280 sensor"
The Cause: I2C address mismatch or missing pull-up resistors. The Adafruit BME280 defaults to I2C address 0x77. Many cheap Amazon/AliExpress clones default to 0x76. Furthermore, if you are using a raw sensor module without an Adafruit-style breakout, you lack the required 4.7kΩ pull-up resistors on SDA/SCL.
The Fix:
- Run the standard Arduino
I2C_Scannersketch to find the actual hex address of your sensor. - Change
bme.begin(0x77, &Wire)to match the scanned address (e.g.,0x76). - If using a bare module, add 4.7kΩ resistors between SDA/SCL and 3.3V.
3. Symptom: Phone connects but drops after exactly 30 seconds
The Cause: BLE Supervision Timeout. If the central device (your phone) does not receive a packet or a keep-alive empty PDU within the supervision timeout window (usually 3-6 seconds by default, but some aggressive phones enforce strict limits), it drops the link. The Arduino BLE library handles empty PDUs automatically, but if your loop() contains a blocking function (like delay(10000) or a long sensor read), the stack gets starved.
The Fix: Ensure BLE.poll() is called frequently if you aren't using BLE.central() in a blocking loop, or keep your loop execution time under 500ms. Never use delay() longer than a few hundred milliseconds without yielding to the BLE stack.
Extending and Simplifying the Build
Depending on your project phase, you may need to strip this build down to test the radio, or scale it up for production.
If you don't have a BME280 handy but need to verify the
ArduinoBLE library is functioning, delete the Wire.h and BME280 includes. Replace the sensor reads in the loop() with tempChar.writeValue((float)millis() / 1000.0);. This broadcasts the board's uptime as a float, letting you verify GATT notifications on your phone using an app like nRF Connect.
To allow your phone to control the board, add a
BLEIntCharacteristic with the BLEWrite property. Use an onWrite callback to trigger an interrupt when the phone sends a new value. For production, leverage the Nano 33 BLE's built-in Mbed OS bootloader to implement Over-The-Air (OTA) firmware updates via the Nordic DFU (Device Firmware Update) service, eliminating the need for physical USB access in the field.
Arduino BLE Library FAQ
Can I use the official Arduino BLE library on an ESP32?
No. The official ArduinoBLE library is strictly written for the Nordic nRF52 architecture and the specific Mbed OS integration on boards like the Nano 33 BLE. If you are using an ESP32 (like the ESP32-WROOM-32), you must use the BLEDevice library (often listed as "ESP32 BLE Arduino" by Neil Kolban) or the more memory-efficient esp-nimble-cpp wrapper. Attempting to compile ArduinoBLE on an ESP32 will result in immediate architecture mismatch errors.
How do I generate custom 128-bit UUIDs for my BLE service?
Do not manually type random hex characters, and never use the official Bluetooth SIG Base UUID (0000xxxx-0000-1000-8000-00805F9B34FB) for custom services, as phones will misinterpret your data as standard heart rate or battery levels. Use a free online UUID generator (like uuidgenerator.net) to create a completely random 128-bit V4 UUID for your Service, and increment the first 4 characters for your Characteristics (e.g., 19B10001..., 19B10002...).
Why does my phone's BLE scanner app show the device but fail to read the temperature value?
This usually happens because the characteristic is set to BLERead but not BLENotify, or the phone app isn't actively polling. In the code provided above, we use BLERead | BLENotify. BLERead allows the phone to request the value on demand, while BLENotify allows the Arduino to push updates to the phone automatically. If using the nRF Connect app, you must explicitly click the "Subscribe" button (the three downward arrows icon) next to the characteristic to start receiving notifications.