
The Shift to I2C: Why Parallel LCDs are Obsolete
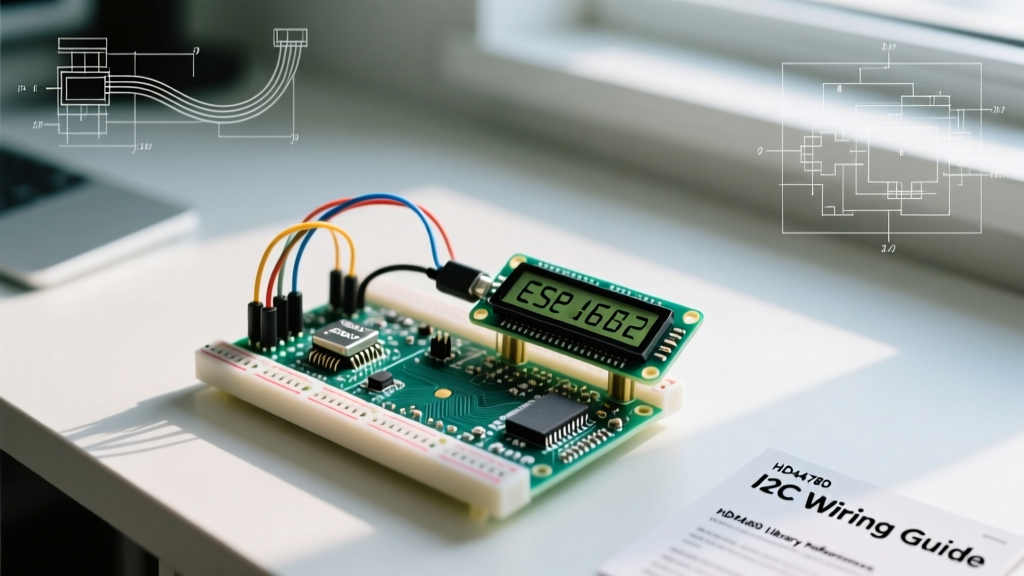
If you are writing the code for Arduino LCD display projects in 2026, you are almost certainly using an I2C backpack rather than the legacy 4-bit parallel wiring method. The classic Hitachi HD44780-based 16x2 LCD remains the workhorse of DIY electronics, but wiring it in parallel consumes six precious GPIO pins. By attaching a PCF8574 or MCP23008 I2C expander backpack, you reduce the connection to just four wires (VCC, GND, SDA, SCL), freeing up pins for sensors and motor controllers.
This guide provides a deep-dive into the hardware matrix, library selection, and the exact C++ implementation required to get your display running flawlessly, complete with edge-case troubleshooting that most basic tutorials ignore.
Hardware BOM & Wiring Matrix
Before writing any code, you must ensure your physical layer is sound. Generic 16x2 I2C LCD modules typically cost between $2.50 and $4.50, while premium assembled units from brands like DFRobot or Adafruit range from $7.00 to $12.00. Below is the wiring matrix for the two most common microcontrollers used in peripheral interfacing.
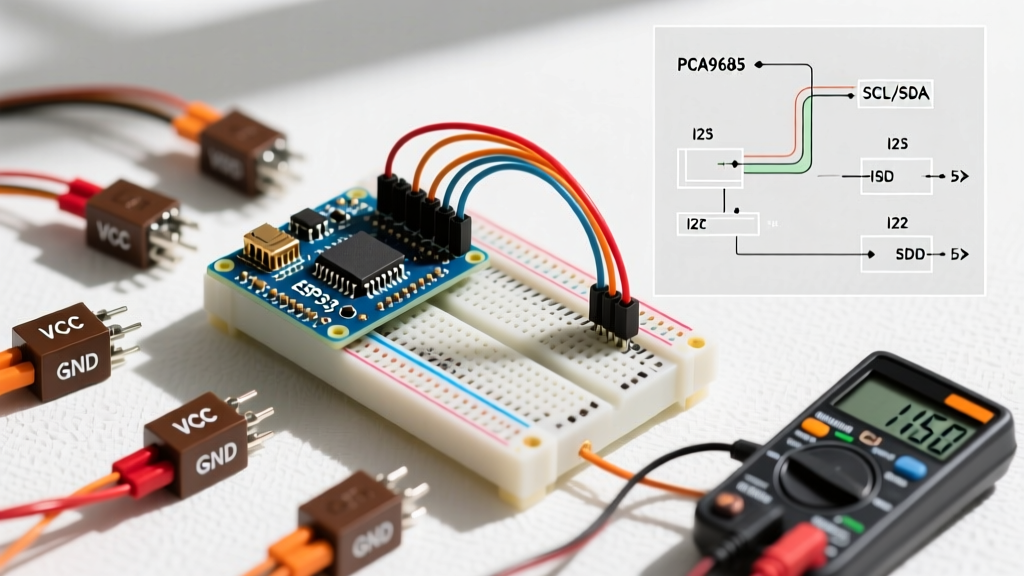
| LCD I2C Pin | Arduino Uno (ATmega328P) | ESP32 DevKit V1 | Notes & Edge Cases |
|---|---|---|---|
| GND | GND | GND | Ensure a common ground with all peripherals. |
| VCC | 5V | 5V (VIN) | Do NOT use 3.3V. The backlight requires 5V/80mA. |
| SDA | A4 | GPIO 21 | Requires 4.7kΩ pull-up to VCC if bus is long. |
| SCL | A5 | GPIO 22 | Keep I2C traces under 1 meter to avoid capacitance issues. |
Pro-Tip for 3.3V MCUs: If you are using an ESP32 or Raspberry Pi Pico, the MCU's I2C pins operate at 3.3V logic. While the PCF8574 backpack is powered by 5V, its I2C input high threshold (VIH) is typically around 3.5V. To prevent ghosting or failed initialization, use a bi-directional logic level shifter (like a BSS138-based module, ~$1.50) between the MCU and the LCD.
Library Selection: LiquidCrystal_I2C vs. hd44780
When searching for the code for Arduino LCD display integration, you will encounter two primary libraries. Choosing the right one dictates your development speed.
1. LiquidCrystal_I2C (Frank de Brabander)
This is the most downloaded library, but it has a fatal flaw: it hardcodes the I2C address and the internal pin mapping of the PCF8574 backpack. Because Chinese manufacturers use at least four different pin-mapping schemas for the same backpack, you will often have to manually pass hex addresses and pin configurations into the constructor, leading to hours of frustrating blank-screen debugging.
2. hd44780 (Bill Perry) - The 2026 Standard
The duinoWitchery hd44780 Library Repository is the undisputed champion for modern development. It features an auto-detection algorithm that scans the I2C bus, identifies the backpack's specific pin mapping, and configures itself automatically. It also includes built-in I2C bus diagnostics and strictly adheres to the HD44780 instruction set timing requirements, preventing the "corrupted character" glitch common in cheaper clones.
Writing the Code: Initialization and Custom Characters
Below is the production-ready code using the hd44780 library. This script initializes the display, prints sensor data, and demonstrates how to write to the CGRAM (Character Generator RAM) to create a custom thermometer icon.
#include <Wire.h>
#include <hd44780.h>
#include <hd44780ioClass/hd44780_I2Cexp.h>

// Auto-detect I2C address and pin mapping
hd44780_I2Cexp lcd;

const int LCD_COLS = 16;
const int LCD_ROWS = 2;

// Custom Thermometer Character (8x5 pixel matrix)
uint8_t thermometer[8] = {
  0b00100,
  0b01010,
  0b01010,
  0b01010,
  0b01010,
  0b10001,
  0b11111,
  0b01110
};

void setup() {
  Serial.begin(115200);

  // Initialize LCD with auto-detection
  int status = lcd.begin(LCD_COLS, LCD_ROWS);
  if (status) {
    hd44780::fatalError(status); // Halts and blinks LED on pin 13 if I2C fails
  }

  // Load custom character into CGRAM slot 0
  lcd.createChar(0, thermometer);

  lcd.clear();
  lcd.setCursor(0, 0);
  lcd.print("System Online");
}

void loop() {
  // Simulated sensor data
  float tempC = 24.5;

  lcd.setCursor(0, 1);
  lcd.write((uint8_t)0); // Print custom thermometer icon
  lcd.print(" Temp: ");
  lcd.print(tempC, 1);   // 1 decimal place
  lcd.print((char)223);  // Degree symbol
  lcd.print("C   ");    // Trailing spaces to overwrite old digits

  delay(1000);
}
Advanced Edge Cases & Hardware Troubleshooting
Even with perfect code, hardware anomalies will occur. Here is how to diagnose the most common I2C LCD failures based on the NXP I2C-bus Specification (UM10204) and practical bench testing.
1. The "Blue Screen with White Boxes" Failure
Symptom: The backlight turns on, but only the top row shows solid white blocks. No text appears.
Root Cause: This is rarely a code issue. It indicates that the LCD controller is receiving power but has not been initialized, OR the contrast voltage (V0) is maxed out.
Fix: Locate the blue 10kΩ trimpot on the back of the I2C backpack. Use a small Phillips screwdriver to turn it counter-clockwise until the blocks disappear and text becomes visible. If using a custom PCB, ensure the V0 pin is tied to a voltage divider yielding roughly 0.5V to 1.0V.
2. I2C Bus Capacitance and Flickering
Symptom: The display flickers, drops characters, or the MCU randomly resets when the LCD backlight switches on.
Root Cause: The LCD backlight draws up to 80mA. If your 5V rail lacks sufficient decoupling, the voltage sags, causing the ATmega328P to brown-out or the I2C bus to glitch. Furthermore, long I2C wires increase bus capacitance beyond the 400pF limit specified in the I2C standard.
Fix: Solder a 100nF (0.1µF) ceramic capacitor directly across the VCC and GND pins on the back of the LCD module. If your I2C cable exceeds 50cm, add 4.7kΩ pull-up resistors to both SDA and SCL lines at the MCU end.
3. Address Conflicts on the I2C Bus
Most PCF8574 backpacks ship with the default I2C address of 0x27 (or sometimes 0x3F). If you are wiring multiple LCDs, or adding an I2C sensor like the BME280 that shares an address space, you will experience collisions. Look for the three unpopulated jumper pads labeled A0, A1, and A2 on the backpack. Soldering these pads to ground shifts the address sequentially, allowing up to 8 distinct LCDs on a single bus.
Frequently Asked Questions
Can I use the standard Arduino LiquidCrystal library with an I2C backpack?
No. The standard Arduino LiquidCrystal Documentation applies strictly to parallel (4-bit or 8-bit) wiring. You must use an I2C-specific wrapper like hd44780_I2Cexp or LiquidCrystal_I2C to translate the I2C serial bytes back into the parallel signals the HD44780 chip expects.
How do I turn off the backlight via code to save power?
If you are building a battery-operated device, the backlight is your biggest current drain. Using the hd44780 library, you can toggle the backlight by calling lcd.backlight() to turn it on, and lcd.noBacklight() to turn it off. Note that this only works if the backpack's jumper bridging the LED anode to the PCF8574's control pin is intact; some cheap clones ship with this jumper permanently soldered, disabling software control.
What is the maximum refresh rate for updating the display?
The HD44780 controller requires an execution time of roughly 1.52ms for standard data writes and up to 4.1ms for clear/return-home commands. Pushing updates faster than this via I2C will result in dropped frames or corrupted CGRAM. Always use non-blocking timing (like millis()) to limit your LCD updates to 5-10 FPS, which is more than enough for human readability while keeping the I2C bus free for high-speed sensor polling.