
Mastering Arduino OLED Sensor Integration
Integrating an Arduino OLED display into a sensor network is one of the most rewarding milestones in embedded DIY projects. Unlike bulky 16x2 character LCDs, modern OLEDs offer high-contrast, pixel-addressable graphics that are perfect for rendering real-time telemetry from environmental sensors. In this guide, we will focus on the industry-standard SSD1306 128x64 I2C OLED module and pair it with a Bosch BME280 environmental sensor to build a robust, real-time data dashboard.
While many tutorials gloss over the underlying hardware constraints, this guide dives deep into the electrical realities of I2C bus sharing, SRAM memory management on 8-bit microcontrollers, and the specific code architecture required to prevent screen flicker and bus lockups.
Hardware Selection: Genuine vs. Clone OLED Modules
The market is flooded with SSD1306-based displays. While the silicon is largely identical, the supporting circuitry varies wildly. Below is a comparison matrix to help you choose the right module for your sensor integration.
| Module Type | Typical Price (2026) | I2C Pull-ups | Logic Level | Best Use Case |
|---|---|---|---|---|
| Adafruit SSD1306 (PID: 326) | $19.95 | Integrated 10kΩ | 3.3V - 5V Tolerant | Production prototypes, mixed-voltage buses |
| Generic HiLetgo 0.96" I2C | $6.50 - $8.00 | Often Missing | 5V (Questionable tolerance) | Budget hobby projects, single-device buses |
| Waveshare 1.5" SH1106 SPI | $14.50 | N/A (SPI) | 3.3V Strict | High-speed rendering, ESP32 integrations |
Expert Tip: If you are using generic clone modules alongside multiple I2C sensors (like the BME280 and an SCD41 CO2 sensor), you must add external 4.7kΩ pull-up resistors to the SDA and SCL lines. Clone boards frequently omit these to save fractions of a cent, leading to ghosting and bus collisions.
The SRAM Bottleneck: Why Your Arduino Uno Might Crash
The most common point of failure in Arduino OLED projects is not the wiring; it is memory exhaustion. A standard 128x64 pixel monochrome display requires a framebuffer in the microcontroller's SRAM. Because each pixel is 1-bit (on/off), the math dictates the buffer size:
(128 pixels * 64 pixels) / 8 bits per byte = 1,024 bytes.
The ATmega328P (the chip on the Arduino Uno and Nano) has exactly 2,048 bytes of SRAM. The moment you initialize the Adafruit_SSD1306 library, 50% of your total system memory is consumed just to hold the screen image. When you add the Wire library (I2C buffer), the BME280 sensor library, and your own local variables, you will quickly exceed the 2KB limit, causing the microcontroller to silently reboot or freeze.
Strategies for Memory Management
- Upgrade the MCU: Transition to an ESP32-S3 or Teensy 4.0. The ESP32-S3 offers 512KB of SRAM, rendering the 1KB OLED buffer mathematically insignificant.
- Use Partial Updates: If you must stay on the ATmega328P, avoid using the standard GFX library's full-screen clear. Instead, draw black rectangles over specific text coordinates to 'erase' old sensor values before writing new ones.
- Drop the GFX Library: For extreme memory constraints, use lightweight alternatives like ssd1306xled, which bypasses the framebuffer entirely and streams data directly to the display controller, though this sacrifices advanced graphics capabilities.
Wiring the I2C Bus: Sharing Lines with Sensors
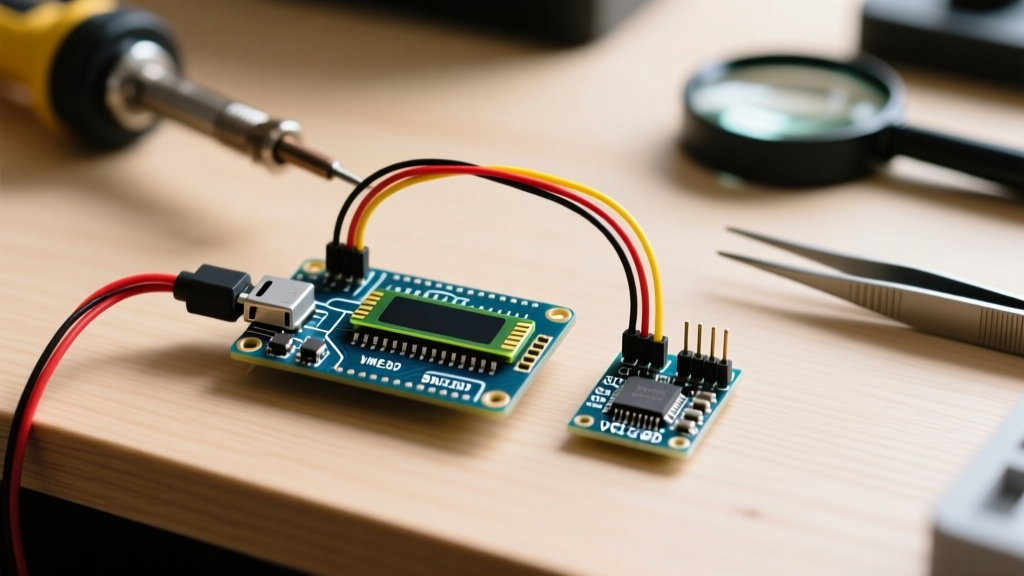
Both the SSD1306 OLED and the BME280 sensor communicate via I2C. This allows us to daisy-chain them on the same two data lines, provided their addresses do not conflict.
- SSD1306 I2C Address: Typically
0x3C(some 128x32 variants use0x3D). - BME280 I2C Address: Typically
0x76(Adafruit breakouts default to0x77).
Because the addresses are distinct, they can share the SDA and SCL pins without hardware modification. According to the Arduino Wire (I2C) Library Documentation, the standard I2C bus supports up to 400pF of capacitance. Long wires or breadboard parasitic capacitance can degrade the square wave signals into triangles, causing data corruption. Keep your I2C traces under 30cm, and use twisted-pair wiring for SDA/SCL if routing through an enclosure.
Physical Pinout (Arduino Uno / Nano)
| OLED Pin | BME280 Pin | Arduino Pin | Notes |
|---|---|---|---|
| GND | GND | GND | Common ground is mandatory |
| VCC | VIN (or 3.3V) | 5V (or 3.3V) | Check OLED regulator specs |
| SCL | SCL | A5 | I2C Clock |
| SDA | SDA | A4 | I2C Data |
Code Architecture: Rendering Sensor Telemetry
To drive the display and read the sensor, we rely on the Adafruit_SSD1306 and Adafruit_BME280 libraries. Below is the critical architecture for the rendering loop. For comprehensive display wiring and initialization parameters, refer to the Adafruit OLED Breakouts Guide.
Initialization Pitfalls
When calling display.begin(SSD1306_SWITCHCAPVCC, 0x3C), beginners often forget the reset pin parameter. If your OLED module lacks a physical reset pin (which most modern I2C variants do), you must pass -1 to the constructor. Failing to do so will cause the library to attempt toggling a non-existent pin, resulting in a blank screen.
The Rendering Loop
Rendering sensor data requires a strict sequence to prevent flickering. The Adafruit_GFX engine operates on a double-buffering principle. You are drawing to the hidden SRAM buffer, not directly to the screen.
- Clear the Buffer:
display.clearDisplay();wipes the SRAM array to all zeros. - Set Cursor and Font:
display.setTextSize(1);uses the default 6x8 pixel font.display.setCursor(0, 0);sets the top-left origin. - Fetch and Print Data: Read the BME280 (following the SparkFun BME280 Hookup Guide for optimal oversampling settings) and use
display.print(bme.temperature);. - Push to Hardware:
display.display();flushes the 1024-byte SRAM buffer to the SSD1306 controller via I2C.
Real-World Troubleshooting & Edge Cases
Even with perfect wiring, environmental factors and code logic can disrupt your Arduino OLED integration. Here is how to diagnose the most common field failures.
1. The 'White Noise' or 'Snow' Screen
Symptom: The display powers on but shows random static or a solid white block.
Root Cause: This usually indicates an initialization failure or an I2C address mismatch. The SSD1306 controller has not received the proper initialization sequence. Run an I2C scanner sketch to verify if the display is responding at 0x3C or 0x3D. If the scanner sees nothing, check your pull-up resistors.
2. Screen Flickering During Sensor Reads
Symptom: The OLED blinks black for a fraction of a second every time the temperature updates.
Root Cause: You are calling display.clearDisplay(); immediately followed by display.display(); with a delay in between. Because clearing the buffer sets all pixels to 'off', pushing it to the screen turns it black. Fix: Ensure your display.print() commands execute immediately after clearing, and only call display.display(); at the very end of the drawing sequence. Alternatively, use black-filled rectangles to erase only the specific text areas that change.
3. I2C Bus Lockup After Deep Sleep
Symptom: If you put your Arduino or ESP32 to sleep to save battery, the OLED fails to wake up, and the I2C bus hangs.
Root Cause: If the MCU goes to sleep while the I2C bus is mid-transaction, the SDA line can be left in a LOW state. The SSD1306 will hold the bus hostage. Fix: Before entering sleep, manually toggle the SCL pin as a GPIO 9 times to send dummy clock pulses, forcing the OLED to release the SDA line, then reinitialize the Wire library upon wake.
Conclusion
Integrating an Arduino OLED with environmental sensors transforms a blind data-logger into an interactive edge device. By respecting the SRAM limitations of 8-bit microcontrollers, ensuring proper I2C bus capacitance management, and utilizing double-buffered rendering techniques, you can build dashboards that are both visually crisp and electrically robust. Whether you are monitoring greenhouse humidity or tracking server room temperatures, the SSD1306 and BME280 combination remains the gold standard for DIY telemetry in 2026.