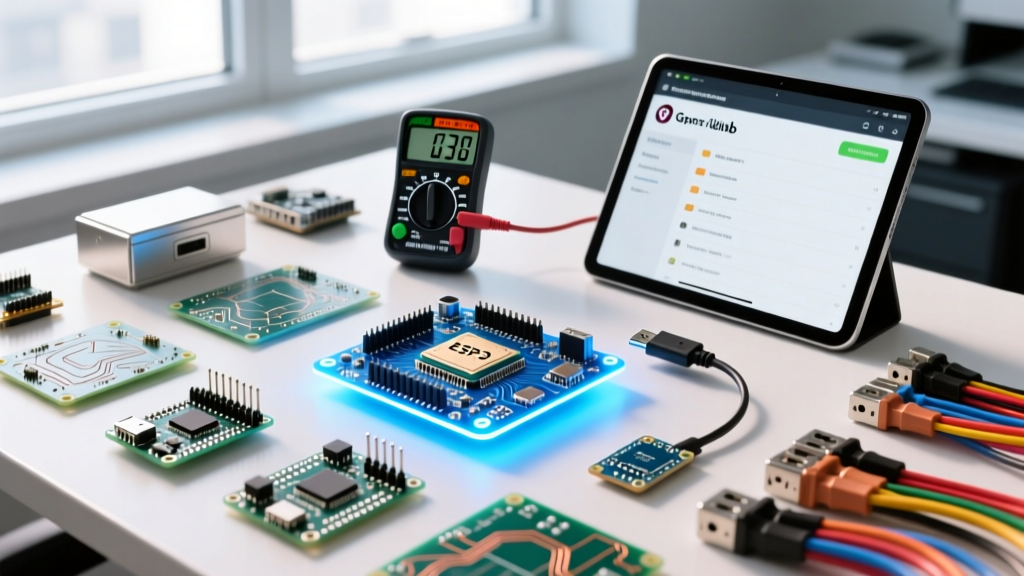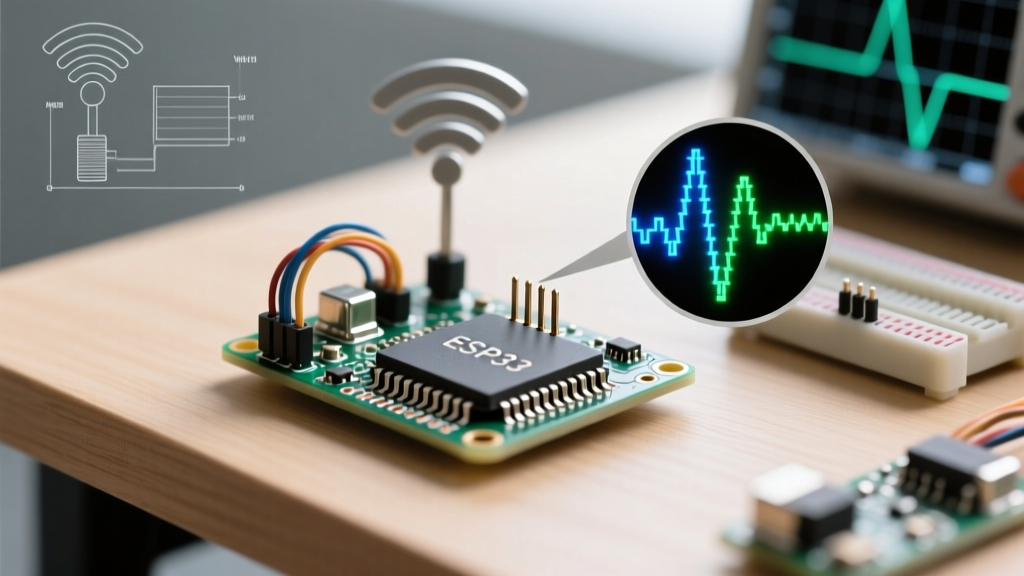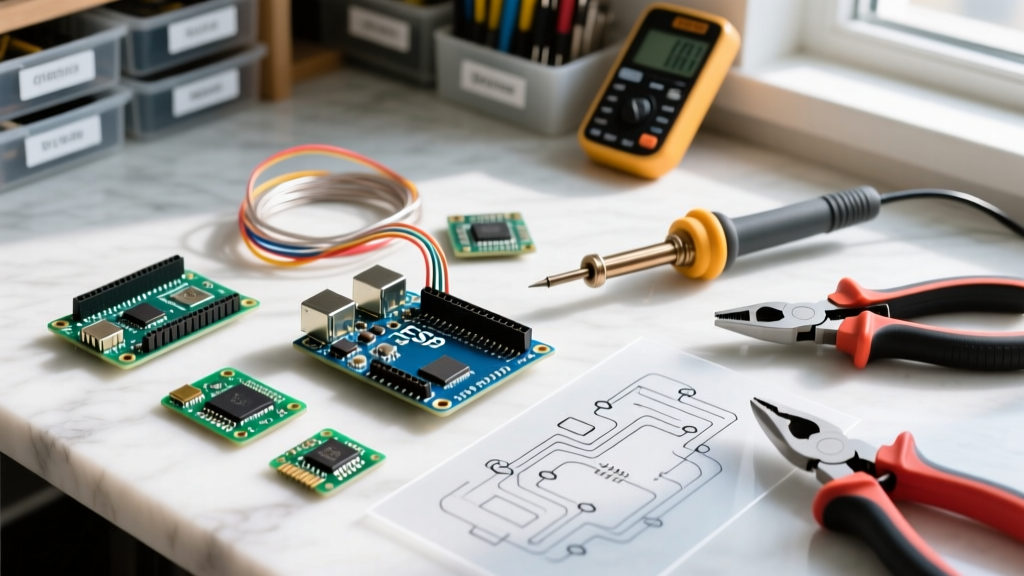

Beyond the Basics: What Is an Arduino Board Really?
When beginners first ask, "what is an Arduino board," the standard answer is usually a simplified explanation of a beginner-friendly microcontroller. However, from an electrical engineering and firmware development perspective, the definition is much more precise. An Arduino board is a standardized hardware abstraction layer (HAL) wrapped around a microcontroller unit (MCU), featuring a pre-flashed serial bootloader (such as Optiboot) that enables UART programming without an external In-System Programmer (ISP).
Technical Definition: At its core, a classic Arduino (like the Uno R3) is an ATmega328P AVR microcontroller clocked at 16MHz, paired with a USB-to-Serial bridge (historically the ATmega16U2 or CH340), voltage regulation circuitry, and a standardized 0.1-inch header footprint governed by the open-source Arduino HAL.
While the official Arduino documentation provides excellent resources for getting started, the ecosystem has evolved drastically. As of 2026, "Arduino" refers less to a specific 8-bit AVR chip and more to the overarching IDE, core libraries, and API standard (`digitalWrite`, `analogRead`, `Wire`) that now supports 32-bit ARM Cortex, Xtensa, and RISC-V architectures.
The AVR Bottleneck: Signs You Need to Migrate
Understanding what an Arduino board is also means understanding its hardware limitations. The classic 8-bit AVR architecture was revolutionary for prototyping, but it rapidly becomes a bottleneck for production-grade or complex DIY applications. You should consider migrating your project to a more advanced MCU if you encounter the following ceilings:
- SRAM Exhaustion: The ATmega328P has only 2KB of SRAM. If your project uses large buffers (e.g., for WS2812B LED arrays, audio processing, or TLS-encrypted WiFi packets), you will experience silent memory overflows and stack collisions.
- Clock Speed & DSP Limits: A 16MHz AVR lacks a Floating Point Unit (FPU) and hardware Digital Signal Processing (DSP) instructions. Performing complex math, such as Fast Fourier Transforms (FFT) for audio analysis or PID control loops at high frequencies, will result in severe latency.
- Connectivity Overhead: Adding WiFi via an ESP-01 AT-command module over software serial to an Uno is highly unreliable. Modern projects require native wireless stacks.
MCU Migration Matrix: Choosing Your Upgrade Path
When you outgrow the classic Uno or Nano, you must select a new target architecture. Below is a 2026 migration matrix comparing the legacy baseline against modern, high-performance alternatives that remain fully compatible with the Arduino IDE and API.
| Board / Core | Architecture | Clock Speed | SRAM | Flash | Logic Level | Avg Price (2026) |
|---|---|---|---|---|---|---|
| Arduino Uno R3 (Baseline) | 8-bit AVR | 16 MHz | 2 KB | 32 KB | 5.0V | $27.00 |
| Raspberry Pi Pico (RP2040) | 32-bit ARM Cortex-M0+ | 133 MHz (Dual) | 264 KB | 2 MB (Ext) | 3.3V | $4.00 |
| ESP32-S3-DevKitC-1 | 32-bit Xtensa LX7 | 240 MHz (Dual) | 512 KB | 8 MB (Ext) | 3.3V | $9.50 |
| Arduino Nano 33 BLE | 32-bit ARM Cortex-M4F | 64 MHz | 256 KB | 1 MB | 3.3V | $21.00 |
| STM32F411 "Black Pill" | 32-bit ARM Cortex-M4F | 100 MHz | 128 KB | 512 KB | 3.3V | $6.50 |
Note: For deep-dive specifications on the RP2040's Programmable I/O (PIO) state machines, refer to the Raspberry Pi RP2040 Hardware Documentation.
Step-by-Step Migration: Moving from AVR to ARM/Xtensa
Migrating a codebase from an 8-bit AVR to a 32-bit architecture is rarely as simple as changing the board selection in the dropdown menu. Follow this structured migration protocol to ensure hardware and firmware stability.
Step 1: Toolchain and IDE Transition
While the Arduino IDE 2.x is vastly improved, complex 32-bit projects benefit immensely from migrating to PlatformIO within Visual Studio Code. PlatformIO allows you to manage specific framework versions (like ESP-IDF 5.x or Zephyr) alongside the Arduino core, giving you granular control over build flags, partition tables, and debugging via JTAG/SWD.
Step 2: Refactoring Hardware Abstraction Layers
The `digitalWrite()` function is notoriously slow due to the overhead of pin mapping and safety checks. On an AVR, it takes roughly 3-5 microseconds. On an ESP32, relying on the Arduino HAL for high-frequency bit-banging will cause timing jitter.
- AVR Direct Port: `PORTB |= (1 << PB5);`
- ESP32 Direct Register: `REG_WRITE(GPIO_OUT_W1TS_REG, BIT(GPIO_NUM_5));`
- RP2040 PIO: Offload the timing entirely to the Programmable I/O hardware state machines, freeing both CPU cores.
Step 3: Memory Management and Pointers
AVR GCC uses a Harvard architecture where Flash (PROGMEM) and SRAM are in separate address spaces. You had to use `pgm_read_byte()` to read constants. Modern ARM and Xtensa chips use a Von Neumann architecture (or unified memory maps). During migration, strip out all `PROGMEM` and `F()` macros; they are either ignored or cause compilation errors on 32-bit targets, and string literals can be safely stored in standard flash-mapped memory.
Real-World Hardware Failure Modes During Migration
When transitioning your physical prototype from a 5V Uno to a 3.3V ESP32 or RP2040, hardware edge cases will cause silent failures if not addressed.
1. The 3.3V Logic Level Mismatch
Sensors like the HC-SR04 ultrasonic distance module or standard 5V LCD character displays output 5V logic. Feeding 5V into the GPIO pins of an ESP32-S3 will permanently degrade or destroy the silicon. Solution: Use a bidirectional logic level shifter like the TI TXS0108E for parallel buses, or a simple N-channel MOSFET (e.g., BSS138) circuit for I2C lines.
2. I2C Pull-Up Resistor Collisions
The Arduino `Wire` library on AVR often relied on internal weak pull-ups (around 30kΩ-50kΩ), which barely worked for short runs at 100kHz. When migrating to an ESP32 or STM32 running I2C at 400kHz (Fast Mode), those weak pull-ups will result in corrupted data and NACK errors. Solution: Disable internal pull-ups in code and install physical 2.2kΩ external pull-up resistors tied to the 3.3V rail on both SDA and SCL lines.
3. Brownout Detector (BOD) Resets on WiFi Transmission
A common failure mode when migrating IoT projects to the ESP32 is random reboots the moment the WiFi radio transmits. The RF draw can spike to 350mA-450mA. If you are powering the board via a cheap USB hub or relying on the onboard AMS1117 LDO (which often overheats and drops voltage), the ESP32's internal Brownout Detector will trigger a reset. Solution: Bypass the onboard regulator and inject a clean 5V supply into the 5V pin, or use a high-efficiency buck converter (like the TI TPS54308) to supply 3.3V directly to the 3V3 pin.
Expert Verdict: When to Stay and When to Leave
So, what is an Arduino board in the context of modern electronics? It is the ultimate stepping stone. If your project requires simple relay switching, basic sensor logging via SD card, or educational demonstrations, the classic 8-bit AVR architecture remains a robust, noise-tolerant, and 5V-compatible workhorse.
However, if your 2026 project roadmap includes machine learning inference (TinyML), secure TLS MQTT communication, multi-threaded RTOS tasks, or high-speed ADC sampling, it is time to migrate. Transitioning to an RP2040 for deterministic I/O, or an ESP32-S3 for native AI and wireless capabilities, will future-proof your design and align your skills with current commercial embedded engineering standards. For comprehensive API references regarding the ESP32's advanced peripherals, consult the Espressif ESP-IDF Programming Guide.