
The SRAM Bottleneck in Default SSD1306 Arduino Workflows
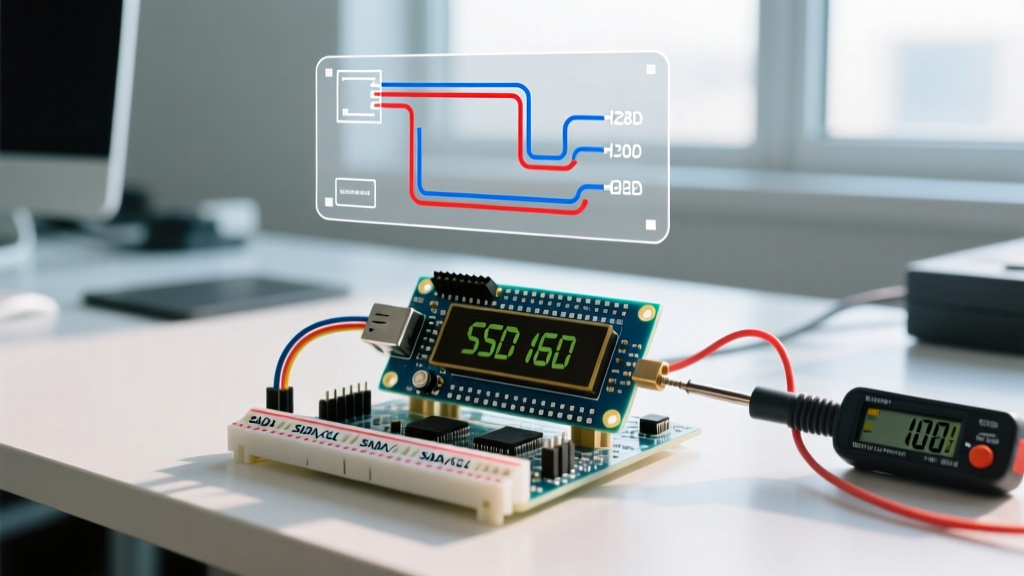
In 2026, the 0.96-inch 128x64 OLED display driven by the SSD1306 controller remains the undisputed champion of microcontroller UIs. Priced between $2.50 and $4.00 on bulk marketplaces, it is the default choice for everything from ESP32 weather stations to ATmega328P sensor dashboards. However, the standard plug-and-play workflow often hits a severe bottleneck: SRAM exhaustion.
A 128x64 monochrome display requires exactly 1,024 bytes of frame buffer memory (128 * 64 / 8). If you are using an Arduino Uno or Nano (ATmega328P), your total SRAM is only 2,048 bytes. The default Adafruit_SSD1306 library allocates this 1KB buffer dynamically or statically, instantly consuming 50% of your available memory. When your workflow expands to include WiFi stacks, JSON parsing, or complex sensor arrays, this hidden memory tax leads to random reboots, heap fragmentation, and malloc failures.
Optimizing your SSD1306 Arduino workflow requires moving beyond default library examples. By rethinking library selection, I2C bus speeds, and rendering pipelines, you can achieve high-framerate updates without crashing your microcontroller.
Library Selection Matrix: Choosing the Right Rendering Engine
The first step in workflow optimization is selecting a library that matches your hardware constraints. While the Adafruit library is excellent for rapid prototyping, production workflows demand stricter memory management.
| Library | SRAM Footprint (128x64) | Flash Overhead | Rendering Workflow | Best Use Case |
|---|---|---|---|---|
| Adafruit_SSD1306 | 1,024 bytes (Full Buffer) | ~15 KB | RAM-heavy, easy API | ESP32/RP2350 with ample RAM |
| U8g2 (olikraus) | 128 to 1,024 bytes | ~25 KB+ | Page mode or Full Buffer | ATmega328P, complex fonts |
| ssd1306 (lexus2k) | 128 to 1,024 bytes | ~10 KB | Highly optimized, fast I2C | AVR/ESP8266 game engines |
For memory-constrained AVR boards, the U8g2 library is the professional standard. Its 'Page Mode' (e.g., U8G2_SSD1306_128X64_NONAME_1_HW_I2C) divides the screen into eight 128x8 pixel pages. This reduces the SRAM requirement from 1,024 bytes to just 128 bytes. The tradeoff is that you must redraw your entire UI logic eight times per frame, which costs CPU cycles but saves critical memory.
I2C Bus Optimization: Pushing Past 100kHz
The default I2C clock speed on most Arduino cores is 100kHz (Standard Mode). At this speed, transmitting a 1,024-byte frame buffer takes roughly 10 milliseconds, yielding a theoretical maximum of ~12 frames per second (FPS) before accounting for I2C protocol overhead and rendering time. If your workflow involves animations, scrolling text, or live oscilloscope graphs, 12 FPS results in visible tearing and lag.
Implementing Fast Mode (400kHz)
You can quadruple your transfer speed by switching to I2C Fast Mode. The Arduino Wire library supports this natively via the setClock() function.
Insert this line immediately after your Wire.begin() and display.begin() calls:
Wire.setClock(400000); // Set I2C to 400kHz Fast Mode
This single line reduces the frame transmission time to ~2.5ms, pushing your potential framerate past 40 FPS. For ESP32 and RP2040 users, you can often push this to 800kHz (Fast Mode Plus) by using Wire.setClock(800000);, provided your PCB traces are short and clean.
The Hardware Catch: Pull-Up Resistor Scaling
Software optimization will fail if your hardware is not tuned for higher frequencies. The I2C bus relies on open-drain architecture, meaning pull-up resistors are required to bring the SDA and SCL lines high. Most generic SSD1306 breakout boards include 10kΩ or 4.7kΩ pull-ups, which are sufficient for 100kHz but will cause signal rise-time failures at 400kHz due to bus capacitance.
- 100kHz: 4.7kΩ to 10kΩ pull-ups are acceptable.
- 400kHz: Upgrade to 2.2kΩ pull-ups on both SDA and SCL.
- 800kHz+: Use 1kΩ pull-ups and keep I2C traces/wires under 10cm to stay within the NXP I2C specification 400pF bus capacitance limit.
Rendering Pipeline: Partial Updates and Bounding Boxes
A common workflow mistake is calling display.clearDisplay() followed by a full redraw of every UI element in the main loop(). This causes screen flicker and wastes CPU cycles. To optimize your workflow, adopt a 'dirty rectangle' or bounding box approach.
State-Change Evaluation
Instead of redrawing the screen on every loop iteration, track the previous state of your variables. Only trigger a display update when a sensor reading changes beyond a specific threshold.
For static UI elements like headers, borders, and icons, render them once in the setup() function. In the loop(), only overwrite the specific pixel coordinates where dynamic data (like temperature or voltage) resides. To prevent text ghosting when overwriting numbers, draw a filled black rectangle (display.fillRect()) exactly the size of the text bounding box before printing the new value.
Asset Management: Flash Storage for Bitmaps
When integrating custom logos or icons into your SSD1306 workflow, never store byte arrays in SRAM. Always use the PROGMEM directive to store static assets in the microcontroller's Flash memory.
Instead of:
static const unsigned char logo[] = { 0x00, 0x1C... };
Use:
static const unsigned char logo[] PROGMEM = { 0x00, 0x1C... };
Combine this with tools like the 'LCD Image Converter' or Python-based img2cpp scripts to automate the conversion of PNG assets into C-style hex arrays as part of your CI/CD pipeline or pre-compile workflow.
Troubleshooting Edge Cases and Failure Modes
Even with an optimized workflow, the SSD1306 presents unique hardware quirks that can derail a project during integration testing.
The 0x3C vs 0x3D Address Conflict
Most 128x64 modules default to I2C address 0x3C. However, some 128x32 variants and specific manufacturer batches use 0x3D. If your display initializes but remains black, run an I2C scanner sketch. Hardcoding the correct address in your initialization sequence prevents the 1-second timeout delay that occurs when the library probes the wrong address.
Ghosting and Charge Pump Failures
If your OLED exhibits 'ghosting' (faint remnants of previous frames) or random horizontal line artifacts after hours of operation, the internal charge pump may be failing to maintain the required 7.5V to 12V for the OLED matrix. This is often caused by voltage sag on the 3.3V or 5V rail when the display draws peak current during full-white screen updates. Ensure your power delivery network (PDN) includes a 100µF decoupling capacitor placed as close to the display's VCC pin as possible.
Frequently Asked Questions (FAQ)
Can I use hardware SPI instead of I2C for the SSD1306?
Yes. If your workflow demands 60+ FPS for gaming or complex waveforms, hardware SPI is mandatory. SPI bypasses the I2C protocol overhead and can clock at 8MHz to 10MHz, reducing frame transfer times to under 1 millisecond. The tradeoff is losing two extra GPIO pins (DC and CS) and a more complex wiring harness.
Why does my ESP32 crash when using the Adafruit SSD1306 library?
The ESP32 has ample SRAM, so memory exhaustion is rarely the cause. Crashes usually stem from the Watchdog Timer (WDT). The display.display() function is a blocking I2C call. If the I2C bus hangs due to noise or missing pull-ups, the blocking call prevents the ESP32's background tasks (like WiFi management) from feeding the watchdog, resulting in a reboot. Always ensure robust I2C wiring when using ESP32s.
How do I prevent burn-in on the SSD1306?
OLED pixels degrade over time when illuminated continuously. To prevent burn-in on static dashboards, implement a pixel-shift workflow: offset the entire UI by 1 or 2 pixels in a circular pattern every 5 minutes, or invert the display colors periodically using display.invertDisplay(true);.