
Beyond Plug-and-Play: Optimizing Your Arduino-to-PC Connection
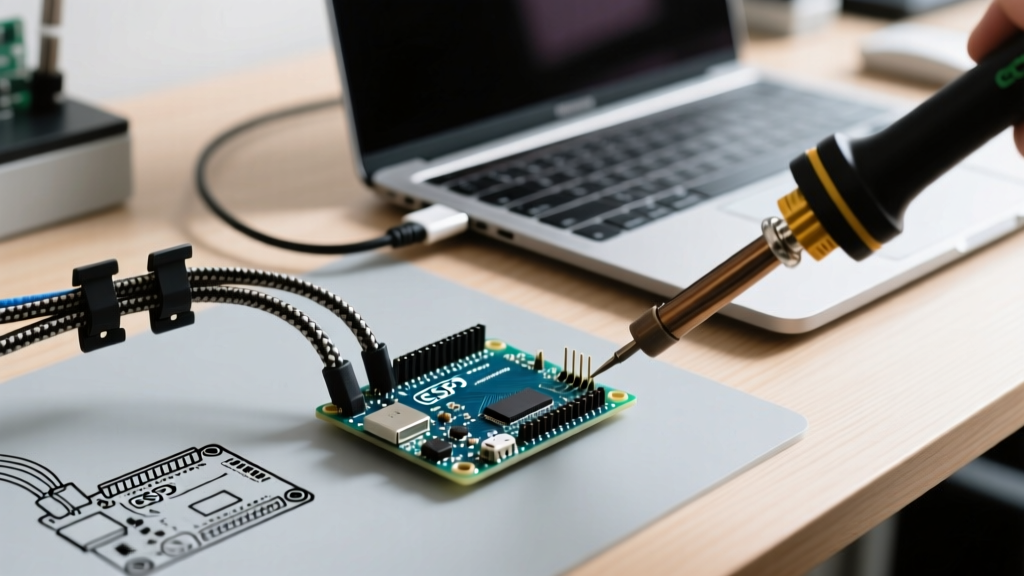
Most maker tutorials treat the physical connection between a microcontroller and a computer as a trivial afterthought. You plug in a USB cable, select a COM port, and hit upload. However, in a professional or high-volume prototyping environment, this naive approach leads to severe workflow bottlenecks. Intermittent disconnects, shifting COM ports, driver signature enforcement failures, and baud-rate collisions can cost hours of debugging time. Understanding exactly how to connect Arduino with PC hardware and software layers is the first step toward a frictionless development workflow.
In 2026, with the proliferation of USB-C equipped boards like the Arduino Nano ESP32 and the Uno R4 Minima, alongside legacy USB-B and Micro-USB clones, managing the physical and logical handshake requires a deliberate strategy. This guide moves past basic tutorials to provide a comprehensive workflow optimization framework for serial connectivity, port management, and IDE integration.
The Physical Layer: Eliminating Cable and Port Bottlenecks
The most common point of failure in microcontroller development is the USB cable. The market is flooded with 'charge-only' cables designed for low-cost consumer electronics. These cables contain the VBUS (5V) and GND wires but physically omit the D+ and D- data lines required for serial communication.
Standardizing Your Cable Inventory
To optimize your workflow, implement a strict visual management system for your USB cables. Purchase high-quality, shielded data cables with verified 28 AWG data wires. Brands like Cable Matters or UGREEN offer reliable USB-A to USB-B, Micro-USB, and USB-C cables that consistently maintain the 12 Mbps Full-Speed USB 2.0 connection required by Arduino boards.
Workflow Pro-Tip: Use colored cable ties or heat shrink tubing to code your cables. Use red for 'Data + Power' cables that are verified to work with Arduino IDE, and black for 'Charge-Only' cables. This single physical optimization eliminates 90% of 'board not found' troubleshooting at the bench.
Furthermore, always connect your Arduino directly to the motherboard's rear I/O panel or a powered, high-quality USB hub (such as the Anker 7-Port 60W hub). Front-panel PC headers and unpowered hubs often suffer from voltage drops under 4.5V, which causes the onboard ATmega16U2 or CH340 serial converter to brownout and drop the COM port during the compile-upload handshake.
Silicon Handshakes: Navigating USB-to-Serial Chipsets
When you connect an Arduino to your PC, you are not actually communicating directly with the main microcontroller (e.g., the ATmega328P). You are communicating with a secondary USB-to-Serial bridge chip. Identifying which chip is on your board dictates your driver management workflow.
| Chipset | Crystal Required? | Max Reliable Baud | Driver Workflow | Typical Board |
|---|---|---|---|---|
| ATmega16U2 | Yes (External) | 2 Mbps | Native OS support (No manual install) | Official Arduino Uno R3 |
| CH340C | No (Internal) | 1.5 Mbps | Requires manual WCH driver install | Clone Nanos, Elegoo Kits |
| CP2102N | No (Internal) | 3 Mbps | Silicon Labs VCP driver | ESP32 DevKit V1, NodeMCU |
| Native USB | N/A | 480 Mbps (HS) | Native CDC-ACM support | Arduino Leonardo, Zero, RP2040 |
If you are integrating clone boards into a production or classroom workflow, standardize on the CH340C chipset. Unlike the older CH340G, the 'C' variant includes an internal clock oscillator, reducing board-level noise and improving connection stability. You can download the latest signed Windows and macOS drivers directly from the WCH official CH340 download page, ensuring you bypass sketchy third-party driver repositories.
OS-Level Optimization: Locking COM Ports and Permissions
Operating systems dynamically assign COM ports (Windows) or tty devices (Linux/macOS) upon USB enumeration. In a multi-board testing environment, having your Arduino shift from COM3 to COM7 every time you unplug it breaks automated testing scripts and forces manual IDE reconfiguration.
Locking COM Ports in Windows 11/12
You can force Windows to remember and reserve a specific COM port for a specific Arduino's hardware ID (VID/PID).
- Open the Device Manager and expand 'Ports (COM & LPT)'.
- Right-click your Arduino (e.g., 'USB-SERIAL CH340 (COM3)') and select Properties.
- Navigate to the Port Settings tab and click Advanced.
- In the 'COM Port Number' dropdown, select a high-numbered, unused port (e.g., COM22). High numbers prevent conflicts with legacy software that only scans COM1-COM8.
- Check the box for 'Set RS-485 mode' if applicable, but more importantly, ensure your automated upload scripts target this static COM22 address via the Windows Registry or Device Manager API.
Resolving Linux Permission Bottlenecks
On Ubuntu and other Debian-based systems, the default user lacks permission to access serial ports, resulting in the dreaded 'Permission denied' error during compilation. Instead of running your IDE as root (a massive security and workflow risk), add your user to the dialout group permanently.
Open your terminal and execute:
sudo usermod -a -G dialout $USER
Log out and log back in. As detailed in the Arduino Getting Started Documentation, this single command permanently resolves 99% of Linux-based upload failures without requiring sudo privileges for your development environment.
IDE Workflow: Arduino IDE 2.x vs. PlatformIO
How your software environment handles the serial connection drastically impacts your iteration speed. The legacy Arduino IDE 1.8.x required manual port selection via dropdown menus, interrupting the flow state. The modern Arduino IDE 2.3+ improves this with automatic board and port detection, but for true workflow optimization, PlatformIO (via VS Code) is the industry standard.
PlatformIO allows you to hardcode connection parameters in your platformio.ini file, completely abstracting the OS-level port assignment. By utilizing hardware VID/PID filtering, PlatformIO will find your specific Arduino even if the OS changes the COM port number.
Add this to your platformio.ini:
upload_port = COM22
monitor_port = COM22
monitor_speed = 115200
For environments with multiple identical boards, use the hardware ID filter as outlined in the PlatformIO Device List Documentation:
upload_port = VID:PID=1A86:7523
This ensures your CI/CD pipeline or automated test jig always flashes the correct physical board, regardless of the USB topology.
Advanced Troubleshooting Matrix
When the connection fails, rely on this diagnostic matrix rather than randomly swapping cables. Understanding the exact avrdude or OS-level error code isolates the failure domain immediately.
- Error:
avrdude: ser_open(): can't open device "\\.\COM3": Access is denied.
Diagnosis: The serial port is locked by another process. The Arduino IDE Serial Monitor is open, or a background service like Cura (3D printing software) is polling the port. Fix: Close the Serial Monitor or use Process Explorer to kill the locking handle. - Error:
Board at COMX is not available(Flashes and disappears in Device Manager).
Diagnosis: Power brownout or physical data-line failure. The PC requests more current than the USB hub can provide during the bootloader phase, or the D+ line has a cold solder joint. Fix: Move to a rear motherboard USB port or replace the cable. - Error:
avrdude: stk500_recv(): programmer is not responding
Diagnosis: The PC is connected, but the bootloader is not executing. This happens if the auto-reset circuit (0.1uF capacitor on the DTR line) is damaged, or if you are trying to upload to a bare ATmega328P chip without a pre-burned bootloader. Fix: Manually press the reset button on the board exactly when the IDE reports 'Done compiling'.
Untethering the Workflow: Serial-over-Network
For deployed IoT projects where a physical USB connection to a PC is impossible, optimize your workflow by implementing a wireless serial bridge. Using an ESP32 alongside your Arduino, you can flash the SparkFun Serial Communication Guide recommended WiFi-Serial bridge firmware. This maps the remote hardware's UART output to a local virtual COM port on your PC via TCP/IP, allowing you to monitor serial logs and push OTA (Over-The-Air) updates without ever touching a USB cable.
Conclusion
Mastering how to connect Arduino with PC hardware is not just about making an LED blink; it is about building a resilient, repeatable development pipeline. By auditing your physical cables, standardizing your USB-to-Serial chipsets, locking your OS-level COM ports, and leveraging PlatformIO's hardware filtering, you eliminate the micro-frictions that drain engineering time. Treat your serial connection as a critical infrastructure component, and your firmware development workflow will scale seamlessly from the workbench to production.