
Architecting the PC-to-MCU Bridge
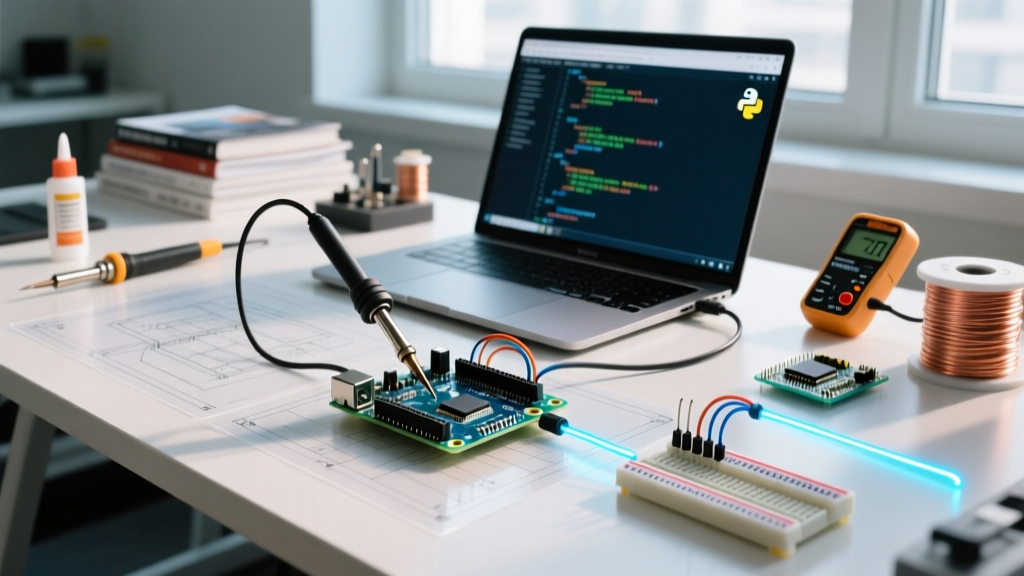
Integrating Arduino with Python remains a cornerstone of rapid prototyping, data logging, and machine learning pipelines in 2026. While the Arduino ecosystem natively relies on C++ for firmware execution, Python excels at high-level data processing, computer vision, and API routing. Bridging the two requires a robust communication protocol that minimizes latency and prevents buffer overflows.
This configuration guide bypasses generic tutorials to focus on the electrical and architectural realities of PC-to-MCU serial communication. We will examine direct telemetry via PySerial, hardware abstraction using the Firmata protocol, and the specific edge cases that cause 90% of configuration failures in production environments.
Protocol Comparison Matrix
Selecting the right interface depends on your sampling rate requirements and whether you want to write custom C++ firmware. Below is a technical comparison of the primary methods for interfacing Arduino with Python.
| Method | Avg. Latency (USB) | Max Throughput | Best Use Case | Firmware Requirement |
|---|---|---|---|---|
| PySerial (Raw) | 1-5 ms | ~11.5 KB/s (at 115200 baud) | High-speed sensor telemetry, custom packet structures | Custom C++ Sketch |
| pyFirmata2 | 10-25 ms | ~300 commands/sec | Hardware-in-the-loop testing, quick I/O toggling | StandardFirmata.ino |
| MicroPython (Native) | N/A (On-chip) | Hardware SPI/I2C limits | Standalone edge ML, no PC required | MicroPython UF2 Binary |
Method 1: Direct Serial Telemetry via PySerial
For high-frequency data acquisition—such as streaming 10-bit ADC readings from an accelerometer at 500Hz—raw serial communication is mandatory. The PySerial library provides low-level access to the RS-232/USB-CDC serial ports.
Arduino C++ Configuration
Configure the hardware serial buffer to transmit structured data. Avoid using Serial.println() for high-speed binary data; instead, format payloads with delimiters or use binary structs to save bandwidth.
// Arduino Firmware: High-Speed Telemetry
void setup() {
  Serial.begin(115200); // 115200 baud = ~11.5 KB/s
  analogReadResolution(10); // Ensure 10-bit ADC on compatible boards
}

void loop() {
  int sensorVal = analogRead(A0);
  // Send as CSV with newline delimiter for Python parsing
  Serial.print(sensorVal);
  Serial.print(',');
  Serial.println(micros()); // Timestamp for latency analysis
  delayMicroseconds(1000); // ~1kHz sampling rate
}
Python Host Configuration
On the host machine, configure PySerial to handle the incoming stream. A critical configuration parameter is the timeout value, which prevents the Python thread from hanging indefinitely if the MCU stops transmitting.
import serial
import time

# Initialize Serial Port
# Adjust 'COM3' or '/dev/ttyUSB0' based on your OS
ser = serial.Serial(
    port='COM3',
    baudrate=115200,
    parity=serial.PARITY_NONE,
    stopbits=serial.STOPBITS_ONE,
    bytesize=serial.EIGHTBITS,
    timeout=1
)

# CRITICAL: Allow time for the MCU bootloader
ser.reset_input_buffer()

try:
    while True:
        if ser.in_waiting > 0:
            line = ser.readline().decode('ascii').strip()
            data = line.split(',')
            if len(data) == 2:
                adc_val = int(data[0])
                timestamp = int(data[1])
                print(f"ADC: {adc_val} | Time: {timestamp}us")
except KeyboardInterrupt:
    ser.close()
Expert Warning: The DTR Auto-Reset Edge Case
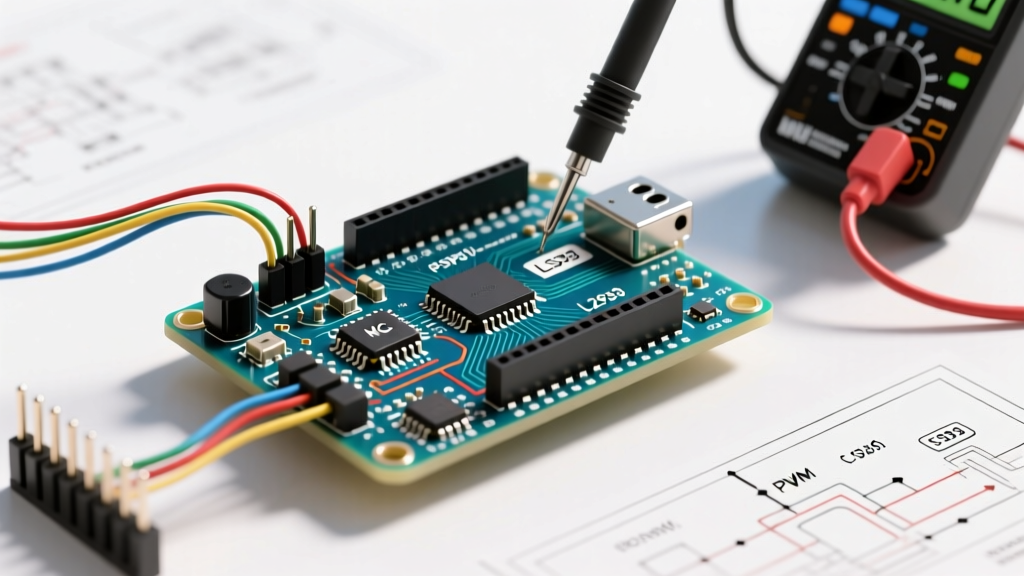
On legacy boards like the Arduino Uno R3 (ATmega328P), opening a serial port via Python toggles the DTR (Data Terminal Ready) line. This triggers a 0.1µF capacitor connected to the ATmega16U2 reset pin, forcing the board into the bootloader for ~2 seconds. If you do not implement atime.sleep(2)or clear the input buffer after connection, your Python script will ingest bootloader garbage data. Conversely, the Arduino Uno R4 Minima (RA4M1 chipset) does not auto-reset on USB-CDC connection by default. Design your Python initialization logic to handle both architectures gracefully by checking for valid payload headers.
Method 2: Hardware Abstraction with Firmata
If your goal is to control GPIO pins, PWM outputs, and servos directly from Python without writing a single line of C++, the Firmata Protocol is the industry standard. Firmata turns the Arduino into a dumb I/O slave, governed entirely by the host PC.
While the original pyfirmata library is largely unmaintained, pyfirmata2 is the modern fork optimized for Python 3.10+ environments in 2026, offering improved asynchronous handling and memory management.
Step-by-Step Firmata Setup
- Flash the MCU: Open the Arduino IDE, navigate to File > Examples > Firmata > StandardFirmata, and upload it to your board.
- Install Python Dependencies: Run
pip install pyfirmata2in your virtual environment. - Implement the Iterator: This is the most common failure point. You must start a background iterator thread to read analog data; otherwise, the serial buffer overflows within seconds, locking the script.
from pyfirmata2 import Arduino, util
import time

board = Arduino('COM3')

# MANDATORY: Start the iterator thread for analog reads
it = util.Iterator(board)
it.start()

# Configure Pin Modes
led_pin = board.get_pin('d:13:o') # Digital pin 13, Output
servo_pin = board.get_pin('d:9:s') # Digital pin 9, Servo
ldr_pin = board.get_pin('a:0:i') # Analog pin 0, Input

# Enable reporting for analog pin (Required by Firmata protocol)
ldr_pin.enable_reporting()

try:
    while True:
        # Read Analog Sensor (Returns 0.0 to 1.0 float)
        light_level = ldr_pin.read()

        # Map light level to servo angle (0 to 180 degrees)
        if light_level is not None:
            angle = light_level * 180
            servo_pin.write(angle)

        # Toggle LED
        led_pin.write(1)
        time.sleep(0.5)
        led_pin.write(0)
        time.sleep(0.5)

except KeyboardInterrupt:
    board.exit()
Firmata Latency and Servo Jitter
When using Firmata over standard USB 2.0, expect a polling latency of 10-25ms. For basic LED control or slow-moving robotic arms, this is imperceptible. However, if you are driving high-torque servos for camera gimbals, the USB polling interval combined with the Firmata packet overhead can cause micro-jitter. For sub-5ms latency requirements, abandon Firmata and revert to the custom PySerial binary-packet method outlined in Method 1.
Critical Failure Modes and Edge Cases
When configuring Arduino with Python, environmental and OS-level quirks frequently disrupt communication. Below are the specific failure modes and their programmatic solutions.
- PermissionError: [Errno 13] could not open port: This occurs when the Arduino IDE's Serial Monitor is left open, placing an exclusive OS-level lock on the COM port. Fix: Close the IDE Serial Monitor, or implement a Python retry loop using the
tenacitylibrary to wait for port release. - UnicodeDecodeError: 'utf-8' codec can't decode byte 0xff: This happens when the Arduino transmits raw binary bytes (e.g., from an ultrasonic sensor) and Python attempts to decode them as UTF-8 text strings. Fix: Use
ser.readline().decode('ascii', errors='ignore')or parse the raw byte arrays using Python'sstructmodule. - Baud Rate Mismatch Garbage Data: If your Python script prints strings like
ÿÿÿ, your baud rates do not match, or the MCU is using a software serial library that cannot sustain the configured speed. Fix: Verify both sides are set to 115200. Avoid SoftwareSerial on legacy ATmega boards for anything above 38400 baud; use hardware UART pins instead.
2026 Hardware Selection for Python Integration
The physical board you choose dictates your Python integration strategy. According to the Arduino Serial Reference Documentation, hardware UART capabilities vary wildly across chipsets.
- Arduino Uno R4 WiFi (~$27.50): Features an RA4M1 Cortex-M4 and an ESP32-S3 co-processor. Ideal for PySerial over USB-C, but the ESP32-S3 allows you to bypass USB entirely and stream data to Python via local WebSockets or MQTT, freeing up the physical serial port for debugging.
- Arduino Nano RP2040 Connect (~$25.00): If your goal is to run Python directly on the microcontroller without a host PC, this board natively supports MicroPython and CircuitPython. This eliminates serial latency entirely, allowing you to run TensorFlow Lite Micro models directly on the RP2040 dual-core ARM Cortex-M0+.
By understanding the electrical realities of DTR reset circuits, serial buffer limits, and protocol overhead, you can build highly reliable, production-grade pipelines that seamlessly bridge the gap between low-level microcontrollers and high-level Python applications.