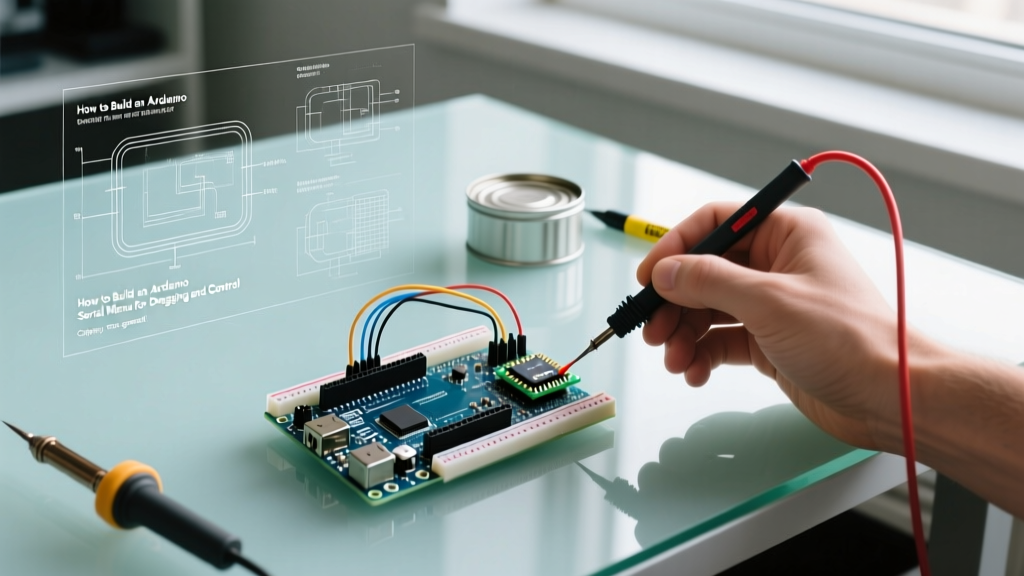

The Anatomy of an Arduino Serial Menu
When developing embedded systems, adding physical user interfaces like rotary encoders, pushbuttons, or OLED displays consumes valuable I/O pins, increases the bill of materials (BOM), and complicates PCB routing. The Arduino serial menu offers a zero-cost, high-bandwidth alternative. By leveraging the existing USB-to-UART bridge—whether it is the ATmega16U2 on an official Uno R4, the CH340C on economy clones, or the native USB-CDC on the ESP32-S3—you can create a robust command-line interface (CLI) directly within the Arduino IDE Serial Monitor.
A serial menu transforms your microcontroller from a passive data logger into an interactive node. Instead of hardcoding PID variables, motor acceleration profiles, or sensor calibration thresholds and re-flashing the firmware, a well-designed serial menu allows you to adjust these parameters on the fly. According to the official Arduino Serial Reference, the hardware UART buffer holds incoming bytes until your sketch processes them, providing a foundation for asynchronous command parsing.
The Hidden Trap: Line Endings and Buffer Overflows
The most common failure mode for beginners building an Arduino serial menu is mishandling line endings. When you type a command like MENU into the Serial Monitor and press Enter, the IDE does not just send the four ASCII characters. Depending on your dropdown settings, it appends hidden control characters:
- No line ending: Sends exactly what was typed.
- Newline (\n): Appends ASCII 10 (Line Feed).
- Carriage return (\r): Appends ASCII 13.
- Both NL & CR (\r\n): Appends ASCII 13 followed by ASCII 10.
If your code uses a simple switch(Serial.read()) statement, the hidden \r and \n characters will trigger the default case, often resulting in 'Unknown Command' errors or erratic menu behavior. Furthermore, if your sketch is busy executing a blocking function (like driving a stepper motor via delay()) and the 64-byte hardware RX buffer overflows, incoming serial data is permanently lost. Expert firmware design requires non-blocking serial parsing.
Three Approaches to Building a Serial Menu
Depending on your microcontroller's SRAM constraints and the complexity of your project, you can implement a serial menu using three distinct architectural patterns.
| Architecture | SRAM Footprint | Complexity | Best Use Case |
|---|---|---|---|
| Native Char Switch-Case | Very Low (<50 bytes) | Low | Single-character triggers (e.g., 'S' to start, 'E' to stop) on ATmega328P. |
| String Object Parsing | High (Dynamic allocation) | Medium | Text-based commands on ESP32/RP2040 where SRAM is abundant. |
| Char Array + sscanf() | Low (Fixed allocation) | High | Complex commands with payloads (e.g., 'SET_P 45') on memory-constrained AVRs. |
Pro Tip for 2026: While the Arduino String class is heavily criticized for heap fragmentation on 8-bit AVR boards, modern 32-bit MCUs like the Raspberry Pi Pico 2 (RP2350) and ESP32-C6 have sufficient RAM and advanced memory controllers that mitigate severe fragmentation risks. However, fixed-size char arrays remain the gold standard for mission-critical industrial firmware.
Designing a Non-Blocking State Machine
To ensure your Arduino serial menu does not stall your main control loop, you must avoid blocking functions like while(Serial.available() == 0). Instead, implement a non-blocking state machine that checks the buffer byte-by-byte on every iteration of the loop().
Step-by-Step Implementation Logic
- Initialize a fixed buffer: Create a global char array, e.g.,
char rx_buffer[32];and an index trackeruint8_t rx_index = 0;. - Poll the buffer: Inside
loop(), checkif (Serial.available() > 0). - Read and evaluate: Extract the byte using
char c = Serial.read();. - Handle terminators: If
cis\nor\r, process the buffer and reset the index. Ignore the character otherwise. - Store valid data: If
cis a printable character andrx_index < 31, append it to the buffer and increment the index.
This methodology, heavily detailed in embedded communication guides like SparkFun's Serial Communication Tutorial, ensures that a 115200 baud serial stream is processed seamlessly alongside high-frequency sensor polling.
Advanced Parsing: Extracting Variables with sscanf
A true Arduino serial menu goes beyond simple triggers; it accepts parameters. Suppose you are tuning a robotic arm and need to update the servo speed. Typing SPEED 150 is intuitive, but how does the C++ firmware parse it without relying on memory-heavy String splitting?
The standard C library function sscanf() is the ultimate weapon for serial menu parsing. It reads formatted input from a string, mapping directly to your variables.
Example Scenario: Adjusting a PID controller via serial.
Command format: PID 1.5 0.2 0.05 (Proportional, Integral, Derivative).
By passing the rx_buffer into sscanf, you can extract the string literal and the three floats in a single CPU cycle. If the function returns 4, you know all four elements were successfully parsed, preventing catastrophic variable overwrites caused by malformed user input. This level of rigorous input validation separates hobbyist sketches from production-grade firmware.
Real-World Application: Hierarchical Menus for Calibration
For complex devices like custom CNC shields or environmental chambers, a flat command list is insufficient. You need a hierarchical Arduino serial menu. This is achieved by maintaining a current_menu_state variable.
- State 0 (Root): Displays options [1] Motor Config, [2] Sensor Cal, [3] Telemetry.
- State 1 (Motor Config): Displays [A] Set Microstepping, [B] Set Max RPM.
When the user inputs '1', the state variable updates, and the next loop() iteration prints the sub-menu and alters the parsing logic to expect motor-specific commands. This mimics a physical LCD interface but requires zero additional hardware. For developers who prefer not to write this state machine from scratch, libraries like MenuBackend or SerialMenu abstract the hierarchy, though they introduce a 2KB to 4KB flash overhead that may be prohibitive on an ATtiny85 or a heavily loaded ATmega328P.
Troubleshooting Common Serial Menu Failures
Even with perfect code, environmental and hardware factors can disrupt serial communication. Use this diagnostic matrix to resolve common issues:
1. Garbage Characters in the Monitor
Symptom: You send 'START', but the Serial Monitor prints '??S??TART' or random symbols.
Root Cause: Baud rate mismatch. The firmware initializes Serial.begin(115200), but the IDE monitor is set to 9600, or vice versa.
Fix: Always verify the baud rate dropdown in the bottom right corner of the Arduino IDE matches your setup() declaration. Note that ESP32 bootloaders output at 115200 by default; mixing 9600 in your sketch will cause dual-speed garbage on the serial line.
2. The 'Double Trigger' Bug
Symptom: Sending a single command executes the menu action twice.
Root Cause: The Serial Monitor is set to 'Both NL & CR'. Your code processes \r as a termination command, executes the buffer, and then immediately processes \n as a second termination command on an empty or residual buffer.
Fix: Implement a software debounce for line endings. If the previous character was \r and the current is \n, ignore the current character.
3. Intermittent Command Drops
Symptom: The menu works perfectly when idle, but drops commands when the MCU is under heavy processing load (e.g., running FastLED or complex I2C transactions).
Root Cause: The 64-byte hardware RX buffer is overflowing because the main loop takes longer than the time required to fill the buffer at the chosen baud rate.
Fix: Utilize hardware serial interrupts (ISR) to move incoming bytes into a larger, software-defined ring buffer (e.g., 256 bytes) in the background, ensuring zero data loss regardless of main loop latency.
Summary
Building a robust Arduino serial menu is a fundamental rite of passage for embedded systems engineers. By moving away from blocking reads, mastering C-level string parsing with sscanf(), and respecting the nuances of UART line endings, you unlock a powerful debugging and calibration tool. Whether you are tuning a drone's flight controller or setting the temperature thresholds on a DIY reflow oven, a well-architected serial interface saves hardware costs, preserves I/O pins, and dramatically accelerates your development cycle.