
The Legacy of the Arduino Pro-Micro
For over a decade, the Arduino Pro-Micro (and its original SparkFun incarnation) has been the undisputed workhorse for custom macro pads, MIDI controllers, split keyboards, and HID (Human Interface Device) projects. Built around the Microchip ATmega32U4 microcontroller, its native USB support allowed it to emulate keyboards and mice without requiring external USB-to-Serial bridge chips like the CH340 or FT232RL found on the Arduino Nano.
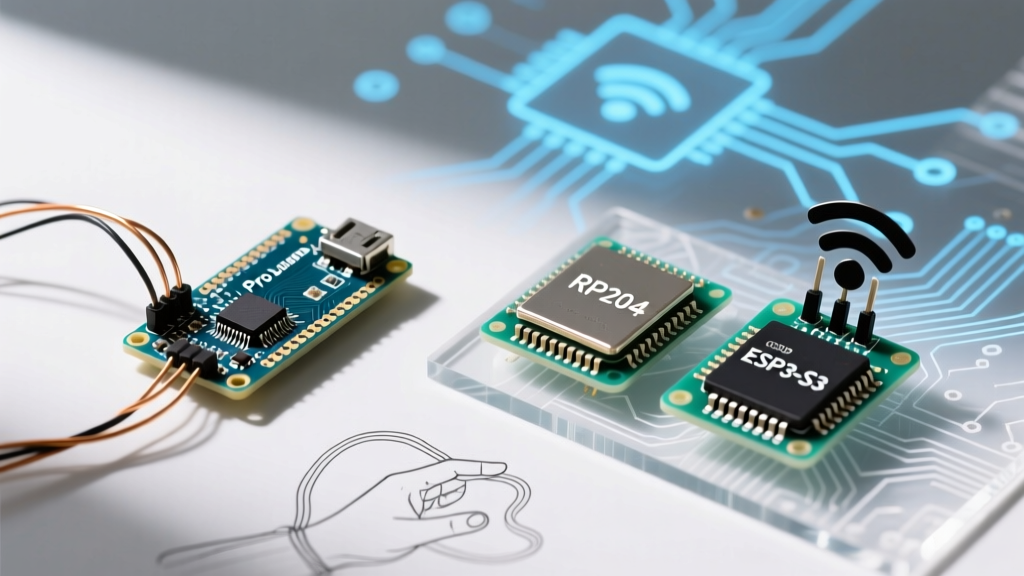
However, as maker projects in 2026 demand higher-resolution OLED displays, complex RGB LED matrices, and wireless connectivity, the ATmega32U4 is hitting a hard ceiling. If you are maintaining an older codebase or designing a new revision of a popular open-source peripheral, it is time to evaluate modern migration paths. This guide breaks down the exact hardware bottlenecks of the Pro-Micro and provides a technical blueprint for migrating to modern powerhouses like the Raspberry Pi RP2040 and Espressif ESP32-S3.
Identifying the ATmega32U4 Bottlenecks
Before ripping out your existing schematic, it is critical to understand exactly where the Pro-Micro fails in modern applications. According to the SparkFun Pro Micro Hookup Guide, the board's architecture was revolutionary in 2012, but it shows its age today:
- SRAM Starvation: The ATmega32U4 possesses a mere 2.5KB of SRAM. Driving a 64-key split keyboard with per-key RGB animations and a 128x32 I2C OLED display will easily exhaust this memory, leading to stack overflows and silent reboots.
- Flash Limitations: With 32KB of Flash (minus 4KB for the Caterina bootloader), storing complex HID macros, custom font arrays, or audio samples is nearly impossible.
- The Bootloader Trap: Clone Pro-Micro boards notoriously lack a physical reset button. If a sketch crashes the USB stack before the bootloader initializes, the board becomes "bricked" until you manually short the RST and GND pins twice within an 8-second window to force the Caterina bootloader to re-enumerate.
Migration Path 1: Raspberry Pi RP2040 (The HID & Macro King)
For projects strictly requiring USB HID, high-speed I/O, and deterministic timing, the RP2040 is the ultimate 1:1 physical replacement. Boards like the SparkFun Pro Micro RP2040 (DEV-18288) or the Adafruit KB2040 maintain the exact 1.3" x 0.7" form factor of the original Pro-Micro, making them drop-in replacements for existing PCB footprints.
Why the RP2040 Wins for Peripherals
The RP2040 features dual ARM Cortex-M0+ cores running at 133MHz, 264KB of SRAM, and 16MB of external QSPI Flash. But its true killer feature for Pro-Micro migrants is the Programmable I/O (PIO) state machines. As detailed in the official RP2040 Datasheet, PIO allows you to offload WS2812B (NeoPixel) LED timing to dedicated hardware blocks. This means you can drive hundreds of LEDs without interrupting the main CPU cores or causing USB HID polling latency—a common failure mode on the ATmega32U4.
Pricing Context (2026): Genuine RP2040 Pro-Micro equivalents hover around $8.00 to $12.00, making them cost-competitive with high-quality ATmega32U4 clones.
Migration Path 2: Espressif ESP32-S3 (The Wireless Upgrade)
If your project requires Bluetooth Low Energy (BLE) for wireless macro pads or Wi-Fi for IoT sensor hubs, the ESP32-S3 is the mandatory upgrade. Unlike the original ESP32, the S3 variant includes Native USB OTG, meaning it can act as a native HID keyboard/mouse without external bridge chips.
Form factors like the Seeed Studio XIAO ESP32-S3 or Adafruit QT Py ESP32-S3 offer incredible density. While the XIAO footprint is slightly smaller than the Pro-Micro, adapter boards are widely available to map it to standard Pro-Micro breakout headers.
ESP32-S3 Technical Edge Cases
Migrating to the S3 requires careful power design. The ESP32-S3 can draw peak currents exceeding 350mA during Wi-Fi transmission bursts. If your legacy Pro-Micro PCB relies on a standard AMS1117-3.3 LDO regulator rated for 800mA with poor thermal dissipation, you will experience brownouts. Always upgrade your PCB's LDO to a switching buck converter (like the TI TPS56220) or a high-performance LDO (like the AP2112K-3.3) when migrating to the S3.
Hardware Comparison Matrix
| Feature | Classic Pro-Micro (ATmega32U4) | Pro Micro RP2040 | XIAO / QT Py ESP32-S3 |
|---|---|---|---|
| Core Architecture | 8-bit AVR (16MHz) | Dual Cortex-M0+ (133MHz) | Dual Xtensa LX7 (240MHz) |
| SRAM | 2.5 KB | 264 KB | 512 KB (+ 8MB PSRAM) |
| Flash Storage | 32 KB | 16 MB (External) | 8 MB (External) |
| Native USB HID | Yes (Limited 6KRO) | Yes (Full NKRO via TinyUSB) | Yes (Native USB OTG) |
| Wireless | None | None | Wi-Fi 4 / BLE 5.0 |
| Logic Voltage | 5V or 3.3V | 3.3V (Strict) | 3.3V (Strict) |
| Avg. Price (2026) | $6 (Clone) / $20 (Genuine) | $8 - $12 | $9 - $15 |
Step-by-Step Code & Hardware Migration Workflow
Moving away from the AVR ecosystem requires adjusting both your physical circuit and your software stack. Follow this workflow to ensure a seamless transition.
Step 1: Audit 5V vs 3.3V Logic Tolerance
Critical Warning: The RP2040 and ESP32-S3 are strictly 3.3V devices. Applying 5V to any GPIO pin will instantly destroy the silicon. The classic Pro-Micro was widely available in a 5V/16MHz variant. If your legacy design interfaces with 5V sensors, 5V WS2812B strips, or standard MIDI optocouplers, you must implement logic level shifting.
For unidirectional signals (like driving LEDs), use a 74AHCT125 or CD4050BE hex buffer powered by 5V. For bidirectional buses like I2C, use a BSS138 MOSFET-based bidirectional level shifter module to protect the modern MCU's pull-up resistors.
Step 2: Porting HID Libraries to TinyUSB
The AVR `Keyboard.h` library is hardcoded into the Arduino IDE's AVR core and does not work on ARM or Xtensa architectures. You must migrate to the Adafruit TinyUSB Library. TinyUSB provides a unified API across RP2040, ESP32-S3, and SAMD boards.
Migration Example:
- Old AVR Code:
Keyboard.press(KEY_LEFT_CTRL); - New TinyUSB Code:
usb_hid.keyboardReport(0, KEYBOARD_MODIFIER_LEFTCTRL, 0);
TinyUSB also allows you to define custom USB descriptors in a tusb_config.h file, enabling advanced features like absolute mouse positioning, consumer control (media keys), and MIDI interfaces simultaneously on a single composite USB device.
Step 3: Mastering the Modern Bootloader Recovery
Say goodbye to the RST-GND paperclip trick. Modern MCUs utilize the 1200bps Serial Touch method. If your code crashes and the USB port disappears, simply open your serial monitor (or use a script) and connect to the board's COM port at exactly 1200 baud. Close the port immediately. The MCU's USB stack intercepts this specific baud rate as a hardware interrupt, forcing it to reboot directly into the UF2 or ROM bootloader, ready to accept a new firmware flash without requiring physical pin manipulation.
Final Verdict: Which Path Should You Choose?
The decision to migrate from the Arduino Pro-Micro ultimately depends on your project's end-goal. If you are building a high-performance, wired mechanical keyboard, a MIDI controller, or a complex macro pad requiring deterministic LED timing, the RP2040 Pro Micro is the undisputed champion. It offers a frictionless physical upgrade with massive headroom for SRAM and Flash.
Conversely, if your project involves wireless macro pads, IoT data logging, or requires interaction with web APIs via Wi-Fi, the ESP32-S3 is mandatory. Just be prepared to redesign your PCB's power delivery network to handle the S3's RF current spikes. By leaving the ATmega32U4 behind, you future-proof your maker projects for the next decade of embedded development.