
Arduino Print Serial: The Ultimate Quick Reference & FAQ
Whether you are debugging a custom I2C sensor, streaming telemetry to a Raspberry Pi, or simply blinking an LED, mastering the Serial library is the foundational skill of any microcontroller developer. While the basic Serial.print() function seems trivial, advanced maker projects frequently run into hidden bottlenecks involving TX buffer overflows, baud rate timing math, and formatting edge cases. This quick reference guide and FAQ covers the deep technical details of Arduino serial communication, updated for modern development environments and 32-bit architectures like the ESP32 and RP2040.
Core Command Matrix: Print vs. Write vs. Printf
Before diving into edge cases, it is critical to understand the exact difference between the core transmission functions. Using the wrong function is the leading cause of corrupted data payloads when communicating with external peripherals.
| Function | Data Type Handled | Use Case & Behavior |
|---|---|---|
Serial.print() | Strings, Ints, Floats | Converts data to human-readable ASCII. Does not append a newline. |
Serial.println() | Strings, Ints, Floats | Same as print(), but appends CR+LF (\r\n). Ideal for terminal readability. |
Serial.write() | Bytes, Byte Arrays | Sends raw binary data. Bypasses ASCII conversion. Essential for binary protocols. |
Serial.printf() | Formatted Strings | Standard C-style formatting (e.g., %04X). Native to ESP32/RP2040 cores, requires libraries on AVR. |
Frequently Asked Questions (FAQ)
1. Which Baud Rate Should I Use for Serial Debugging?
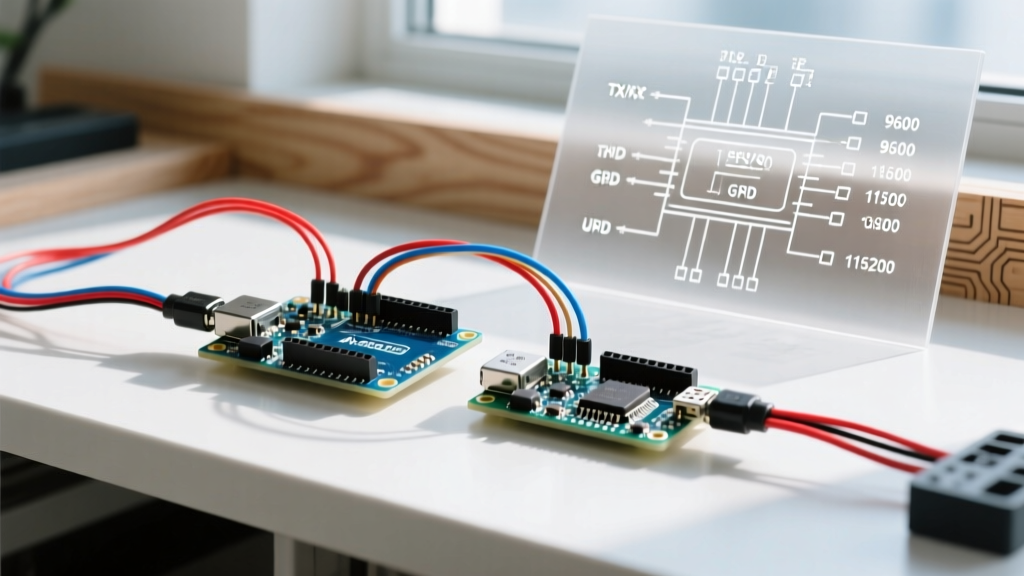
Historically, 9600 baud was the default standard for Arduino sketches. However, in modern development, 115200 baud is the undisputed standard for debugging and PC-to-MCU communication. Modern USB-to-UART bridge chips (like the CH340, CP2102, and FT232RL) and native USB MCUs (like the Leonardo or ESP32-S3) handle 115200 effortlessly.
The Timing Math: Serial communication requires 10 bits per byte (1 start bit, 8 data bits, 1 stop bit). At 115200 baud, you can transmit 11,520 bytes per second. This means a single byte takes roughly 86.8 microseconds to transmit. At the legacy 9600 baud, a single byte takes 1.04 milliseconds. If your main loop runs at 10kHz (100µs per iteration), using 9600 baud will cause severe timing skew and blocking. Always initialize with Serial.begin(115200); unless you are interfacing with a legacy GPS module or specific industrial equipment that mandates 9600 or 57600.
2. Why Does My Arduino Freeze or Stutter When Printing Large Strings?
This is the most common 'gotcha' in Arduino programming, caused by the TX (Transmit) Buffer. On standard 8-bit AVR boards (like the Uno R3 or Nano using the ATmega328P), the hardware serial TX buffer is strictly limited to 64 bytes. For deeper architectural details, refer to the Microchip ATmega328P datasheet.
When you call Serial.print(large_string);, the Arduino core copies your data into this 64-byte ring buffer. The hardware UART peripheral then slowly drains this buffer in the background via interrupts. If you attempt to print a 200-byte string, the first 64 bytes fill the buffer instantly. The Serial.print() function then becomes blocking—it halts your entire loop() and waits for the hardware interrupt to free up space in the buffer before it can push the next byte.
Pro Tip: If you are writing time-critical code (like reading high-speed encoders or generating software PWM), never useSerial.print()blindly. Check available buffer space first usingSerial.availableForWrite()to ensure non-blocking execution.
3. How Do I Format Hex, Binary, and Floating-Point Numbers?
The Serial.print() function accepts an optional second argument to dictate the base or precision of the output. This is vital for memory inspection and sensor calibration.
- Hexadecimal:
Serial.print(val, HEX);(Outputs uppercase hex. Useprintfif lowercase is required). - Binary:
Serial.print(val, BIN);(Useful for inspecting bitwise register flags). - Octal:
Serial.print(val, OCT); - Float Precision: By default,
Serial.print(3.14159);outputs3.14(2 decimal places). To increase precision, pass the decimal count as the second argument:Serial.print(3.14159, 4);outputs3.1415.
Note: The AVR core limits float precision to roughly 6-7 significant digits due to the 32-bit IEEE 754 floating-point standard. If you need higher precision for scientific logging, you must use double-precision math libraries or switch to a 32-bit MCU like the Teensy 4.1.
4. How Do I Format Data for the Arduino IDE Serial Plotter?
The Arduino IDE Serial Plotter is an underutilized tool for visualizing sensor data in real-time. To format your Serial.print statements correctly for the plotter, you must adhere to strict delimiter rules:
- Multiple Variables: Separate distinct data streams with a comma
,or a tab\t. Example:Serial.print(temp); Serial.print(','); Serial.println(humidity); - Line Endings: You must terminate the data packet with a newline
\nor carriage-return-newline\r\n. UsingSerial.println()on the final variable handles this automatically. - Named Labels: In modern IDE versions (2.x and later), you can assign legend labels by printing the variable name followed by a colon before the value. Example:
Serial.print('Temperature:'); Serial.println(temp);
For comprehensive examples on serial protocols and debugging, the SparkFun Serial Communication Tutorial remains an excellent foundational resource.
5. Hardware UART vs. SoftwareSerial: When to Use Which?
Beginners often default to SoftwareSerial to create extra serial ports, but this comes with severe performance penalties. SoftwareSerial relies on pin-change interrupts and software timing loops to emulate a UART. This disables interrupts while receiving data, which will completely break other timing-dependent libraries like Servo.h, IRremote, or hardware I2C.
The Rule of Thumb:
- Use Hardware UART (
Serial1,Serial2) whenever possible. Boards like the Arduino Mega2560, ESP32, and Raspberry Pi Pico feature multiple dedicated hardware UART peripherals that operate independently of the main CPU core via DMA or dedicated interrupt vectors. - Use SoftwareSerial only for low-speed, receive-only debugging on 8-bit AVR boards, or when communicating with low-baud-rate peripherals (like a 9600 baud GPS) where occasional timing jitter is acceptable. Never attempt to run
SoftwareSerialat 115200 baud; the CPU overhead will cause dropped bytes and corrupted frames.
6. How Do I Clear the Serial Input Buffer?
When building interactive menus or waiting for user commands, stale data left in the RX (Receive) buffer can cause immediate, unintended triggers. To flush the incoming buffer, do not use the deprecated Serial.flush() (which in modern Arduino cores actually waits for the TX buffer to empty, not the RX buffer). Instead, use a simple while loop to drain the RX queue:
while (Serial.available() > 0) { Serial.read(); }
This ensures that any stray characters typed by the user or sent during the MCU boot sequence are discarded before your logic begins parsing new commands.
Summary & Best Practices
Mastering the Arduino print serial functions goes far beyond simple debugging. By understanding the underlying hardware buffers, calculating baud rate transmission times, and utilizing proper formatting delimiters, you can build robust, non-blocking telemetry systems. Always consult the Official Arduino Serial Documentation when migrating code between 8-bit AVR and 32-bit ARM/XTensa architectures, as buffer sizes and native function support (like printf) vary significantly across silicon families.