
The 'Arduino NNO' Mystery: Decoding the Nano
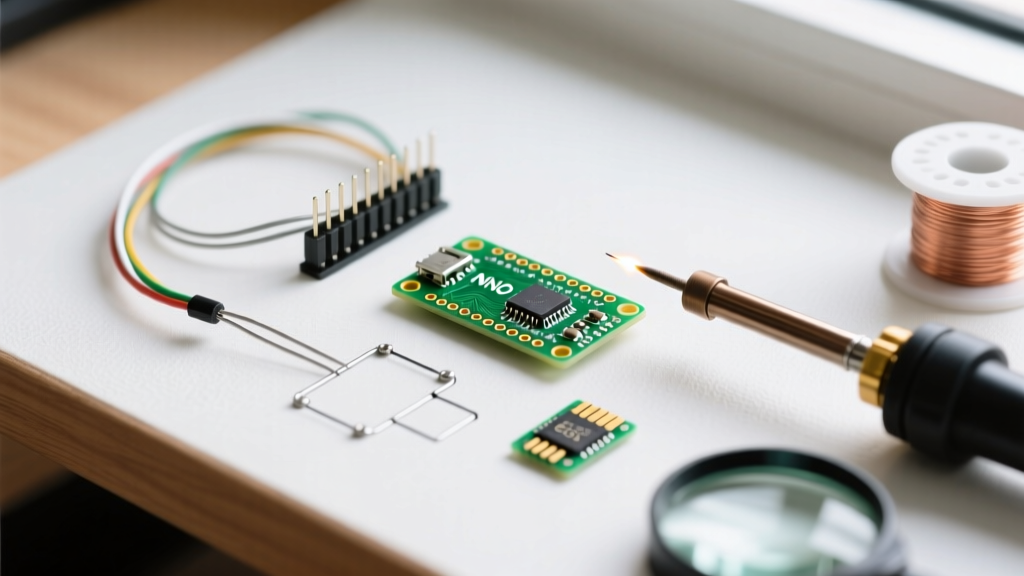
If you landed here after searching for Arduino NNO, you are not alone. The 'NNO' typo is one of the most common keyboard slips in the maker community when searching for the legendary Arduino Nano. Despite its diminutive size, the Nano remains the undisputed workhorse of the microcontroller world in 2026, favored for breadboard prototyping, embedded IoT nodes, and custom PCB integration.
However, the transition from the official Arduino Nano to the ubiquitous third-party clones has introduced a maze of driver and bootloader complications. This comprehensive tutorial will walk you through identifying your specific Nano variant, installing the correct UART drivers, and permanently resolving the dreaded avrdude: stk500_recv(): programmer is not responding error.
Hardware Teardown: Which Nano Clone Do You Have?
Before opening the Arduino IDE, you must identify the USB-to-Serial bridge chip on your board. The official Nano uses an FTDI chip, but 95% of the $3 to $5 clones on the market use WCH-manufactured alternatives. Knowing your chip dictates your driver strategy.
| Board Variant | USB-UART Chip | Crystal | Avg. Price (2026) | Driver Requirement |
|---|---|---|---|---|
| Genuine Nano | FT232RL | 16 MHz | $24.00 | Native / FTDI VCP |
| Clone V3 (Old) | CH340G | External 12 MHz | $3.50 | Manual CH341A Install |
| Clone V4 (New) | CH340C | Internal Oscillator | $4.20 | Manual CH341A Install |
| Nano Every | ATmega4809 (Native USB) | Internal | $11.50 | Native / CMSIS-DAP |
Pro Tip: Look closely at the black IC near the USB port. If it has a large silver crystal oscillator next to it, you have the CH340G. If the chip is smaller and lacks an external crystal, it is the newer CH340C.
Step 1: Installing the Correct UART Drivers
Modern Windows 11 builds (23H2 and later) have improved native driver libraries, but macOS and Linux still frequently require manual intervention for WCH chips. According to the SparkFun CH340 Driver Guide, using outdated drivers is the leading cause of COM port invisibility.
Installation Procedure for Windows & macOS
- Download the Official Driver: Navigate to the WCH CH340 Official Download Page. Avoid third-party driver aggregators, as they often bundle adware.
- Extract and Execute: Unzip the archive. Windows users should run
CH341SER.EXEas Administrator. macOS users must install theCH34x_Install_V1.6.pkg. - System Extension Approval (macOS Only): Apple's silicon security requires you to go to System Settings > Privacy & Security and explicitly allow the kernel extension from 'WCH'.
- Verify Device Manager: Plug in your Nano. Open Device Manager (Windows) or System Information (macOS). You should see 'USB-SERIAL CH340 (COM X)'.
Step 2: Configuring the Arduino IDE for Nano Clones
Once your OS recognizes the hardware, the Arduino IDE must be configured to speak the correct bootloader protocol. The Official Arduino Nano Documentation outlines the shift from the legacy ATmega168 to the ATmega328P, but clone manufacturers complicate this by using outdated bootloaders to save flash space.
Crucial IDE Setting: In Arduino IDE 2.3.x, navigate to
Tools > Processor. If you are using a standard clone, you almost always must select 'ATmega328P (Old Bootloader)'. Selecting the standard 'ATmega328P' will result in a baud rate mismatch (115200 vs 57600) and an immediate upload failure.
Step 3: Fixing 'Programmer is Not Responding'
You have selected the right board, the right processor, and the right COM port. You hit upload, and the IDE spits out:
avrdude: stk500_recv(): programmer is not responding
avrdude: stk500_getsync() attempt 10 of 10: not in sync: resp=0x00
This error means the IDE is sending data, but the Nano's microcontroller is not resetting into bootloader mode to receive it. Here is how to fix the three most common hardware-level culprits.
Culprit 1: The Charge-Only USB Cable Trap
Over 40% of all Nano upload failures are caused by using a 'charge-only' Mini-USB cable. These cables contain the VCC and GND wires but lack the D+ and D- data lines. The Fix: Test your cable by plugging it into a smartphone. If the phone charges but does not trigger a 'USB connected' file transfer prompt on the screen, the cable is data-incapable. Throw it away and use a verified data-sync Mini-USB cable.
Culprit 2: The Missing Auto-Reset Capacitor
The Arduino IDE uses the DTR (Data Terminal Ready) signal to pulse the Nano's reset pin via a 0.1µF capacitor, forcing it into the bootloader. Many ultra-cheap clones omit this capacitor or use a faulty 10µF electrolytic capacitor that fails to discharge fast enough.
The Hardware Hack: If your board lacks the auto-reset feature, you must perform the Manual Reset Timing Trick:
- Press and hold the physical red RESET button on the Nano.
- Click 'Upload' in the Arduino IDE.
- Watch the console output. The moment you see 'Sketch uses X bytes... Global variables use Y bytes...', release the RESET button.
- The IDE will catch the bootloader window and push the sketch.
Culprit 3: USB Hub Power Starvation
The CH340G chip requires a stable 5V/500mA handshake. Unpowered USB 2.0 hubs or front-panel PC case headers often suffer from voltage droop, causing the CH340 to brownout during the upload handshake. Always plug the Nano directly into the motherboard's rear I/O panel.
Quick Troubleshooting Matrix
| IDE Error Message | Probable Cause | Actionable Fix |
|---|---|---|
Board at COM3 is not available |
Driver missing or cable is charge-only. | Reinstall CH340 driver; swap to a verified data cable. |
programmer is not responding |
Wrong bootloader selected in IDE. | Change Processor to 'ATmega328P (Old Bootloader)'. |
not in sync: resp=0x1e |
Corrupted bootloader or wrong baud rate. | Reburn bootloader via ISP programmer (USBasp). |
ser_open(): can't open device |
COM port locked by another application. | Close Cura, Pronterface, or Serial Monitor instances. |
Frequently Asked Questions
Can I use an Arduino Nano without a computer?
Yes. Once your sketch is uploaded, the Nano operates independently. You can power it via the '5V' pin using a regulated 5V power supply, or via the 'VIN' pin using a 7V-12V source (which utilizes the onboard linear voltage regulator). Be aware that the onboard regulator will overheat if you draw more than 100mA from the 5V rail while supplying 12V to VIN.
Why does my Nano get incredibly hot to the touch?
If the voltage regulator (the small 3-pin IC near the power pins) is burning hot, you are likely back-feeding 5V into the '5V' pin while simultaneously connected to USB. This creates a voltage conflict between the USB 5V rail and your external power supply, potentially frying the CH340 chip or your PC's USB port. Never connect external power to the 5V pin while the USB is plugged in.
Is the Arduino Nano still relevant in 2026 compared to the ESP32?
Absolutely. While the ESP32 dominates WiFi/Bluetooth IoT applications, the Nano (and its clones) remains superior for 5V logic environments, simple analog sensor reading, and educational settings where network complexity is unnecessary. Furthermore, the Nano's ATmega328P is incredibly robust against static discharge and voltage spikes compared to the sensitive 3.3V logic of modern ARM and Xtensa chips.