
The Case for Migrating to Arduino CLI in 2026
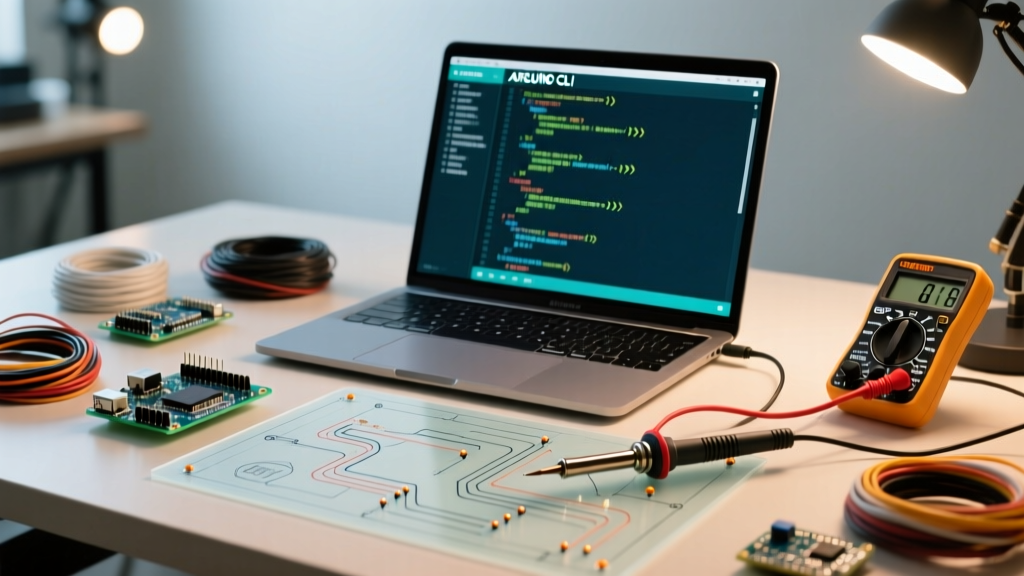
For over a decade, the classic Arduino IDE has been the gateway to embedded systems. However, as projects scale from simple blink sketches to complex, multi-board IoT deployments, the graphical interface becomes a bottleneck. As of 2026, professional firmware engineers and advanced makers are aggressively migrating to the Arduino CLI (Command Line Interface). The CLI strips away the Electron-based overhead of the modern IDE, offering a headless, scriptable, and lightning-fast environment that integrates natively with version control, Makefiles, and CI/CD pipelines.
Migrating your workflow is not just about typing commands; it is about shifting from manual, click-based compilation to deterministic, reproducible builds. Whether you are targeting an Arduino Nano ESP32 (ABX00092) or a custom STM32 black pill, the CLI provides granular control over board parameters, library dependencies, and upload protocols that the GUI simply hides.
Feature Comparison: Arduino IDE 2.x vs Arduino CLI
Before initiating your migration, it is crucial to understand the operational differences. The table below contrasts the standard GUI workflow with the CLI approach.
| Feature | Arduino IDE 2.x (GUI) | Arduino CLI (Terminal) |
|---|---|---|
| Compilation Speed | Moderate (Electron overhead) | Fast (Native Go binary, minimal overhead) |
| CI/CD Integration | Difficult (Requires GUI automation) | Native (GitHub Actions, GitLab CI, Jenkins) |
| Dependency Management | Manual ZIP imports or Library Manager UI | Scriptable via lib install and lib_deps |
| Board Parameter Tuning | Dropdown menus (limited visibility) | Exact FQBN string configuration |
| Headless Operation | No (Requires X11/Wayland display server) | Yes (Perfect for remote SSH and Docker) |
Step 1: Clean Installation and Environment Setup
The first step in your upgrade guide is installing the CLI binary. Unlike the IDE, the CLI is a single, standalone executable. According to the official Arduino CLI installation documentation, you can deploy it via standard package managers or direct download.
Installation Commands
- macOS (Homebrew):
brew install arduino-cli - Windows (Scoop):
scoop install arduino-cli - Linux (curl script):
curl -fsSL https://raw.githubusercontent.com/arduino/arduino-cli/master/install.sh | sh
Once installed, initialize your configuration file. This generates the arduino-cli.yaml file in your ~/.arduino15/ directory, which acts as the central nervous system for your board managers and library paths.
arduino-cli config initStep 2: Migrating Board Cores and Custom URLs
In the IDE, adding third-party boards like the ESP32 or STM32 involves pasting URLs into a preferences dialog. In the CLI, you manage these via the YAML config or direct commands. For teams referencing the Espressif Arduino Core documentation, adding the ESP32 board manager URL is a prerequisite for compiling modern IoT sketches.
arduino-cli config set board_manager.additional_urls https://raw.githubusercontent.com/espressif/arduino-esp32/gh-pages/package_esp32_index.json
arduino-cli core update-index
arduino-cli core install esp32:esp32
Pro Tip: If you are migrating a legacy project that relies on an outdated core version (e.g., ESP32 Core v2.0.14), you can pin the exact version to prevent breaking changes:
arduino-cli core install esp32:esp32@2.0.14.
Step 3: Library Dependency Resolution
One of the most common failure modes when moving from the IDE to the CLI is missing library dependencies. The IDE often auto-resolves or silently includes libraries from your global Documents/Arduino/libraries folder. The CLI requires explicit declaration.
To audit your current sketch for missing libraries, run a dry-run compilation:
arduino-cli compile --fqbn arduino:avr:uno ./my_sketch/ --warnings allIf the compiler throws a fatal error: Adafruit_BME280.h: No such file or directory, install it directly:
arduino-cli lib install "Adafruit BME280 Library"For enterprise projects, we highly recommend using a lib_deps manifest or a Makefile to lock library versions, ensuring that a build on your local machine matches the build on your CI server exactly.
Step 4: Mastering FQBN and Port Resolution
The concept of the Fully Qualified Board Name (FQBN) is the cornerstone of the Arduino CLI. The FQBN replaces the simple board selection dropdown with a precise string formatted as PACKAGER:ARCHITECTURE:BOARD_ID[:MENU_OPTIONS].
Finding Your FQBN
Connect your target board (e.g., a Raspberry Pi Pico W or an Arduino Nano RP2040 Connect) and run:
arduino-cli board list --format jsonThis outputs a structured JSON payload detailing the serial port, VID/PID, and the resolved FQBN. This JSON output is incredibly powerful for scripting automated upload rigs.
Handling Menu Options
Many modern boards have configurable parameters (e.g., flash size, partition scheme, USB CDC on boot). You append these to the FQBN. For an ESP32-S3-DevKitC-1 requiring USB CDC for serial output, your compile command looks like this:
arduino-cli compile --fqbn esp32:esp32:esp32s3:CDCOnBoot=cdc,PartitionScheme=huge_app ./firmware/Advanced: Automating with Makefiles
To fully realize the benefits of your migration, wrap your CLI commands in a Makefile. This standardizes the build process for your team. Below is a production-ready Makefile snippet for an Arduino Nano ESP32 project.
FQBN = arduino:esp32:nano_nora
PORT = /dev/ttyACM0
BUILD_DIR = ./build

.PHONY: all clean upload

all:
	arduino-cli compile --fqbn $(FQBN) --build-path $(BUILD_DIR) --output-dir $(BUILD_DIR) ./src

upload: all
	arduino-cli upload --fqbn $(FQBN) -p $(PORT) --input-dir $(BUILD_DIR)

clean:
	rm -rf $(BUILD_DIR)
By integrating this with the Arduino CLI GitHub repository release binaries, you can containerize your build environment using Docker, completely eliminating the "it compiles on my machine" syndrome.
Common Migration Pitfalls and Edge Cases
Upgrading your workflow is not without friction. Be prepared to handle these specific edge cases:
- Linux Permission Denied Errors: Unlike the IDE which sometimes prompts for permission setup, the CLI assumes your user has raw access to serial ports. You must add your user to the dialout group:
sudo usermod -a -G dialout $USER, then reboot. - Windows Port Locking: If you receive an
avrdude: ser_open(): can't open deviceorserial port busyerror, ensure no other software (like Cura, PrusaSlicer, or a lingering Python serial script) is polling the COM port in the background. - Custom Boards.txt Missing: If you previously hacked the IDE's
boards.txtfile to add custom hardware definitions, these will not automatically migrate. You must package your custom definitions into a proper Core Index JSON and host it on a Git repository, then add it to yourboard_manager.additional_urls. - CH340 vs CP2102 Driver Conflicts: When using cheap clone boards, the CLI relies entirely on the OS-level serial drivers. Ensure you have the latest signed WHQL drivers for the CH340G or CP2102 chips installed at the system level, as the CLI will not prompt you to install them like the IDE's driver wizard might.
Conclusion
Migrating from the Arduino IDE to the Arduino CLI is a definitive upgrade for any serious embedded developer. By embracing the command line, you unlock deterministic builds, seamless CI/CD integration, and a deeper understanding of the toolchain compiling your firmware. Take the time to map your FQBNs, lock your library dependencies, and script your workflows. The initial learning curve pays immediate dividends in reliability and speed for all your future microcontroller projects.