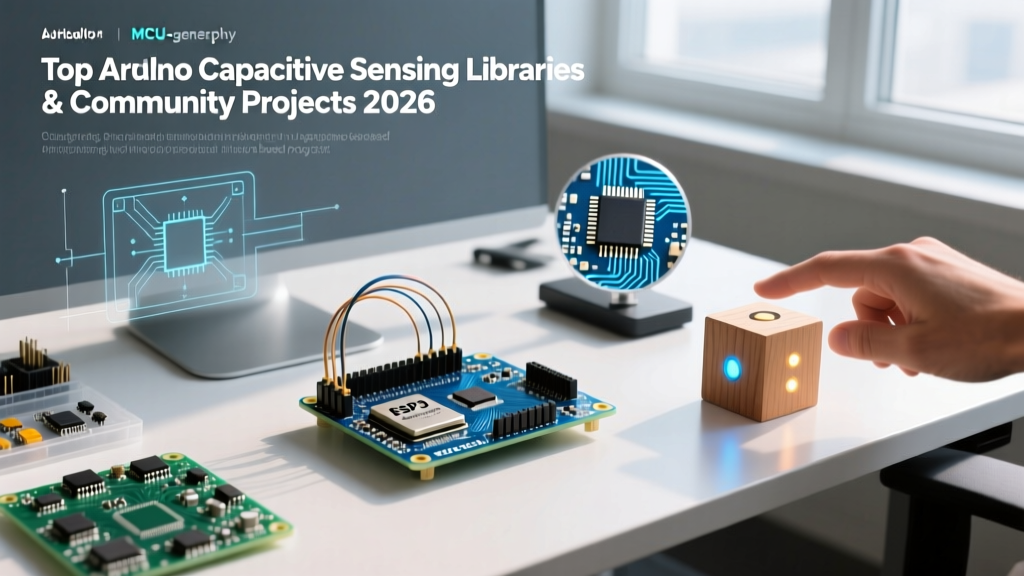

The State of Arduino Capacitive Sensing in 2026
Capacitive sensing has fundamentally transformed how makers and engineers design human-machine interfaces (HMIs). By detecting changes in electrical capacitance, you can turn copper tape, conductive ink, or even fruit into responsive buttons, sliders, and proximity sensors. In 2026, the maker community has largely moved beyond fragile RC-timing loops, embracing dedicated touch ICs and native microcontroller peripherals that offer auto-calibration and noise rejection.
Whether you are building a sealed underwater control panel or a wearable MIDI controller, selecting the right arduino capacitive sensing approach is critical. This community resource roundup breaks down the most reliable libraries, compares hardware architectures, and highlights real-world failure modes that separate amateur prototypes from production-ready designs.
Top Community Libraries & Frameworks
The software ecosystem for touch sensing has matured significantly. Here are the three dominant approaches used by the electrical engineering and maker communities today.
1. CapacitiveSensor (The Legacy RC Standard)
Originally developed by Paul Badger and now maintained via community forks like the CapacitiveSensor library by Paul Stoffregen, this method uses two Arduino GPIO pins and a high-value resistor (typically 1MΩ to 50MΩ) to measure the RC time constant of a capacitive load.
- How it works: The send pin charges the receive pin (which acts as an antenna) through the resistor. The library counts the clock cycles required for the receive pin to cross the MCU's logic threshold.
- Best for: Zero-budget projects, educational demonstrations, and simple single-button triggers.
- Limitations: Highly susceptible to 50/60Hz mains hum and environmental humidity. It consumes significant CPU time during the polling phase, blocking other operations unless heavily optimized with hardware timers.
2. Adafruit MPR121 (The I2C Workhorse)
The NXP MPR121 remains the gold standard for dedicated capacitive touch ICs in the maker space. The Adafruit MPR121 Learning Guide and its accompanying library abstract away the complex I2C register configurations.
- Hardware Specs: 12 independent touch channels, I2C interface (default address 0x5A), and built-in auto-calibration.
- Why it wins: The MPR121 handles baseline tracking and debounce filtering in hardware. This frees your Arduino's CPU to handle complex logic, audio processing, or wireless communication without latency spikes.
- 2026 Pricing: Breakout boards generally retail between $6.00 and $8.50 USD.
3. Native ESP32 Touch Peripheral
Modern microcontrollers like the ESP32 and ESP32-S3 feature dedicated touch-sensor peripherals integrated directly into the silicon. According to the Espressif Touch Pad API Documentation, these pins utilize an internal oscillator circuit where the touch pad acts as a capacitor in the RC network.
- Advantages: No external resistors or ICs required. The ESP32-S3 series introduced a massive leap in signal-to-noise ratio (SNR) and hardware filtering compared to the original ESP32.
- Implementation: Utilizing the native
touchRead()function in the Arduino IDE is trivial, but achieving production stability requires implementing a software Infinite Impulse Response (IIR) filter to track baseline drift.
Hardware & Method Comparison Matrix
Choosing the right architecture depends on your channel count, budget, and environmental constraints. Use this matrix to guide your component selection.
| Method | Interface | Channels / Resolution | Avg Cost (2026) | Best Application |
|---|---|---|---|---|
| Raw GPIO + Resistor (CapSense) | Direct GPIO | 1-3 channels / Low | < $0.50 | Basic prototyping, education |
| MPR121 Breakout | I2C (Up to 4 devices) | 12 per IC / High | $6.00 - $8.50 | MIDI controllers, keypads |
| CAP1208 / CAP1188 | I2C / SPI | 8 channels / Medium | $3.50 - $5.00 | Appliance interfaces, sealed panels |
| ESP32-S3 Native Touch | Internal Peripheral | 14 channels / Very High | $4.00 (MCU) | IoT devices, wearables |
Real-World Failure Modes & Engineering Fixes
Capacitive sensing is notoriously unforgiving in uncontrolled environments. Here are the most common failure modes encountered by the community and the engineering solutions to fix them.
1. Parasitic Capacitance from Long Wires
The Problem: Routing a standard jumper wire from your Arduino to a remote copper pad adds significant parasitic capacitance. The sensor triggers based on the wire's movement rather than the user's touch.
The Fix: Keep the trace or wire from the IC to the touch pad under 1.5 inches. If you must route a signal further, use a shielded coaxial cable and drive the shield with a 'guarded' signal (a buffered copy of the sensor signal) to nullify the cable's capacitance.
2. Environmental Humidity Drift
The Problem: Water has a dielectric constant of roughly 80 (compared to air at ~1). As ambient humidity rises, or if condensation forms on your enclosure, the baseline capacitance shifts upward, causing 'ghost touches' or rendering the sensor entirely unresponsive.
The Fix: Implement a software baseline tracking algorithm. Instead of using a hard-coded threshold, calculate a moving average of the sensor's raw value. A standard IIR filter formula like baseline = (baseline * 0.95) + (raw_reading * 0.05) allows the system to slowly adapt to humidity changes while still reacting instantly to the fast transient of a human finger.
Pro-Tip for Enclosures: When designing 3D-printed enclosures for touch buttons, avoid standard PLA or PETG, which can absorb moisture. Use ABS, ASA, or resin, and apply a thin layer of Kapton tape between the PCB pad and the plastic wall to act as a stable, moisture-proof dielectric barrier.
3. Ground Plane Interference
The Problem: PCB design software often defaults to pouring a solid ground plane on all layers. A solid ground plane directly beneath a touch pad creates a massive parallel-plate capacitor, drowning out the tiny fringing field generated by a finger.
The Fix: Clear the ground pour completely from the layer directly beneath the touch pad. On adjacent layers, use a cross-hatched (grid) ground pattern rather than a solid pour to reduce the parasitic capacitance to ground.
Standout Community Projects
The electricalflux community has pushed the boundaries of what these sensors can do. Here are two highly-rated project architectures from 2026.
Non-Contact Liquid Level Sensing
By taping two strips of copper foil to the outside of a PVC or acrylic pipe, makers are building non-contact water level sensors. The liquid inside acts as a grounded dielectric mass. When the water level rises between the copper strips, the capacitance spikes. This is heavily used in hydroponics and automated brewing setups where immersing a metallic probe would cause galvanic corrosion or contaminate the fluid.
Wearable Capacitive MIDI Instruments
Using conductive silver nylon thread sewn into denim jackets, paired with a miniature MPR121 breakout and an ESP32-S3, musicians are creating hidden MIDI controllers. The fabric itself becomes the sensor pad. Because the MPR121 handles the debouncing, the ESP32 can focus entirely on formatting BLE-MIDI packets and transmitting them to a DAW with sub-10ms latency.
Frequently Asked Questions
Can I use aluminum foil instead of copper tape?
Yes, aluminum foil is highly conductive and works perfectly for capacitive sensing. However, copper tape with conductive adhesive is strongly preferred for permanent installations because it allows you to solder directly to the pad and creates a reliable electrical bond with the PCB trace. Aluminum foil requires mechanical clamping or specialized conductive epoxy.
Why does my touch sensor trigger when I plug in a laptop charger?
This is caused by common-mode noise from switching power supplies. The high-frequency switching noise couples into your body and is injected into the sensor. To fix this, ensure your Arduino circuit shares a common ground with the power supply, or add a 10nF ceramic bypass capacitor directly across the VCC and GND pins of your touch IC.
What is the ideal dielectric thickness for a touch button?
For standard human finger detection, the dielectric overlay (plastic, glass, or wood) should be between 2mm and 5mm thick. Thinner overlays increase sensitivity but also increase the risk of false triggers from water droplets. Thicker overlays require larger sensor pads (at least 15mm x 15mm) to project a strong enough fringing electric field through the material.