
The Ubuntu Serial Communication Bottleneck
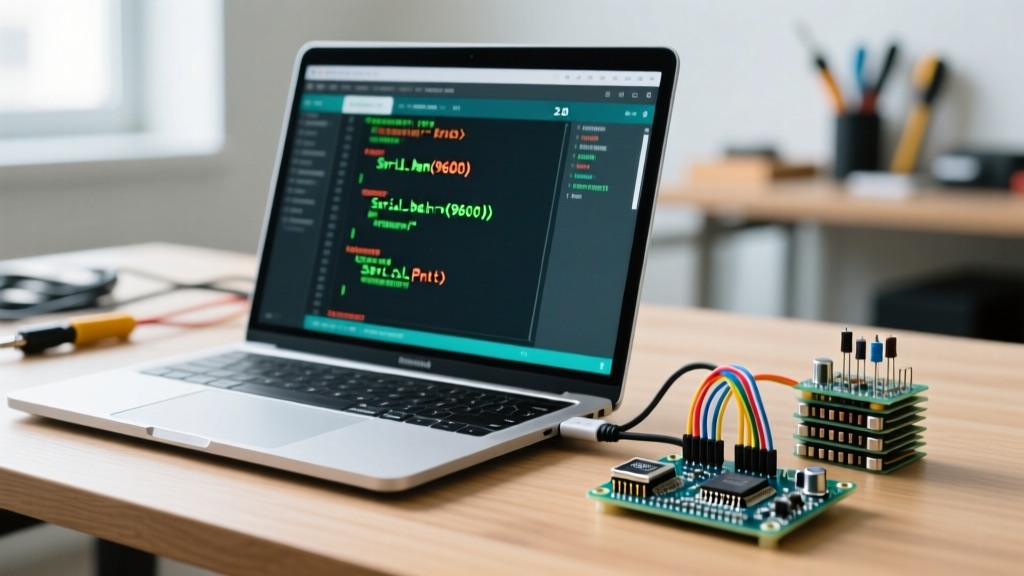
Linux remains the dominant operating system for professional embedded systems development, offering native toolchains and robust terminal utilities. However, setting up a reliable microcontroller development environment on Ubuntu requires navigating strict POSIX device permissions and kernel-level driver conflicts. Many developers searching for an ubuntu install arduino ide guide end up using the default Snap package manager, only to discover severe serial communication roadblocks when attempting to flash firmware or monitor UART data streams.
This guide bypasses the generic installation tutorials and focuses strictly on establishing a bulletproof serial communication pipeline between your Ubuntu 24.04 LTS (Noble Numbat) machine and your microcontrollers (AVR, ESP32, STM32). We will cover the optimal Arduino IDE 2.3.x deployment, resolve the notorious dialout permission errors, and eliminate the kernel-level brltty USB hijacking bug that plagues clone development boards.
Choosing the Right Installation Method for Serial Access
When configuring your environment for hardware communication, the distribution method of the IDE dictates how the application interacts with the Linux kernel's device tree (/dev). Below is a critical comparison of the three primary installation methods available for Ubuntu.
| Method | Serial Port Access | AppArmor/Sandboxing | Verdict for Embedded Devs |
|---|---|---|---|
| AppImage | Direct /dev/ttyUSB* access |
None (Runs with user privileges) | Recommended. Best for reliable serial flashing and debugging. |
| Snap Package | Restricted (Requires manual interface connections) | Strict confinement blocks raw USB access | Avoid. Causes intermittent upload failures and monitor drops. |
| Tarball (ZIP) | Direct access | None | Good. Requires manual desktop shortcut and library linking. |
As documented in the official Arduino IDE v2 documentation, the AppImage format packages all necessary dependencies (including the arduino-cli backend and serial monitor daemons) without relying on Ubuntu's restrictive Snap sandboxing.
Step-by-Step: Ubuntu Install Arduino IDE via AppImage
To ensure uninterrupted serial communication, we will deploy the AppImage version. This guarantees the IDE has the necessary hooks to monitor USB hotplug events and assert RTS/DTR handshake signals required for auto-resetting boards like the Arduino Uno R3 or ESP32-DevKitC.
1. Download and Prepare the Executable
Open your terminal and execute the following commands to fetch the latest 64-bit AppImage and set the correct execution permissions:
wget https://downloads.arduino.cc/arduino-ide/arduino-ide_2.3.3_Linux_64bit.AppImage
chmod +x arduino-ide_2.3.3_Linux_64bit.AppImage
sudo mv arduino-ide_2.3.3_Linux_64bit.AppImage /opt/arduino-ide.AppImage
2. Install FUSE (Filesystem in Userspace)
Ubuntu 22.04 and newer ship with libfuse2 disabled by default, which is required to mount the AppImage sandbox. Install it via APT:
sudo apt update
sudo apt install libfuse2
Resolving the dialout Permission Denied Error
The most common failure mode during an ubuntu install arduino ide procedure is the "Serial port not found" or "Permission denied" error when clicking the Upload button. In Debian-based distributions, raw serial devices (/dev/ttyUSB0, /dev/ttyACM0) are owned by the root user and the dialout group. Standard users cannot assert the hardware flow control lines (RTS/DTR) required to trigger the bootloader without explicit group membership.
Expert Insight: Never run the Arduino IDE assudoto bypass this error. Running the IDE with root privileges corrupts the~/.config/arduino-idedirectory ownership and creates severe security vulnerabilities when compiling untrusted third-party libraries.
Add your current user to the dialout group using the usermod utility:
sudo usermod -a -G dialout $USERCritical Step: You must completely log out of your Ubuntu desktop session and log back in (or reboot) for the kernel to update your user's group access tokens. Running newgrp dialout in a single terminal window will not propagate the permissions to the GUI-based IDE.
The brltty Conflict: Why Your CH340 Board Keeps Disconnecting
If you are using cost-effective microcontroller boards equipped with the WCH CH340G or CH341C USB-to-UART bridge (common in ESP32 and Arduino Nano clones), you will likely encounter a frustrating edge case on modern Ubuntu releases. The OS includes a background service called brltty (Braille Display Driver), which aggressively claims USB devices matching specific Vendor/Product IDs—including the CH340 chip.
When you plug in your board, dmesg will show the device attaching to /dev/ttyUSB0, only to be immediately disconnected a second later as brltty hijacks the USB endpoint. The SparkFun CH340 driver guide highlights this as a primary Linux troubleshooting step for clone boards.
Disabling the USB Hijacker
To reclaim your serial ports for microcontroller communication, disable and mask the conflicting systemd services:
sudo systemctl stop brltty-udev.service
sudo systemctl mask brltty-udev.service
sudo systemctl stop brltty.service
sudo systemctl disable brltty.service
After executing these commands, unplug your development board and reconnect it. The kernel will now correctly bind the ch341-uart driver, and the port will remain stable for serial monitoring and firmware flashing.
Establishing Persistent Udev Rules for Advanced Communication
When developing complex IoT systems involving multiple microcontrollers (e.g., an ESP32 handling WiFi and an Arduino Mega handling motor control), Ubuntu may assign /dev/ttyUSB0 and /dev/ttyUSB1 randomly upon reboot. To ensure your IDE and custom Python/C++ serial scripts always target the correct hardware, implement custom udev rules.
- Identify the Hardware IDs: Run
lsusbto find the Vendor ID (idVendor) and Product ID (idProduct) of your target board. - Create the Rule File: Open a new rules file in your text editor:
sudo nano /etc/udev/rules.d/99-arduino.rules - Add the Symlink Directive: Paste the following rule, replacing the IDs with your specific hardware:
SUBSYSTEM=='tty', ATTRS{idVendor}=='1a86', ATTRS{idProduct}=='7523', SYMLINK+='arduino_nano', MODE='0666'Reload the udev daemon with sudo udevadm control --reload-rules && sudo udevadm trigger. You can now select /dev/arduino_nano directly in the Arduino IDE port dropdown, ensuring your communication pipeline never targets the wrong device.
Troubleshooting Matrix: Ubuntu Serial Comm Errors
Use this diagnostic matrix to rapidly resolve communication failures post-installation.
| Symptom in IDE / Terminal | Root Cause | Actionable Fix |
|---|---|---|
| Port dropdown is greyed out / empty | User lacks dialout group privileges. |
Run usermod command and reboot the OS. |
| Upload hangs at 100% then times out | Auto-reset circuit failing (DTR line blocked). | Manually press the hardware RESET button when 'Uploading' appears. |
ls: cannot access '/dev/ttyUSB*': No such file |
brltty service hijacked the CH340 chip. |
Mask and disable brltty-udev.service. |
| Garbage characters in Serial Monitor | Baud rate mismatch or missing termination. | Match IDE monitor to Serial.begin() rate; append \n in code. |
Verifying the Communication Pipeline
Before opening the Arduino IDE, verify the integrity of your serial link using native Ubuntu tools. Open a terminal and stream the kernel ring buffer while plugging in your device:
dmesg -w | grep ttyYou should see a clean attachment log, such as: usb 1-2: ch341-uart converter now attached to ttyUSB0. Next, test the raw UART data stream using the screen utility (install via sudo apt install screen):
screen /dev/ttyUSB0 115200If your microcontroller is already programmed to output telemetry, the data will stream cleanly into your terminal. Press Ctrl+A followed by K to kill the screen session, freeing the port for the Arduino IDE's built-in Serial Monitor. By following this rigorous setup protocol, you eliminate the OS-level variables that cause 90% of Linux-based embedded development frustrations, ensuring your focus remains on firmware logic and protocol optimization.