
The Reality of RGB LED Troubleshooting
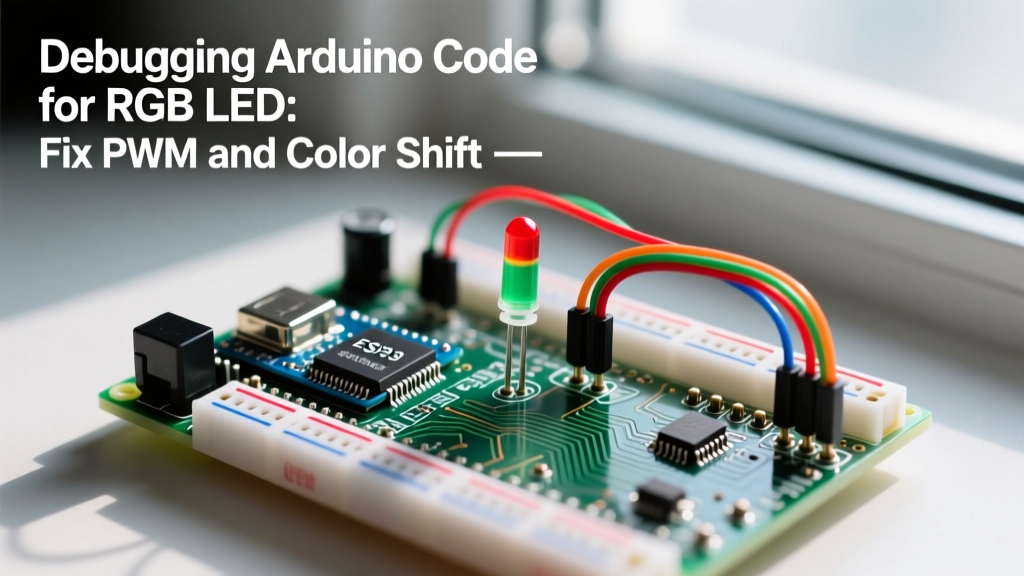
Writing Arduino code for RGB LED projects seems like a trivial rite of passage. You wire up a common cathode or anode package, map three pins to analogWrite(), and expect a perfect spectrum of light. In practice, however, makers and engineers consistently run into a wall of hardware-software integration bugs: muddy color transitions, aggressive camera banding, inverted logic, and unexpected color shifting at low duty cycles.
Whether you are using a classic through-hole Kingbright WP154A4SUREQBFZGW diffused 5mm RGB LED or a high-power surface-mount variant, the root causes of these failures usually stem from a misunderstanding of pulse-width modulation (PWM) physics, human visual perception, and AVR timer registers. In this guide, we will bypass generic wiring tutorials and dive deep into the diagnostic frameworks required to debug and optimize your RGB LED code for flawless color mixing.
Diagnostic Matrix: Isolating Hardware vs. Software Faults
Before rewriting your sketch, map your specific symptom to this diagnostic matrix. Over 80% of RGB LED debugging issues fall into one of these four categories.
| Symptom | Primary Root Cause | Immediate Fix |
|---|---|---|
| Colors are inverted (e.g., asking for Red yields Cyan) | Using Common Anode hardware with Common Cathode logic | Invert PWM values: 255 - value |
| Fades look abrupt or 'muddy' in the lower third | Linear PWM vs. non-linear human eye perception | Implement a Gamma Correction Lookup Table (LUT) |
| LED flickers on smartphone cameras or slow-motion video | Default Arduino Uno PWM frequency (~490Hz) is too low | Modify AVR Timer Registers to push frequency to ~31kHz |
| White light looks pinkish or greenish at max brightness | Voltage sag or mismatched current-limiting resistors | Recalculate resistors based on specific Forward Voltage (Vf) |
1. The Common Anode Logic Inversion
The most frequent software bug occurs when a developer copies code written for a Common Cathode LED but solders a Common Anode component. In a Common Cathode setup, the shared pin connects to Ground (GND), and applying a HIGH PWM signal to the color pins allows current to flow. In a Common Anode setup, the shared pin connects to 5V (or 3.3V), and the microcontroller must sink current by pulling the pin LOW.
If you send analogWrite(redPin, 255) to a Common Anode LED, you are outputting 5V to the red channel. Since the anode is also at 5V, the voltage differential is zero, and the LED turns completely off. To fix this without desoldering your board, you must invert the logic in your software.
// Corrected Arduino code for RGB LED (Common Anode)
void setColor(int r, int g, int b) {
  // Invert the 0-255 value for Common Anode hardware
  analogWrite(RED_PIN, 255 - r);
  analogWrite(GREEN_PIN, 255 - g);
  analogWrite(BLUE_PIN, 255 - b);
}
2. Fixing Muddy Fades with Gamma Correction
If your code commands the LED to fade from 0 to 255, you will notice that the LED appears to stay completely dark from 0 to ~20, then suddenly jumps to half-brightness by 50, and spends the rest of the fade making imperceptible changes. This is not a bug in your Arduino analogWrite() function; it is a biological limitation.
Human vision does not perceive light linearly. We are highly sensitive to changes in low light and less sensitive to changes in high light. Furthermore, the Adafruit LED Gamma Correction Guide highlights that LEDs themselves have a non-linear response to PWM duty cycles at the extreme low end. To achieve a visually smooth, linear fade, you must apply a gamma correction curve (typically a 2.8 exponent) to your PWM output.
Instead of doing heavy floating-point math on the AVR chip, use a pre-calculated 256-byte Lookup Table (LUT) stored in flash memory using the PROGMEM keyword.
// Gamma Correction Implementation
#include

// CIE 1931 Lightness / Gamma 2.8 Lookup Table (abbreviated for space)
const uint8_t PROGMEM gamma8[] = {
  0,  0,  0,  0,  0,  0,  0,  0,  0,  0,  0,  0,  0,  0,  0,  0,
  // ... [Insert full 256-byte array from Adafruit here] ...
  234, 237, 240, 243, 246, 249, 252, 255 };

void setSmoothColor(int r, int g, int b) {
  // Fetch corrected values from flash memory
  analogWrite(RED_PIN, 255 - pgm_read_byte(&gamma8[r]));
  analogWrite(GREEN_PIN, 255 - pgm_read_byte(&gamma8[g]));
  analogWrite(BLUE_PIN, 255 - pgm_read_byte(&gamma8[b]));
}
3. Eliminating PWM Flicker and Camera Banding
By default, the Arduino Uno and Nano configure their internal timers to run PWM at approximately 490Hz (or 980Hz on pins 5 and 6). While this is fast enough to fool the human eye's persistence of vision, it is drastically out of sync with modern smartphone cameras, which often shoot at 60fps or 120fps with fast shutter speeds. This results in aggressive banding and flickering in video recordings.
To debug this, you need to manipulate the AVR Timer/Counter Control Registers (TCCR) to increase the PWM frequency into the ultrasonic range (above 20kHz). According to the Arduino PWM Foundations tutorial, altering the prescaler and waveform generation mode bits can push the frequency to ~31kHz on 16MHz boards.
Warning: Changing timer registers will break libraries that rely on default timer configurations, such asServo.horIRremote. Always verify library dependencies before modifying TCCR registers.
void setup() {
  pinMode(9, OUTPUT);  // Timer 1, Channel A
  pinMode(10, OUTPUT); // Timer 1, Channel B

  // Set Timer 1 to Phase Correct PWM, no prescaler (~31.25 kHz on 16MHz Uno)
  TCCR1A = _BV(COM1A1) | _BV(COM1B1) | _BV(WGM10);
  TCCR1B = _BV(CS10);

  // Note: Pins 3 and 11 use Timer 2, requiring TCCR2A/B modifications
}
4. Hardware-Induced Color Shift: The Resistor Miscalculation
Software can only do so much if the hardware is biased. A common troubleshooting scenario involves an RGB LED that produces a sickly pink or yellow hue when commanded to display pure white (255, 255, 255). This occurs because the Forward Voltage (Vf) of the red diode is significantly lower than the green and blue diodes, causing it to draw disproportionately more current if identical resistors are used.
Let us calculate the exact current-limiting resistors for a standard 5V logic system targeting 20mA per channel.
| Color Channel | Typical Vf | Target Current | Formula: (5V - Vf) / I | Standard Resistor |
|---|---|---|---|---|
| Red | 2.0V | 20mA (0.02A) | (5.0 - 2.0) / 0.02 = 150 | 150Ω |
| Green | 3.2V | 20mA (0.02A) | (5.0 - 3.2) / 0.02 = 90 | 100Ω |
| Blue | 3.2V | 20mA (0.02A) | (5.0 - 3.2) / 0.02 = 90 | 100Ω |
If you lazily slap three 220Ω resistors on the board, the red channel will be severely dimmed relative to its potential, while the green and blue channels might barely turn on due to the tight voltage headroom. Always tailor your resistor values to the specific datasheet of your LED component.
5. Modern MCU Considerations: Arduino Uno R4 and ESP32
As we navigate through 2026, relying solely on the legacy 8-bit AVR architecture is becoming less common for commercial RGB lighting projects. If you migrate your debugging skills to the Arduino Uno R4 Minima (Renesas RA4M1) or the ESP32-S3, the rules of PWM change entirely.
- Arduino Uno R4: Features a 12-bit DAC and 12-bit PWM resolution. You must call
analogWriteResolution(12)in your setup, and your color values must range from 0 to 4095 instead of 0 to 255. Failing to update your gamma LUT will result in severely truncated color depths. - ESP32 Family: The ESP32 does not use
analogWrite()for high-performance PWM. Instead, you must utilize the LED Control (LEDC) peripheral. This requires configuring channels, frequencies, and resolutions usingledcSetup()andledcAttachPin(). The ESP32 easily supports the 20kHz+ frequencies required to eliminate camera flicker natively, without hacking hardware registers.
Summary Checklist for Flawless Color
Before declaring your RGB LED project complete, run through this final debug checklist:
- Verify Common Anode/Cathode topology and invert software logic if necessary.
- Implement a Gamma Correction LUT to ensure visually linear fades.
- Adjust Timer Registers (AVR) or LEDC frequencies (ESP32) to exceed 20kHz for video-safe lighting.
- Calculate discrete current-limiting resistors based on the exact Vf of your Red, Green, and Blue dies.
- Add a 100nF decoupling capacitor across the 5V and GND rails near the LED to prevent high-frequency PWM switching noise from resetting your microcontroller during peak current draws.