
The Evolution of Motion Detection in Raspberry Pi Projects
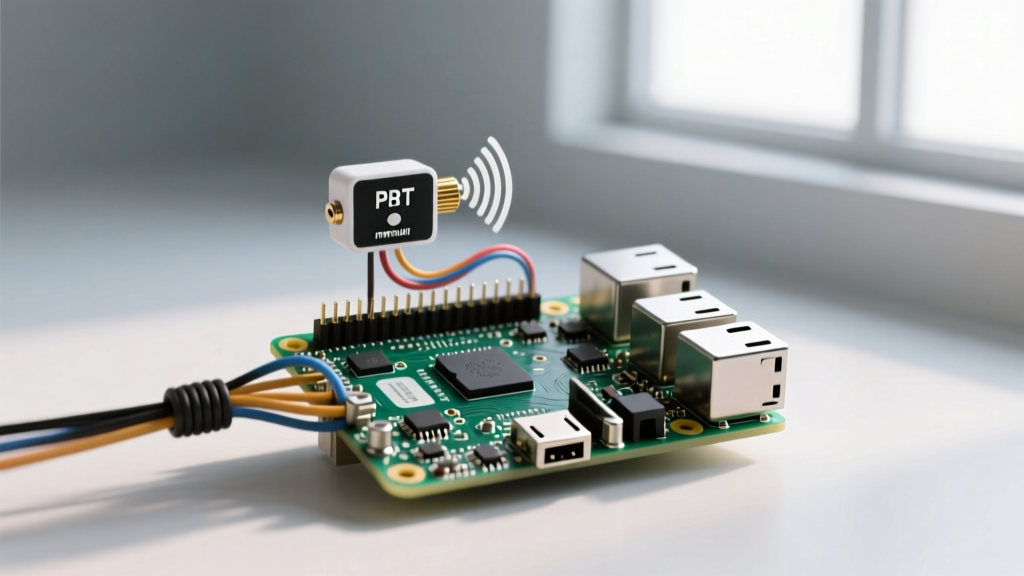
When integrating an rpi motion sensor into home automation, security, or interactive art installations, the difference between a frustrating false-trigger nightmare and a flawless deployment lies entirely in hardware selection. While the Raspberry Pi’s GPIO pins make it trivial to read a simple HIGH/LOW signal, the underlying physics of the sensor dictate your project's real-world reliability. In this comprehensive hardware review, we tear down the most popular motion detection modules available to makers, analyzing their silicon, failure modes, and compatibility with the Pi’s 3.3V logic architecture.
Hardware Teardown: Comparing the Top Modules
1. HC-SR501: The Legacy PIR Standard
The HC-SR501 is the ubiquitous white-dome sensor found in almost every beginner kit. At its core is the BISS0001 micro-power PIR motion detector IC. It features two onboard potentiometers: one for adjusting the time delay (typically 0.2s to 300s) and another for sensitivity (3 to 7 meters).
The Failure Mode: The HC-SR501 is notoriously susceptible to Radio Frequency Interference (RFI). If you place this sensor near a Wi-Fi router or a Raspberry Pi 4/5 with active 2.4GHz transmission, the RF energy can induce voltage spikes in the high-impedance pyroelectric element, causing phantom triggers. Furthermore, it requires a 5V power supply. Feeding its OUT pin directly into a Raspberry Pi GPIO pin is a guaranteed way to destroy the Pi's 3.3V-tolerant SOC over time.
2. AM312: The Compact 3.3V Native Alternative
If physical footprint and logic-level safety are your priorities, the AM312 Mini PIR is a massive upgrade. Unlike the HC-SR501, the AM312 is designed to operate natively at 3.3V, making it perfectly safe for direct connection to the Raspberry Pi GPIO header without a logic level shifter.
Trade-offs: You sacrifice adjustability. The AM312 has fixed sensitivity (around 3 meters) and a fixed delay time (usually 2.5 seconds). However, its digital output is remarkably clean, and its smaller pyroelectric lens makes it less prone to sweeping thermal drafts from HVAC vents.
3. LD2410: The mmWave Presence Revolution
Passive Infrared (PIR) sensors only detect changes in infrared radiation. If a person sits perfectly still on your couch, a PIR sensor assumes the room is empty. Enter the LD2410 24GHz mmWave radar sensor. This module doesn't just detect motion; it detects presence by measuring the micro-Doppler shifts caused by human breathing and heartbeats.
Connecting the LD2410 to an rpi motion sensor setup requires using the Pi's UART pins (TX/RX) rather than a simple GPIO polling script. While more complex to wire, the data payload provides exact target distances and separate gates for moving vs. static targets. As noted in Adafruit's extensive sensor guides, moving beyond basic PIR to radar-based presence is the current gold standard for smart home occupancy.
Critical Wiring: Protecting the Pi’s 3.3V Logic
The most common catastrophic failure in DIY motion projects is ignoring logic level thresholds. The Raspberry Pi operates at 3.3V. Sending a 5V HIGH signal from an HC-SR501 into GPIO 17 will eventually fry the internal protection diodes of the Broadcom chip.
Expert Tip: If you must use a 5V sensor, build a simple voltage divider using a 1kΩ and 2kΩ resistor, or use a dedicated bidirectional logic level converter like the BSS138 breakout board. Never rely on software pull-down resistors to save hardware from overvoltage.
Optics and Environmental Calibration
The white polyethylene dome on standard PIR sensors is not just a protective cover; it is a segmented Fresnel lens. This lens focuses infrared radiation onto the dual-slot pyroelectric sensor. For an rpi motion sensor project deployed in a hallway, the orientation of this dome is critical. The sensor detects motion best when the subject crosses the beam laterally (across the segments) rather than walking directly toward it. If your project requires a specific detection cone, you can apply opaque electrical tape over specific segments of the Fresnel lens to mask out unwanted detection zones, such as a ceiling fan or a sunlit window.
Furthermore, environmental thermal drift is a major failure point. PIR sensors operate on the delta between background temperature and the heat signature of a human. In environments where ambient temperature approaches 37°C (98.6°F), such as unconditioned garages in summer, the sensor's effective range drops precipitously. In these edge cases, upgrading to microwave or mmWave radar is not a luxury; it is a strict requirement.
Power Supply Noise and Decoupling
Motion sensors, particularly the HC-SR501 and RCWL-0516, are highly sensitive to power rail noise. The Raspberry Pi’s 5V and 3.3V pins are shared with high-current components like the CPU and Wi-Fi module. When the Pi’s Wi-Fi chip transmits, it creates momentary voltage sags on the power rails. This noise can trick the BISS0001 IC into registering a false motion event.
To mitigate this, solder a 100µF electrolytic capacitor and a 0.1µF ceramic capacitor directly across the VCC and GND pins of the motion sensor module. This local decoupling acts as a buffer, supplying instantaneous current during transmission spikes and filtering out high-frequency switching noise from the Pi’s onboard DC-DC converters.
Performance Matrix: Real-World Field Testing
| Sensor Model | Technology | Logic Voltage | Static Presence | RF Interference | Avg. Price |
|---|---|---|---|---|---|
| HC-SR501 | Pyroelectric PIR | 5V (Unsafe Direct) | No | High | $1.50 |
| AM312 | Pyroelectric PIR | 3.3V (Safe) | No | Medium | $2.00 |
| RCWL-0516 | Microwave Doppler | 5V (Unsafe Direct) | No | Low | $1.80 |
| LD2410 | 24GHz mmWave | 3.3V to 5V | Yes | None | $4.50 |
Python Implementation: Polling vs. Hardware Interrupts
When writing the Python backend for your rpi motion sensor, avoid using continuous while True loops that poll the GPIO state. This consumes unnecessary CPU cycles and introduces latency. Instead, leverage the gpiozero library’s event-driven architecture.
from gpiozero import MotionSensor
from signal import pause

pir = MotionSensor(4)

def log_motion():
    print('Intruder detected! Triggering MQTT payload.')

def log_clear():
    print('Zone is secure.')

pir.when_motion = log_motion
pir.when_no_motion = log_clear

pause()
Using gpiozero.MotionSensor, you can assign callback functions to the when_motion and when_no_motion events. This utilizes the underlying hardware interrupts of the Raspberry Pi, ensuring your script reacts in milliseconds while idling at near-zero CPU usage. For advanced logging to platforms like Home Assistant, combining these interrupts with MQTT payloads via the paho-mqtt library creates a robust, enterprise-grade occupancy node.
Expert Verdict: Which Sensor Should You Buy?
If you are building a simple intruder alarm where large movements are the only trigger, the AM312 is the undisputed champion for Raspberry Pi integration due to its native 3.3V logic and compact size. However, if your project involves smart lighting, HVAC automation, or bathroom occupancy tracking, you must abandon PIR technology entirely. The LD2410 mmWave sensor represents a massive leap in reliability, solving the 'static human' problem that has plagued DIY home automation for a decade. For deep integration tutorials, resources like Tom's Hardware's Raspberry Pi guides offer excellent baseline scripts to get your UART or GPIO interrupts running in minutes.