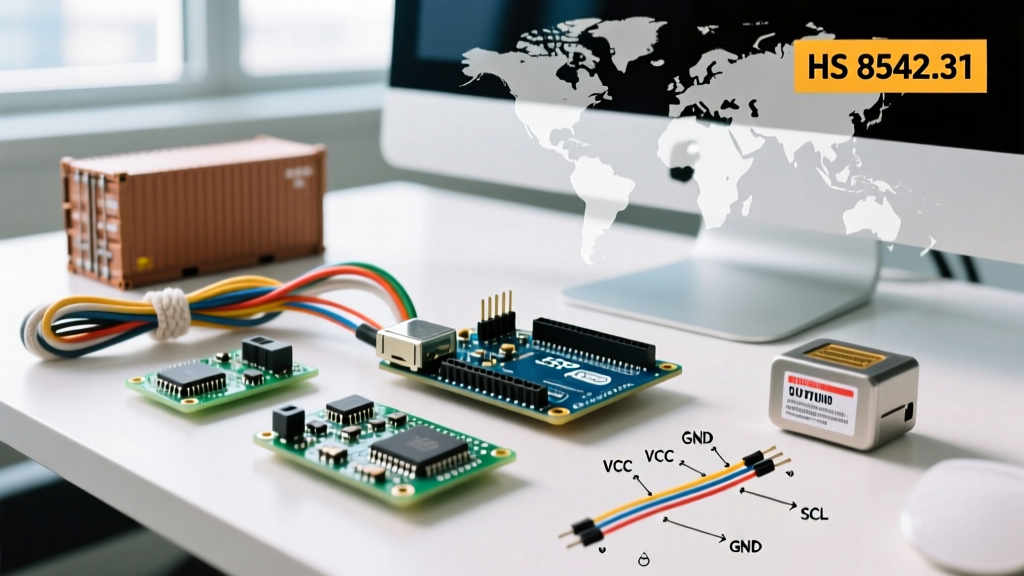

When building your first environmental monitoring project, the humidity and temperature sensor DHT11 is almost always the first component you encounter. Bundled in nearly every microcontroller starter kit on the market, this little blue grid has launched a million smart thermostats, greenhouse monitors, and weather stations. But as your projects evolve, is the DHT11 still the right tool for the job? In this kit and equipment roundup, we dissect the DHT11 ecosystem, evaluate the best starter kits that include it, and provide a data-driven framework for deciding when to upgrade to modern alternatives.
The DHT11 Ecosystem: Bare Component vs. Pre-Wired Modules
Before evaluating kits, you must understand the two physical forms the DHT11 takes in the wild. The bare 4-pin component is a through-hole package containing a capacitive humidity sensing element, an NTC thermistor, and an internal 8-bit microcontroller that handles ADC conversion and single-bus communication. Pin 1 is VCC, Pin 2 is Data, Pin 3 is unconnected (NC), and Pin 4 is GND.
Conversely, most modern starter kits include the 3-pin pre-wired module. This breakout board mounts the DHT11 and adds two critical passive components: a 4.7kΩ to 10kΩ pull-up resistor on the data line and a 100nF decoupling capacitor across the power rails. For beginners, the module version is vastly superior because it eliminates the need to manually wire a pull-up resistor, which is strictly required for the single-wire protocol to function without throwing checksum errors.
Head-to-Head Roundup: DHT11 vs. Modern Alternatives
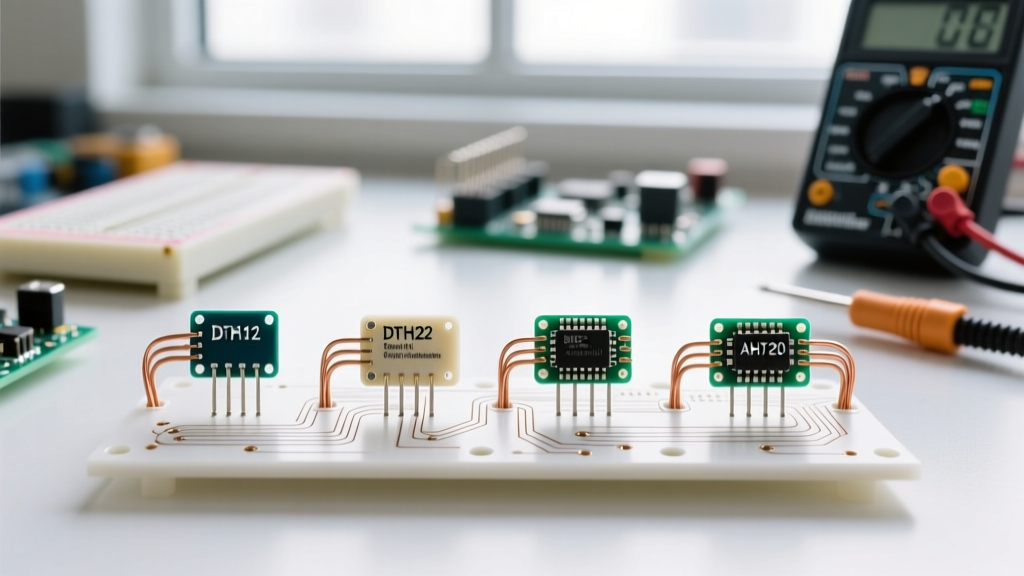
While the DHT11 is cheap, the semiconductor market has produced vastly superior environmental sensors over the last decade. Below is a technical comparison of the DHT11 against its most common upgrade paths.
| Sensor Model | Protocol | Temp Range / Accuracy | Humidity Range / Accuracy | Polling Rate | Price Tier |
|---|---|---|---|---|---|
| DHT11 | Single-Bus (Custom) | 0°C to 50°C / ±2°C | 20% to 80% / ±5% RH | 1 Hz (1 sec) | $ |
| DHT22 (AM2302) | Single-Bus (Custom) | -40°C to 80°C / ±0.5°C | 0% to 100% / ±2% RH | 0.5 Hz (2 sec) | $$ |
| BME280 | I2C / SPI | -40°C to 85°C / ±1°C | 0% to 100% / ±3% RH | Up to 157 Hz | $$$ |
| AHT20 | I2C | -40°C to 85°C / ±0.3°C | 0% to 100% / ±2% RH | Fast (I2C dependent) | $ |
Deep Dive into DHT11 Specifications and Failure Modes
The DHT11's internal 8-bit MCU is factory-calibrated in a specific humidity chamber, with calibration coefficients stored in OTP (One-Time Programmable) memory. However, real-world deployment reveals distinct failure modes that kit tutorials rarely mention:
- Checksum Errors: The DHT11 relies on microsecond-level timing. If your Arduino or ESP32 is busy executing interrupt-heavy tasks (like driving an OLED display via I2C or handling Wi-Fi stacks), the microcontroller might miss a bit transition, resulting in a 'Checksum Failed' error in your serial monitor.
- Heat Drift: The NTC thermistor inside the blue housing is highly susceptible to radiant heat. If you mount the DHT11 directly above a linear voltage regulator (like an LM7805) or near a power LED, your temperature readings will skew high by 2°C to 4°C.
- Capacitive Polymer Degradation: The humidity sensing element relies on a moisture-absorbing polymer. If exposed to condensation, liquid water, or high concentrations of VOCs (volatile organic compounds), the polymer can permanently degrade, leading to stuck readings at 99% RH.
Evaluating the Best DHT11 Equipped Starter Kits
If you are specifically looking to learn the DHT11's single-wire protocol or need a bulk supply for a classroom, here is how the top kits stack up.
1. Elegoo Super Starter Kit (UNO R3)
Elegoo consistently provides the best price-to-component ratio. Their kit includes the 3-pin DHT11 module, meaning you can plug it directly into a breadboard without hunting for a 4.7kΩ resistor. The included jumper wires and breadboard are of standard gauge, and the provided CD/PDF manual features a working C++ sketch using the standard Adafruit DHT library.
2. Rexqualis Sensor and Module Kit
Rexqualis targets the tinkerer who wants raw components. Their kit often includes the bare 4-pin DHT11 alongside a massive assortment of resistors and capacitors. This is excellent for teaching students how to build their own pull-up circuits on a perfboard, but it requires more foundational electronics knowledge to get a stable reading.
3. Freenove Ultimate Starter Kit
Freenove elevates the experience by including both the DHT11 and a BME280 I2C sensor in their higher-tier kits. This is the ultimate educational package, as it allows learners to directly compare the frustrating single-bus timing protocol of the DHT11 with the robust, interrupt-friendly I2C protocol of the BME280 on the same breadboard.
Wiring and Pull-Up Resistor Pitfalls
When wiring the bare DHT11, the data line requires a pull-up resistor to VCC (typically 3.3V or 5V). Without it, the data line floats, and the MCU reads garbage data. Furthermore, wire length is a silent killer of DHT11 projects. The single-bus protocol is highly susceptible to line capacitance. While the Adafruit DHT Humidity Sensing Guide notes that the bus can theoretically stretch up to 20 meters, in practice, any unshielded wire run over 2 meters will distort the microsecond pulse widths, causing silent data corruption. For long runs, you must switch to an I2C sensor or use a dedicated RS-485 transceiver module.
When to Ditch the DHT11: Upgrading Your Sensor Stack
The DHT11 is a fantastic pedagogical tool for learning bit-banged protocols and basic microcontroller timing. However, it is fundamentally a legacy component. Use this decision framework to know when to leave it behind:
Expert Rule of Thumb: If your project requires sub-zero temperature logging (like a freezer monitor), the DHT11's 0°C lower limit makes it useless—upgrade to the DHT22. If you need to log data faster than once per second, or if you are using an RTOS (Real-Time Operating System) on an ESP32 where blocking delays are unacceptable, you must migrate to an I2C sensor like the AHT20 or BME280.
For modern IoT deployments, the SparkFun BME280 Breakout is the gold standard. It provides temperature, humidity, and barometric pressure over an I2C bus, freeing your microcontroller's CPU from the rigid timing constraints of the DHT11. Alternatively, if budget is your primary constraint but you still need I2C reliability, the AHT20 costs nearly the same as a DHT11 but offers vastly superior accuracy and modern bus integration.
Ultimately, the humidity and temperature sensor DHT11 remains a staple in the kit ecosystem for a reason: it is cheap, ubiquitous, and teaches valuable lessons about digital timing. But as your projects move from the workbench to the real world, knowing exactly when to swap it for an I2C alternative is the hallmark of an experienced electronics designer.