
The Physics of Water Quality: Conductivity vs. TDS
Before dropping a tds sensor into your hydroponic reservoir or aquarium, it is critical to understand what the hardware is actually measuring. True Total Dissolved Solids (TDS) is a measure of all inorganic and organic substances contained in a liquid, typically expressed in parts per million (ppm). However, DIY and even many industrial probes do not measure TDS directly. Instead, they measure Electrical Conductivity (EC) and use a microcontroller or analog circuit to estimate the TDS value.
According to the United States Geological Survey (USGS), conductivity is a surrogate measurement for TDS. The relationship is defined by the formula: TDS (ppm) = k × EC (µS/cm). The conversion factor k generally ranges between 0.5 and 0.7, depending on the specific ionic composition of the water. For standard sodium chloride (NaCl) solutions, k is roughly 0.5. For complex hydroponic nutrient mixes containing potassium, calcium, and magnesium salts, k can drift toward 0.65 or higher. Understanding this math is the first step in selecting the right kit for your IoT water testing project.
The 2026 TDS Sensor Roundup: Analog, I2C, and Industrial
The market for water quality modules has matured significantly. Below, we break down the three dominant architectures for integrating a tds sensor into Arduino, ESP32, and Raspberry Pi ecosystems.
1. DFRobot Gravity: Analog TDS Sensor Kit (Best for Beginners)
The DFRobot Gravity Analog TDS Sensor remains the gold standard for entry-level to intermediate DIYers. Priced around $25 to $30, this kit includes the signal conditioning board and a waterproof acrylic probe.
- Excitation Method: Unlike cheap generic modules that use DC voltage (which causes rapid probe polarization and electrolysis), the DFRobot board generates an AC square wave to drive the probe. This drastically extends the lifespan of the electrodes.
- Signal Output: It features an onboard voltage follower and operational amplifier that conditions the signal to a clean 0–3.3V analog output, making it natively safe for 3.3V microcontrollers like the ESP32 and Raspberry Pi Pico.
- Limitations: The analog output relies entirely on the host microcontroller’s ADC (Analog-to-Digital Converter), which introduces resolution bottlenecks on certain boards.
2. Atlas Scientific EZO-TDS Circuit (Best for Lab-Grade IoT)
For commercial-grade IoT deployments or precision aquaculture, the Atlas Scientific EZO-TDS Circuit is unmatched. This is not just a probe; it is a fully embedded laboratory instrument on a 32mm x 32mm PCB.
- Interface: Dual-protocol support for I2C (default address 0x64) and UART. It handles all ADC conversion, temperature compensation, and calibration math internally.
- Probe Compatibility: Uses a standard BNC connector, allowing you to pair it with lab-grade K=1.0 or K=0.1 conductivity probes from brands like Hanna Instruments or Sensorex.
- Automatic Temperature Compensation (ATC):strong> Features an onboard thermistor to dynamically adjust EC readings based on water temperature, a feature missing in budget analog kits.
- Cost: High barrier to entry. The EZO circuit alone costs roughly $130, and a quality BNC probe will add another $80 to $150.
3. Generic RS485 Industrial TDS Probe (Best for Harsh Environments)
If you are building a commercial hydroponic controller or an outdoor water monitoring station, analog and I2C signals will degrade over long cable runs. Industrial RS485 Modbus RTU probes solve this by utilizing differential signaling.
- Architecture: The ADC and microcontroller are potted inside the IP68 waterproof probe housing. It outputs digital Modbus RTU packets over an RS485 bus.
- Wiring Requirements: Requires a MAX485 TTL-to-RS485 transceiver module to interface with an Arduino or ESP32. You must manage the Driver Enable (DE) and Receiver Enable (RE) pins to switch between transmitting and listening.
- Noise Immunity: Differential signaling rejects common-mode noise, making it immune to the electromagnetic interference (EMI) generated by heavy water pumps, solenoid valves, and grow light ballasts.
Comparative Breakdown: Specs, Pricing, and Use Cases
| Module / Kit | Interface | Excitation / Signal | Est. Price (2026) | Best Application |
|---|---|---|---|---|
| DFRobot Gravity (SEN0244) | Analog (0-3.3V) | AC Square Wave | $28 | Home Aquariums, Basic Hydroponics |
| Atlas Scientific EZO-TDS | I2C / UART | Internal Precision AC | $130+ (Circuit only) | Lab IoT, Commercial Aquaculture |
| Industrial RS485 Probe | Modbus RTU (RS485) | Differential Digital | $45 - $80 | Long-distance, High-EMI environments |
| Generic Analog (eBay/AliExpress) | Analog (0-5V) | DC Voltage | $8 - $12 | Prototyping only (Prone to failure) |
Critical Failure Modes and ESP32 Integration Pitfalls
Integrating a tds sensor into an ESP32-based IoT node is a rite of passage for water-quality engineers, but it is fraught with hardware traps. The most notorious issue is the ESP32’s internal SAR ADC non-linearity.
The ESP32 ADC Bottleneck
The ESP32 features a 12-bit ADC, but its readable voltage range is effectively 0.1V to 2.5V. Voltages above 2.5V suffer from severe saturation and non-linearity, while voltages below 0.1V are lost in the noise floor. Because the DFRobot analog module outputs up to 3.3V for highly concentrated solutions, feeding this directly into an ESP32 GPIO pin will yield wildly inaccurate readings in high-TDS environments.
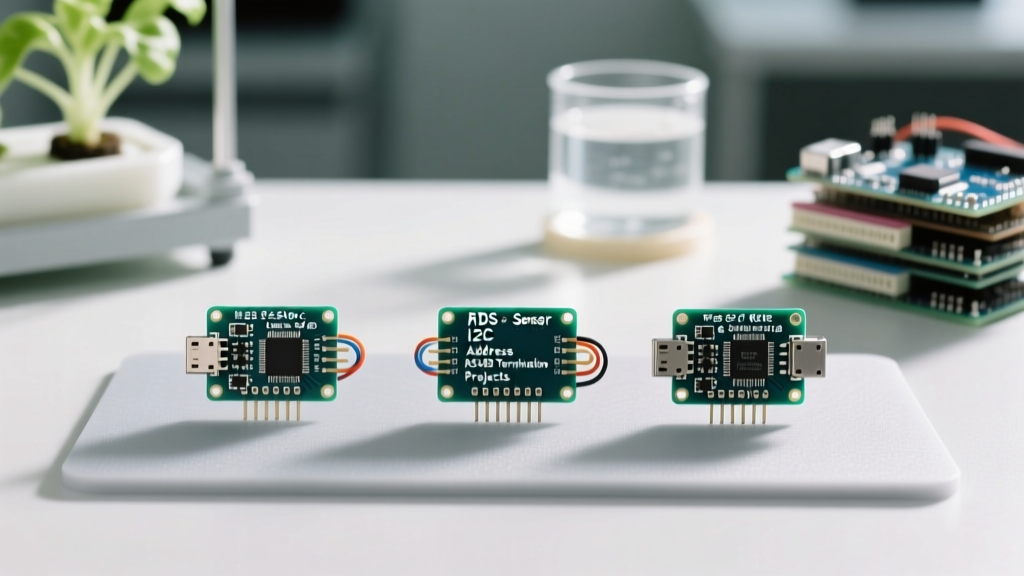
Expert Fix: Do not rely on the ESP32's native ADC for precision water testing. Instead, route the analog signal from your tds sensor into an external 16-bit I2C ADC like the Texas Instruments ADS1115. The ADS1115 offers a programmable gain amplifier (PGA) and a linear response across the entire 0-3.3V spectrum, yielding a massive information gain in data reliability.
Probe Fouling and Galvanic Isolation
In nutrient-rich hydroponic setups, biofilms and calcium carbonate scale will rapidly coat the probe electrodes. This insulating layer increases the measured resistance, causing the sensor to report artificially low TDS levels. To mitigate this, industrial setups implement ultrasonic cleaning probes or schedule automated mechanical wipers. For DIYers, weekly manual cleaning with a soft brush and mild vinegar solution is mandatory. Never use abrasive pads, as scratching the electrode surface alters the cell constant (K-factor) and ruins calibration.
Calibration Framework: Getting Actionable Data
Out-of-the-box calibration is rarely sufficient for scientific or commercial applications. A proper calibration routine requires standard buffer solutions.
- Zero Calibration (Dry/Air): Ensure the probe reads 0 µS/cm when completely dry and disconnected from the liquid medium.
- Single-Point Calibration: Submerge the probe in a standard 1000 µS/cm Potassium Chloride (KCl) solution at exactly 25°C. Adjust your microcontroller's software multiplier until the serial monitor matches the reference value.
- Temperature Normalization: If your kit lacks ATC, you must implement the standard temperature compensation formula in your code:
EC_25 = EC_measured / [1 + α(T - 25)], where α (alpha) is typically 0.019 to 0.025 per °C for most natural waters.
Final Verdict: Which Kit Should You Build?
If you are building a weekend Arduino project to monitor your freshwater aquarium or a small-scale DWC (Deep Water Culture) hydroponic bucket, the DFRobot Gravity Analog Kit offers the best balance of price, ease of use, and AC excitation protection. Just be sure to pair it with an external ADS1115 ADC if you are using an ESP32.
However, if you are engineering a commercial IoT gateway that aggregates water quality data from multiple vats, or if your environment is plagued by EMI from heavy machinery, skip the analog modules entirely. Invest in an RS485 Modbus probe or the Atlas Scientific EZO ecosystem to ensure your data remains robust, isolated, and scientifically valid over years of continuous deployment.